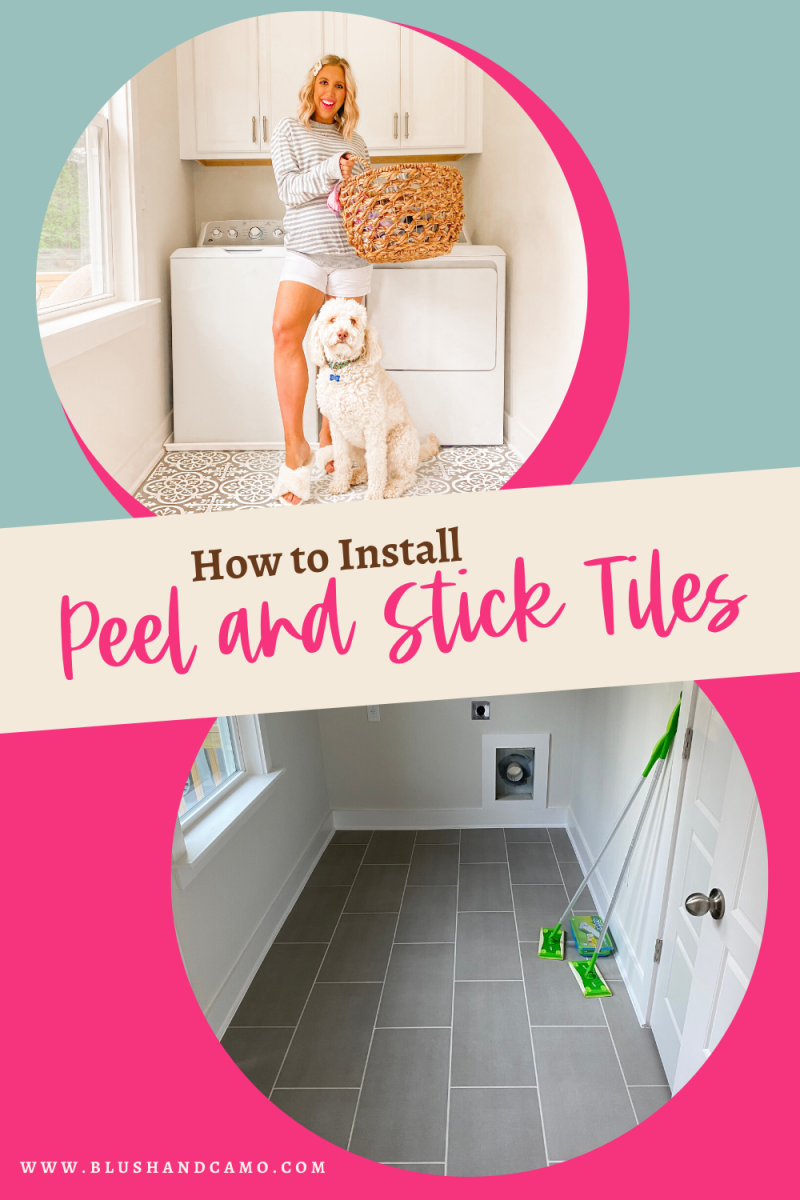
Welcome back to Blush & Camo! Today I’m sharing how to install peel and stick tile to any room in your home. I’m also linking the exact products I used for you to easily shop.
Chuck and I wanted to install peel and stick tile in our laundry room since I wanted to give this space a fresh, new feel!
The good news is, peel and stick tile is extremely easy to install and it only takes a few tools. Below are all the items I used, plus the exact peel and stick tile I used in my laundry room.
TOOLS USED:
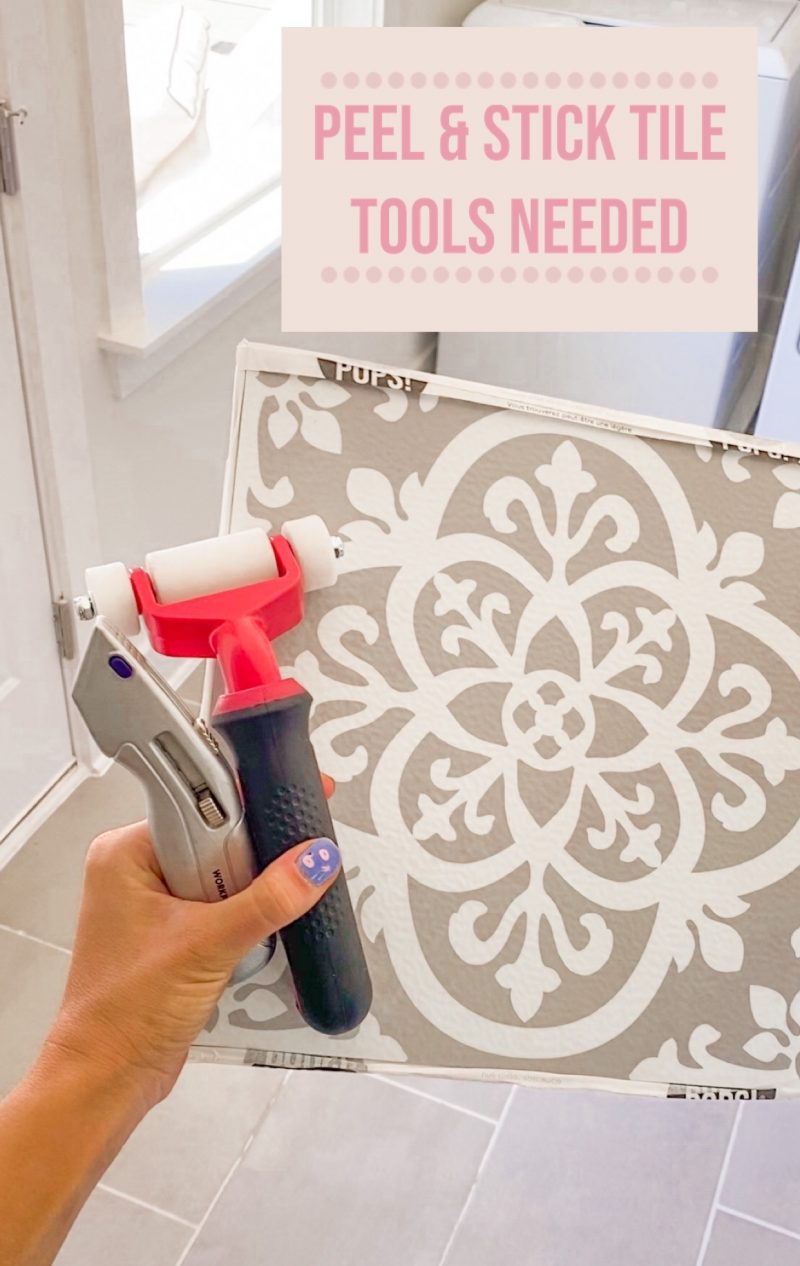
- Xacto Knife
- Tile Roller
- Peel and Stick Tile
HOW TO MEASURE OUT YOUR SQUARE FOOTAGE
First, you are going to want to measure out the square footage of the space you want to add your peel and stick tile.
To determine square footage use this simple equation:
Length x Width = Area
Once you have measured out your square footage you will know how many boxes to order. For our peel and stick tile 1 x box of peel and stick came with 10 tiles and covered 10 square feet. This means each tile covers one square foot.
For Chuck and I our square footage came out to 66 square feet so we ordered 7 boxes!
HOW TO INSTALL PEEL & STICK
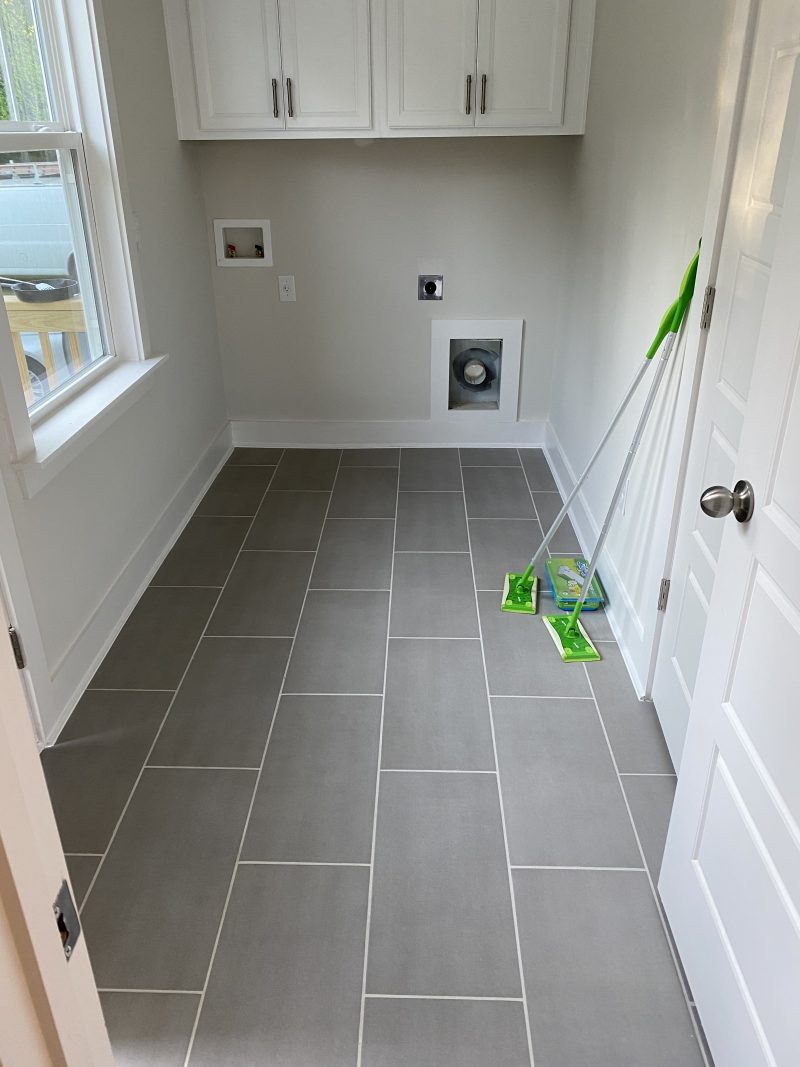
Now, comes the fun part! First, ensure the floor space you are about to cover is cleaned. Chuck and I vacuumed and then mopped our surface.
Then, pick a corner you want to start at and work your way out from that corner.
My biggest tip is to focus on covering the main body of your floor space and worry about the detailing last. What I mean by this is to not worry if there are gaps between around the edge of your space.
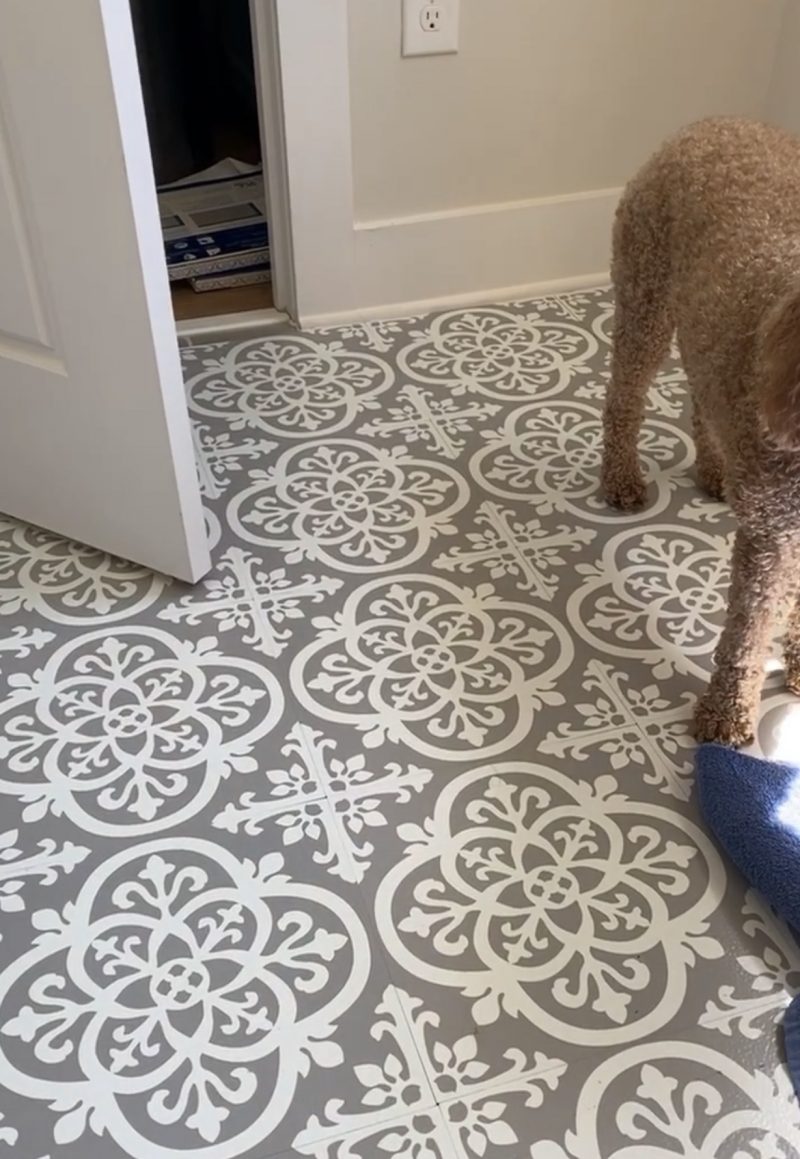
For every tile you place on the ground use your tile roller to ensure a really great stick!
Then, once you’ve covered the main floor space go back and work on the edging around the room. This is where your Xacto knife will come into play! Match up the print to the tile next to it and use your Xacto knife to cut the size you need.
Here is a quick video on how to install the peel and stick tile! You can follow me on TikTok for more home decor and DIY tips!
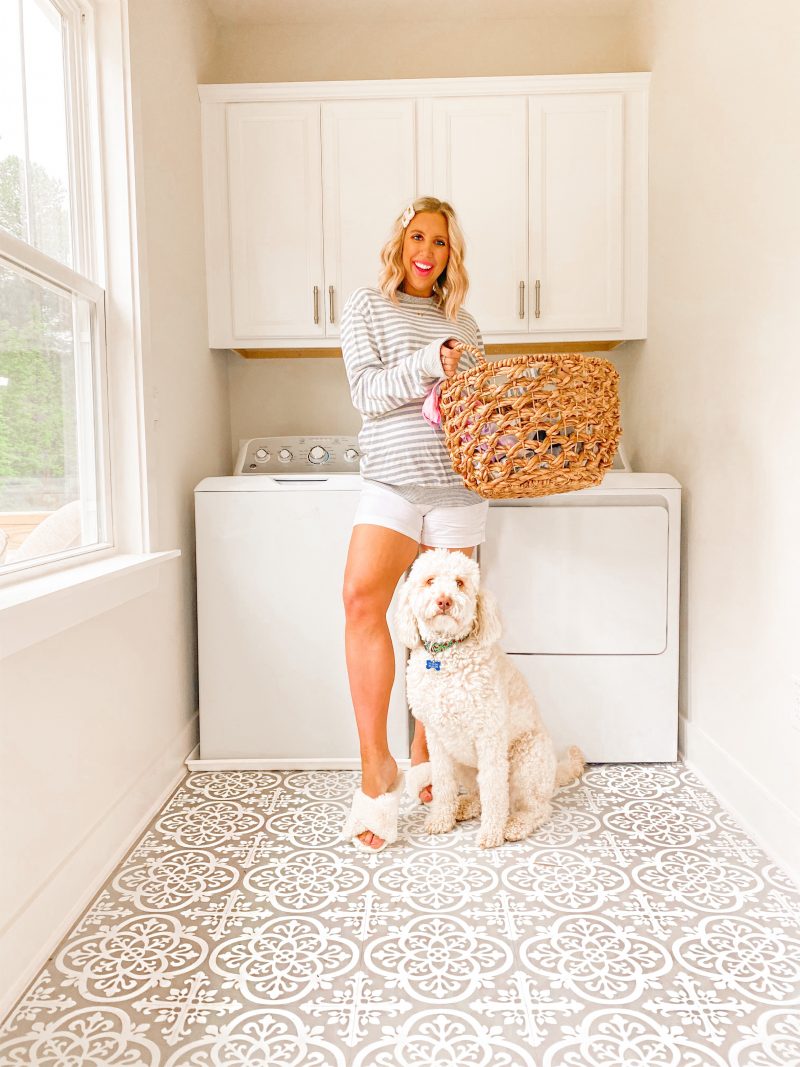
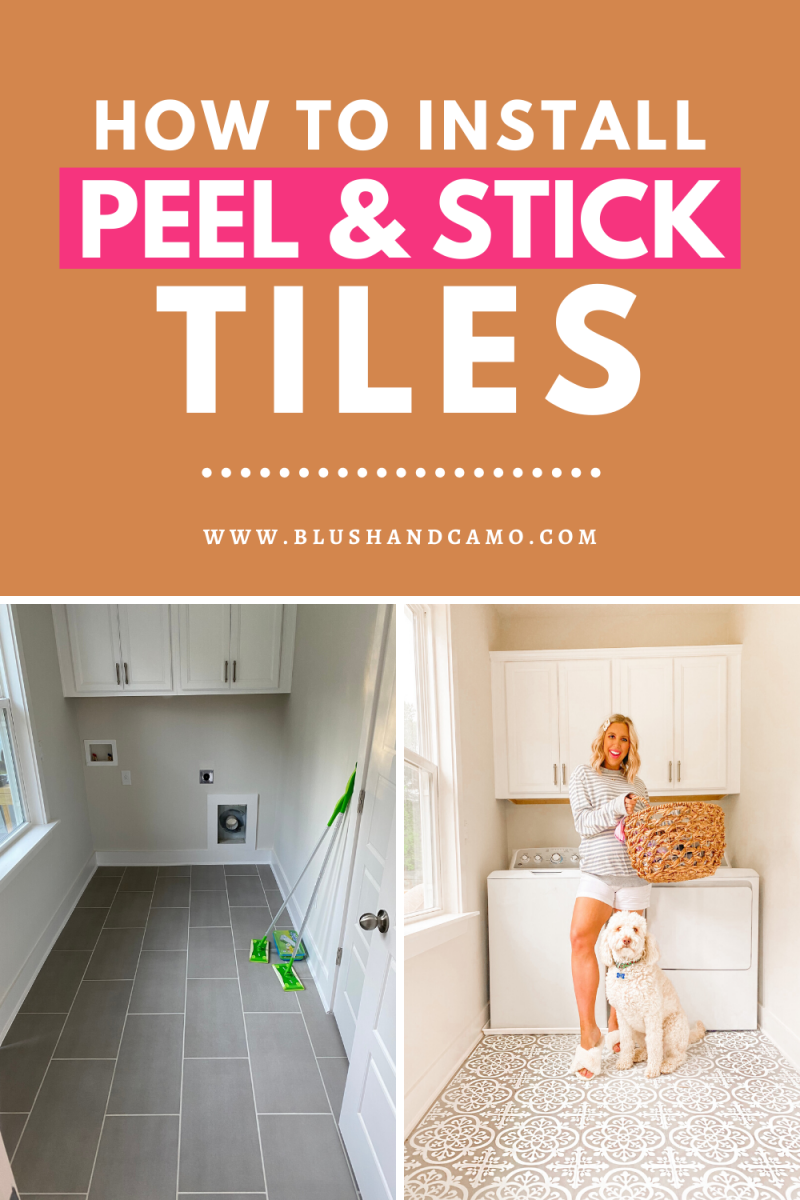
And that’s it! I love that peel and stick tile is affordable, rental friendly, and easily gives a room a new look.
Chuck and I have had our tile installed for two weeks and it’s holding up amazing!! The laundry room in our home also is our mud room that gets the most foot traffic. The tile still looks brand new after almost two weeks of straight rain and is super easy to clean.
I would recommend this project to anyone looking to spruce up a space!
Let me know your questions below!
Thank you for stopping by Blush & Camo!
You can follow me on Pinterest by clicking here!
Get more daily inspo by following me on Instagram and TikTok!
xx, Julianna



Hi! Thank you for sharing this project! Not sure if I missed this but does this only work on certain floors? The floor I want to cover has small cube tiles that’s a little rough (not a smooth surface).
Thank you!