


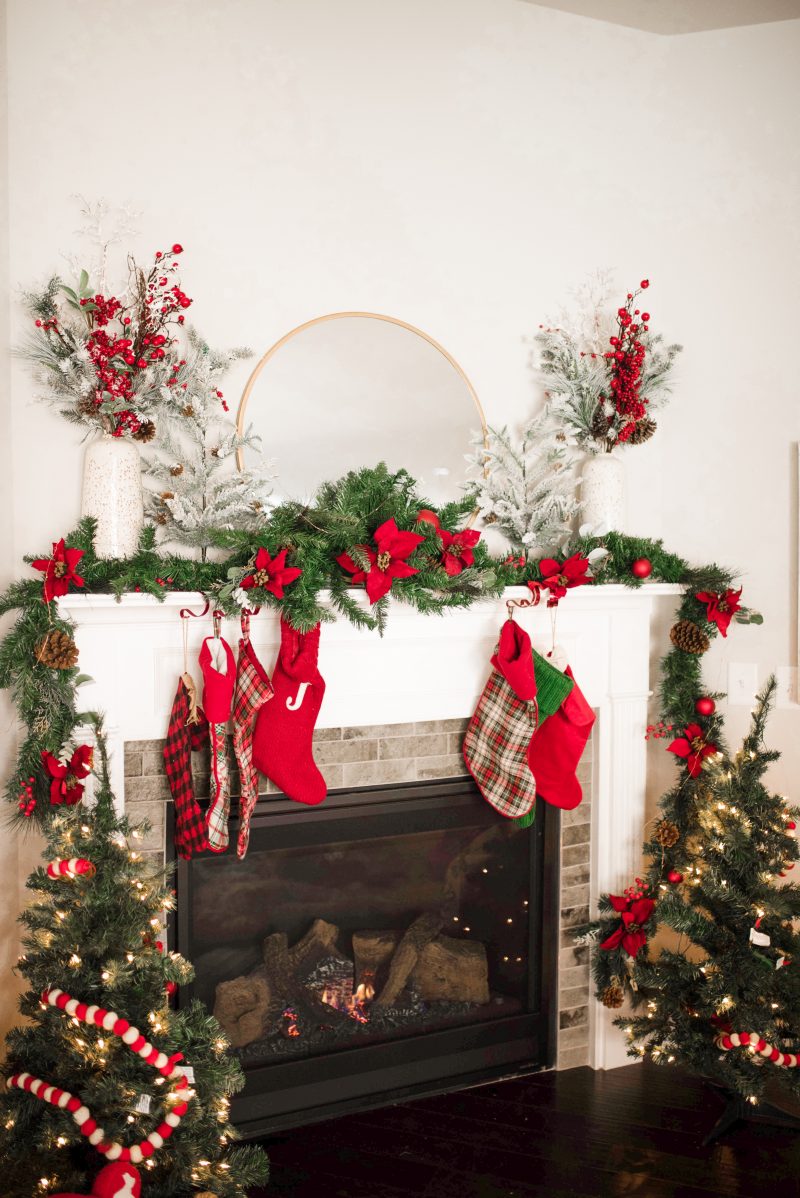
Welcome back to Blush & Camo! In today’s post I’m so excited to share my latest home project; painting my fireplace tile white with The Home Depot Pinterest Paint Kits! When Chuck and I first purchased our home back in 2018 there were a few home projects I definitely wanted to tackle, and painting the ugly brown tile surrounding the fireplace was one of them!
Here’s all the tools, steps, and tips for painting your own tile!
THE HOME DEPOT PINTEREST PAINT KIT
The first step was the select the color of paint I wanted to update the tile with! At first, this seemed like a daunting task. What if I picked the wrong color and made the fireplace look worse?! This was a very real fear going into this project.
Thank goodness Home Depot launched their NEW paint kits in collaboration with Pinterest! These kits were a time saver and provided paint samples without the mess.
Here’s how they work!
I picked my paint kits up at Home Depot and there are eight paint kits to choose from and the options are:
- White Kit
- Accent Colors Kit
- Blues Kit
- Cool Neutrals Kit
- Greys Kit
- Greens kit
- Trend Colors Kit
- Warm Neutrals
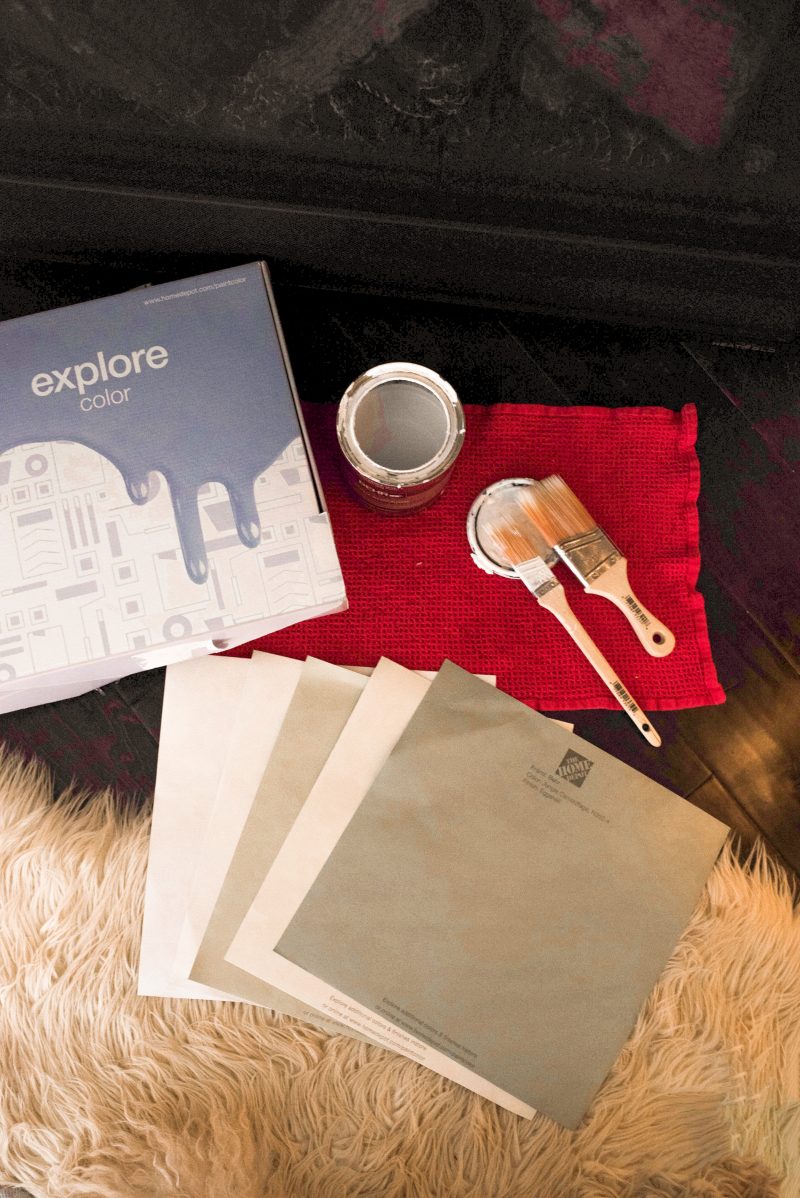
Each paint kit comes with six repositionable, wall-friendly paint stickers. These stickers are paint samples you simply peel and stick to the surface you are interested in painting! No mess and no need to paint your surface before you start your home project.
Chuck and I knew we wanted to paint the tile either a bright white or light green so we opted for the White and Greens paint kits!
From the twelve total colors we narrowed our colors down to two green and one white hue. Then, I took each paint sample sticker and cut the sticker to the size that I desired to put on my fireplace!
Each paint sticker has a graphic sticker back making it easy to cut straight lines and create the paint sample you desire for your particular surface!
I put the three paint sticker samples right on the fireplace tile and waited 24 hours to see how each color looked during various times of the day when the light changes!
The stickers stayed for the entire 24 hours, was super easy to adjust if I wanted to reposition the paint sample elsewhere on my fireplace, and didn’t leave any sticky residue after I peeled the sticker off!
I couldn’t believe how simple and easy the paint kits were to use! Both my husband and I thought this made the entire home project painless.


PAINTING THE FIREPLACE

Chuck and I choose a bright white color called Polar Bear from the White Paint Kit. We picked up a quart of paint from Home Depot along with a two inch paintbrush, and four inch paint brush, and painters tape!
I removed all the items off of the mantel and wiped off the tile to ensure it was clean prior to painting. Then, I used my painters tape to tape off all the edges.
The entire surface took me about an hour to paint two coats. I let the paint dry for 24 hours and the next day I added a third coat to complete my project!
I am in love with how the fireplace turned out and the whole process was made so much easier with the Home Depot paint kits!
What do you think of the new tile? I would love to hear from you in the comments below!
** Thank you Home Depot for sponsoring today’s post! All thoughts and opinions are my own.
You can follow me on Pinterest by clicking here!
Get more daily inspo by following me on Instagram and YouTube!
xx, Julianna


Leave a comment