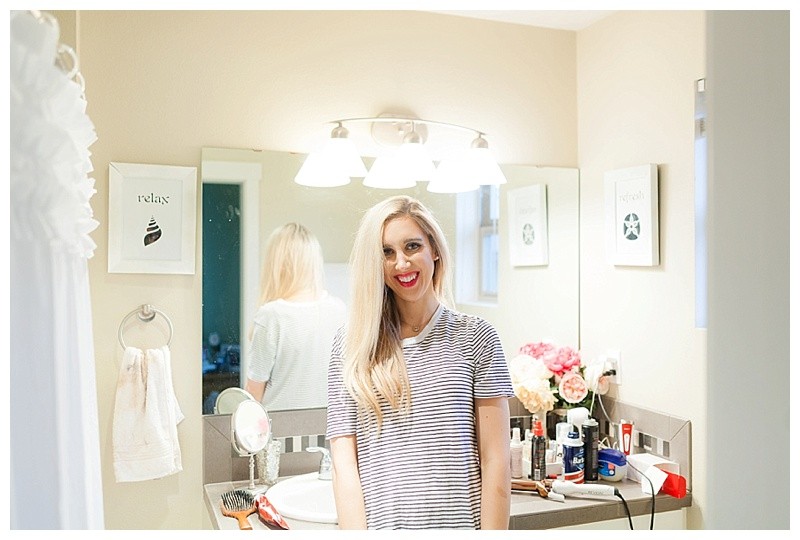
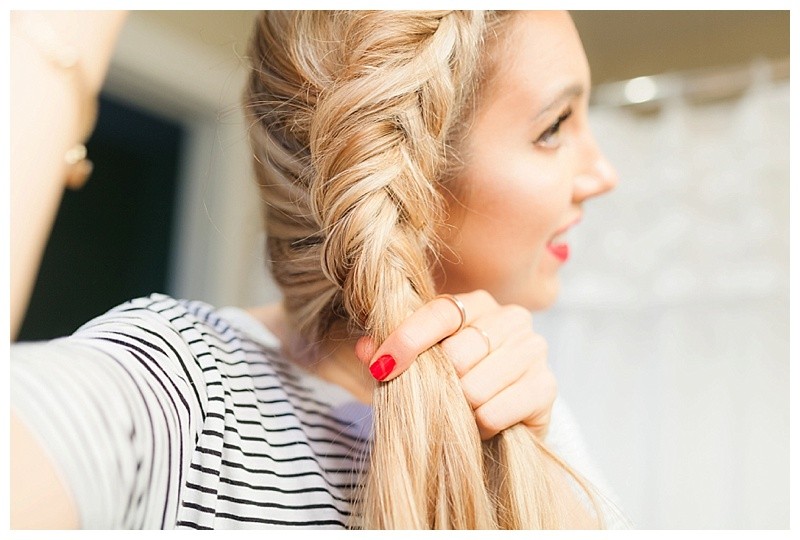
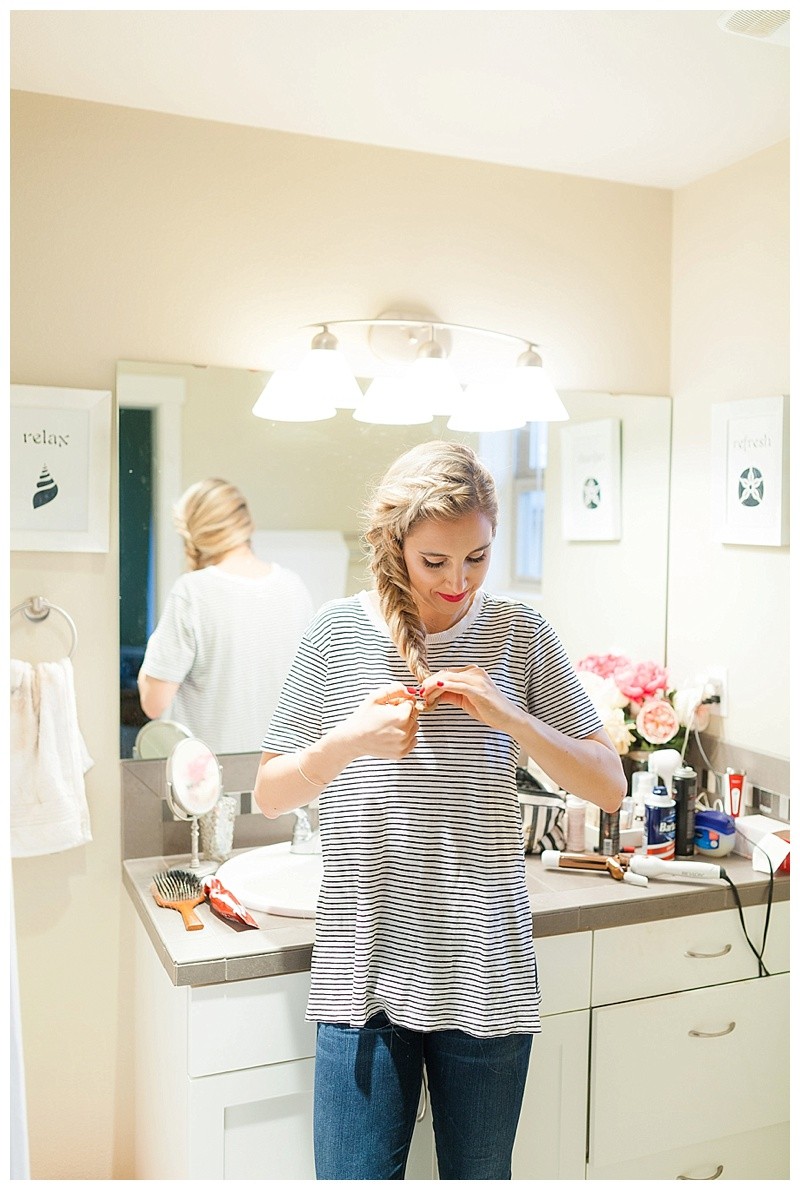
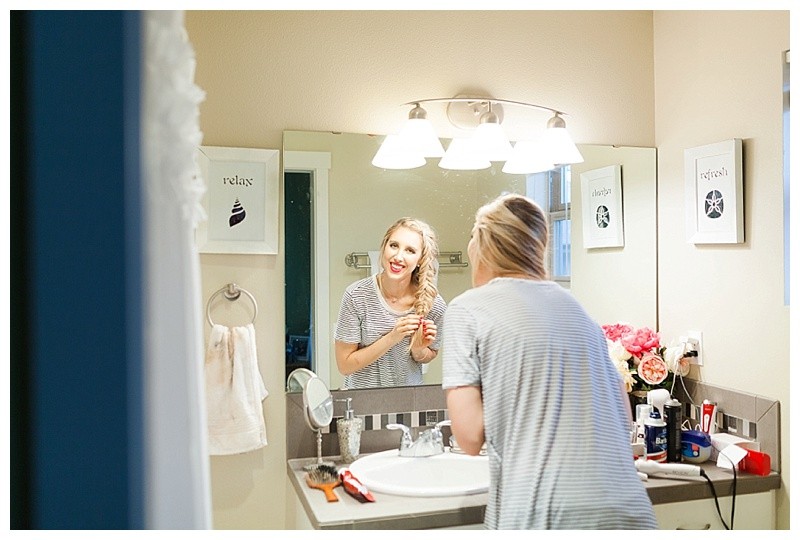
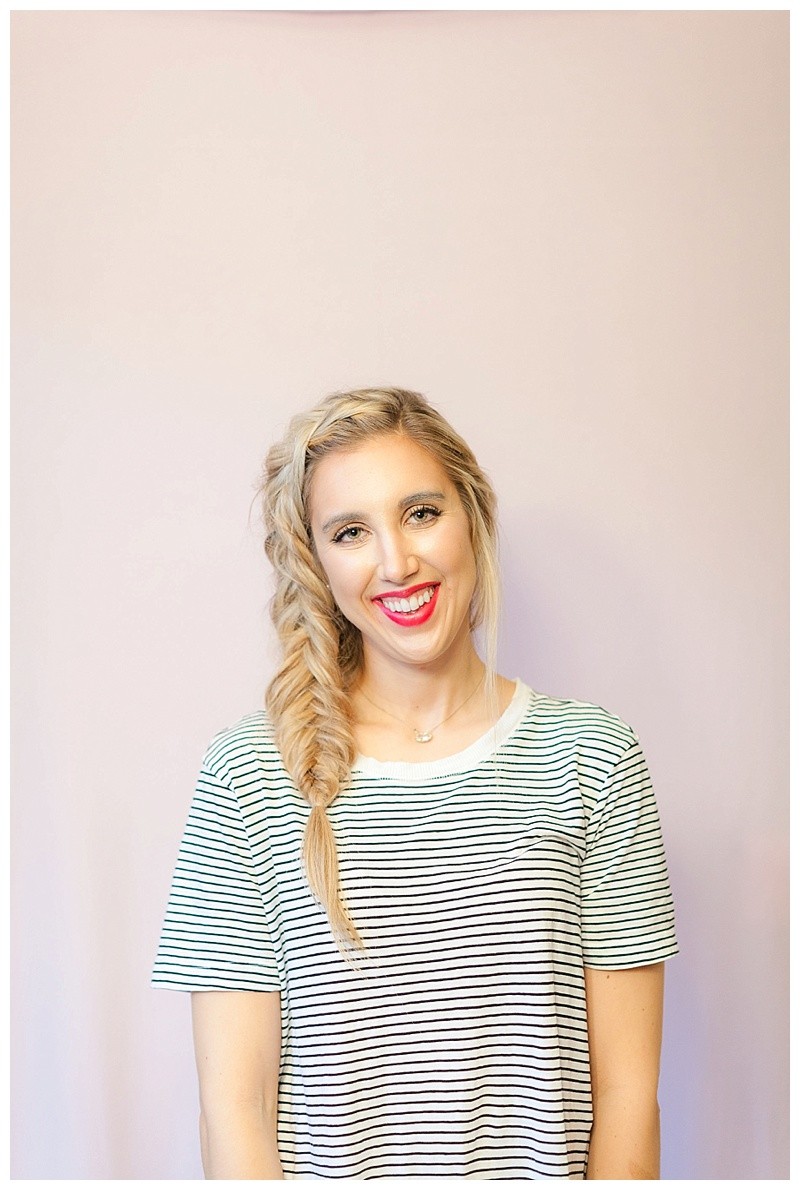
I recently posted on my Instagram (@julianna_claire) my Halloween costume where I dressed up as Disney’s Princess Elsa! I wanted to create a hairstyle that looked similar to hers but also maintain my own personal style. I decided to do this fishtail braid which I have worn every single weekend since Halloween!
This braid is SUPER easy to recreate and takes about 6 minutes (it just looks intimidating!).
Do you want to know the best part?! Your hair will look amazing ALL day long regardless of the weather (that is huge for me living in Seattle and it is raining almost every day!).
Let’s get started!
1.) Brush out all the tangles and part your hair on the side. You can also add some texture to your hair by adding in a little sea salt spray (I like this one) or by spraying your hair with hairspray and then combing through.
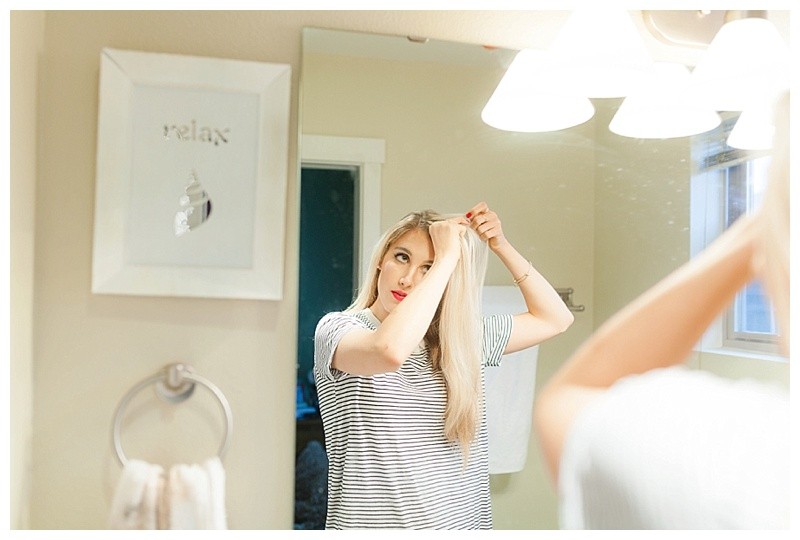
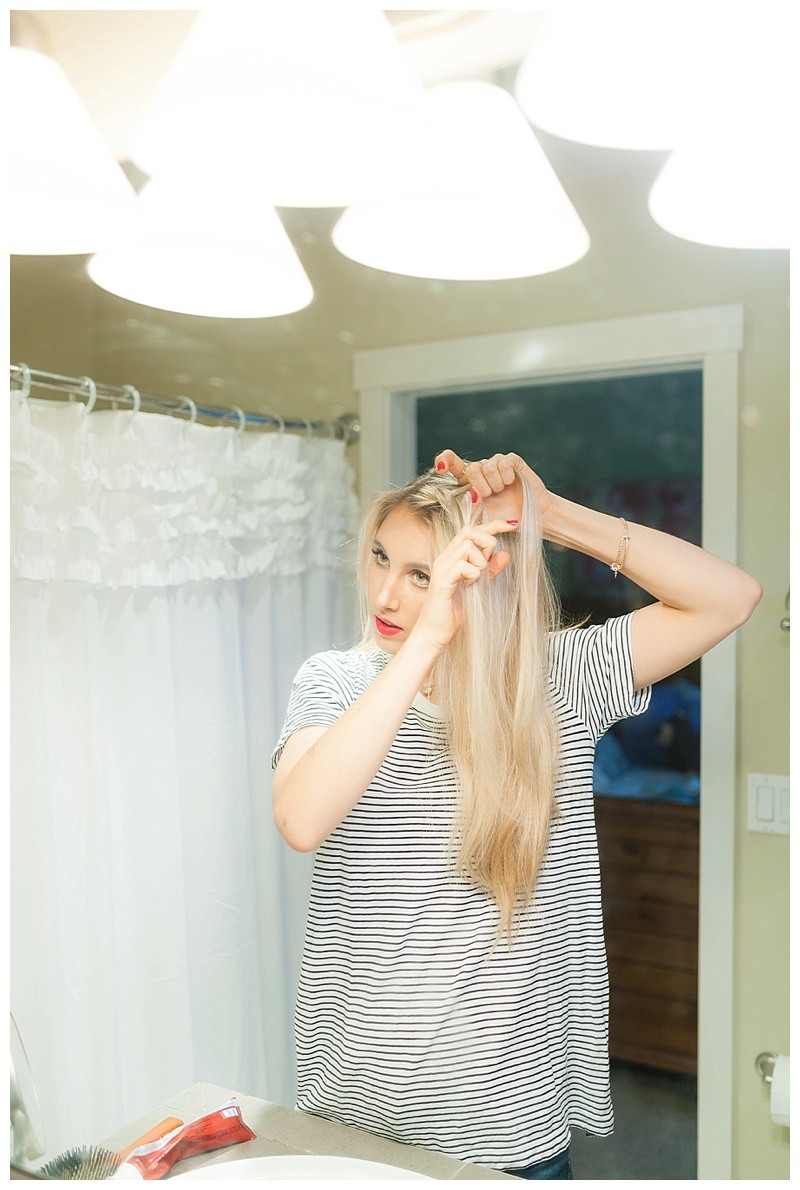
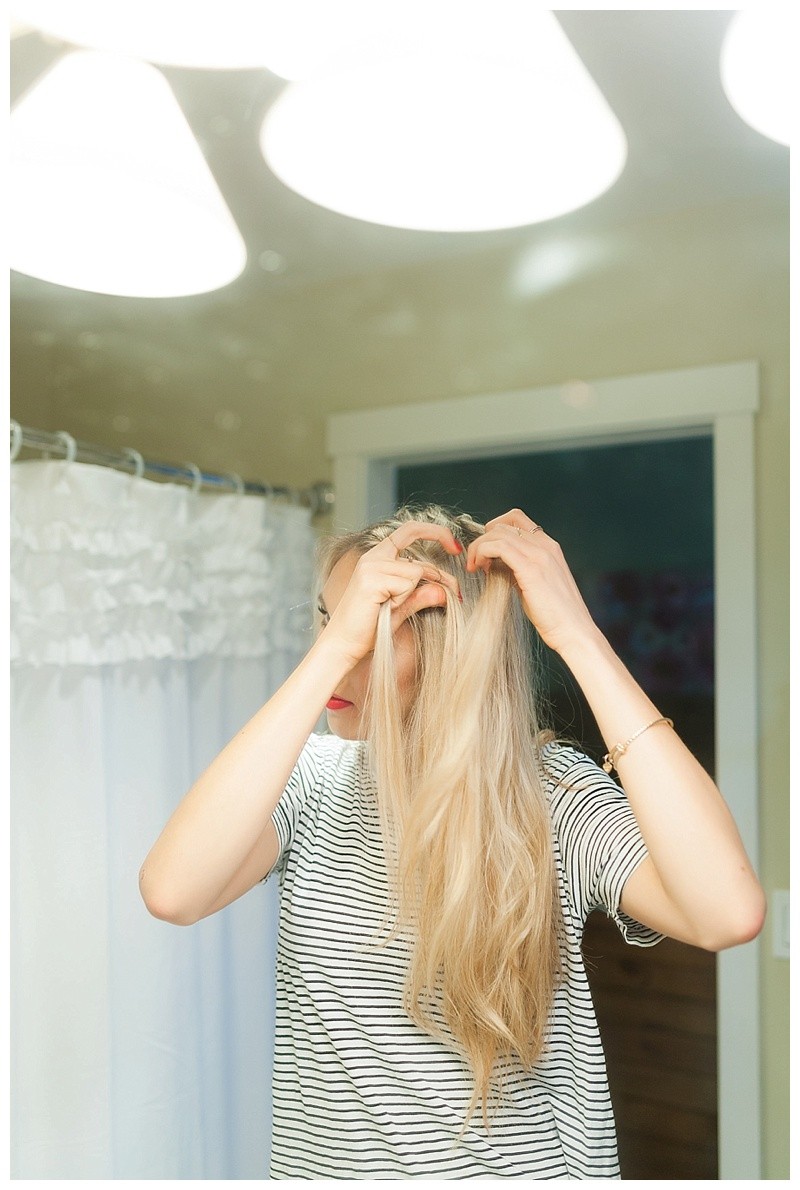
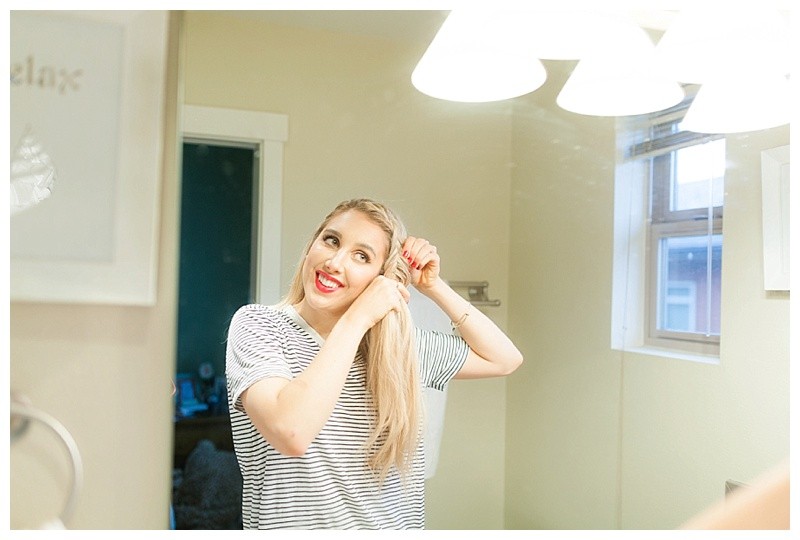
2.) Start at the very edge of your part and start with a one inch section. Break this section into two pieces (this is your fishtail braid beginning!).
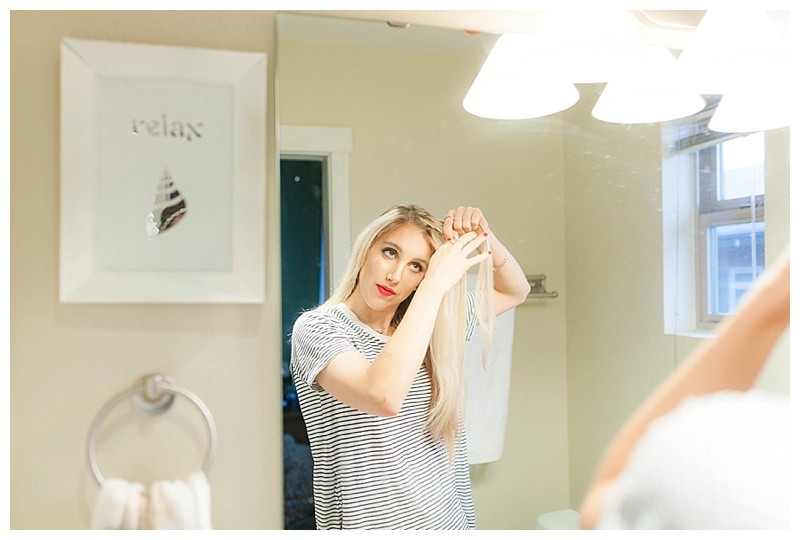
3.) From your two sections you just created take the outer portion of one of the sections and braid under. Combine this piece with the opposite side’s section. Do this again on the other side.
4.) Once you have completed step 3 you will start to incorporate pieces of hair into your two main sections. This is how I do this to make it as easy as possible.
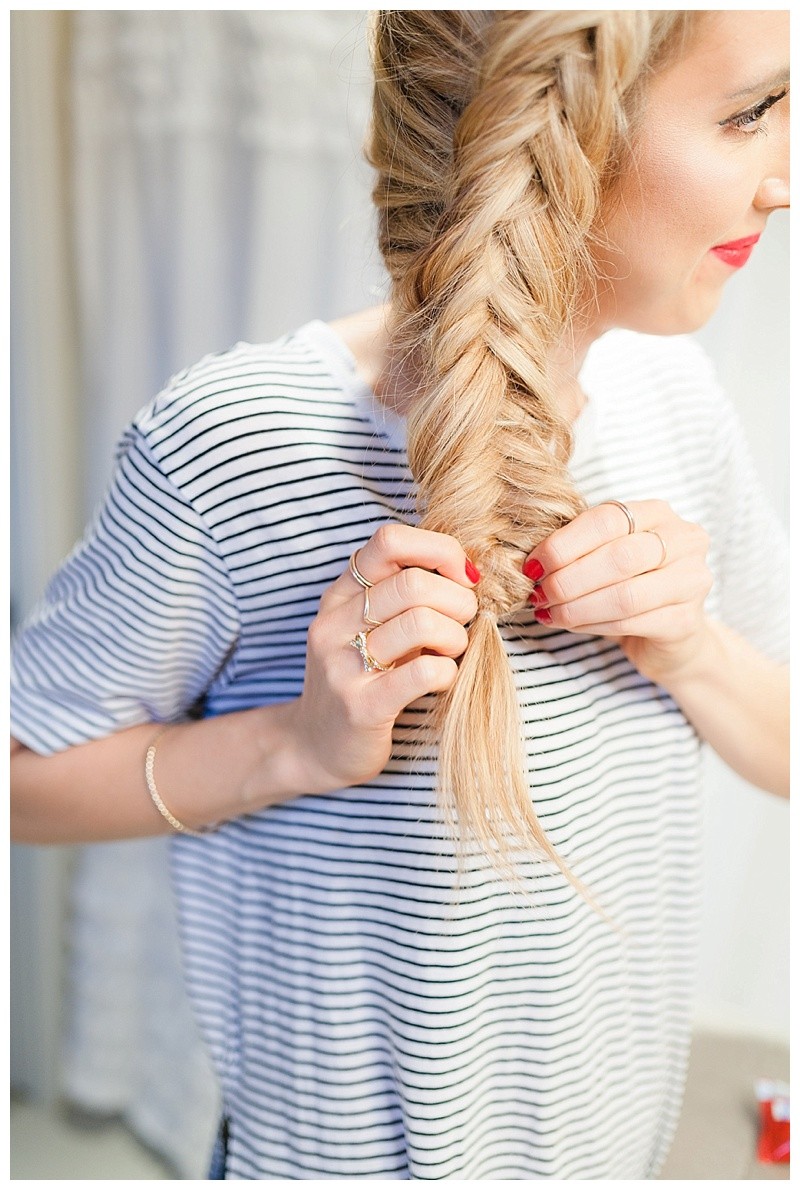
4a.) Take hair from one side that is not incorporated into your two main sections. Braid that hair under to the opposite section and combine with that main section (I hope that made sense!). Then, you will take hair from the main section you just braided from, take an outside piece of hair (just like in step 3) and incorporate a section of hair to the other side as well.
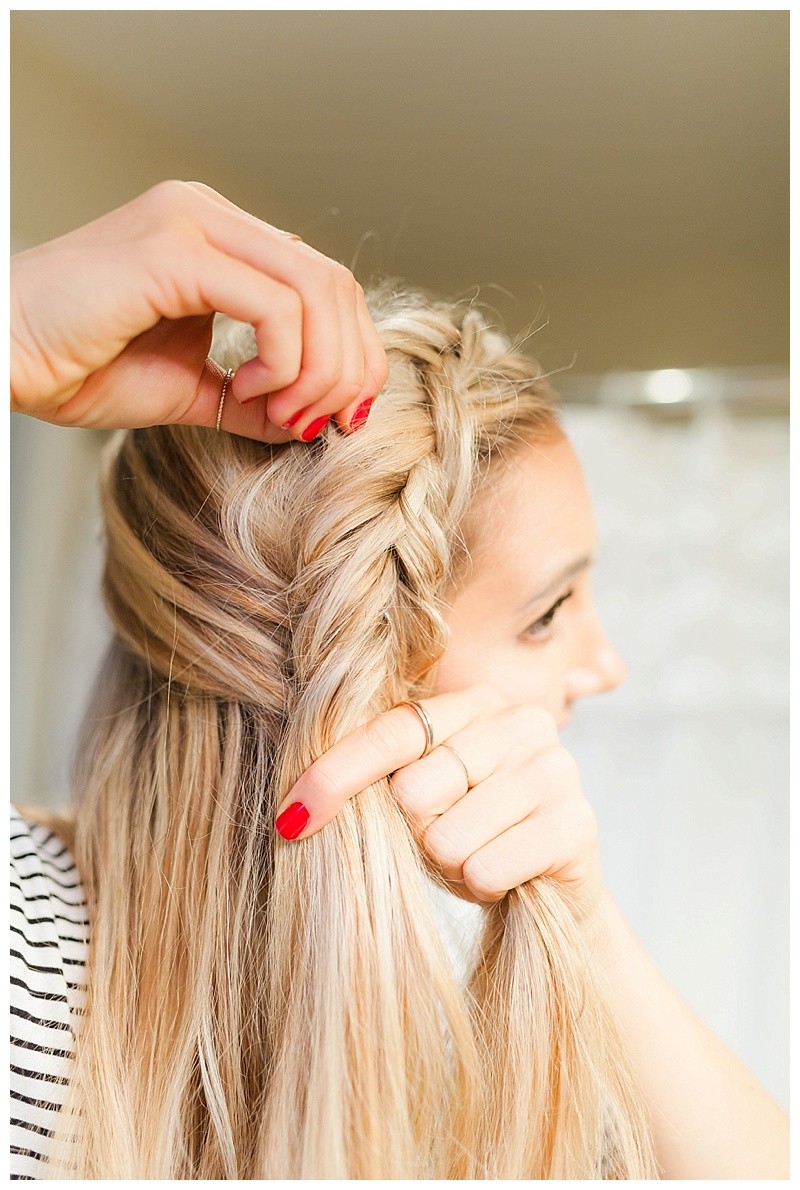
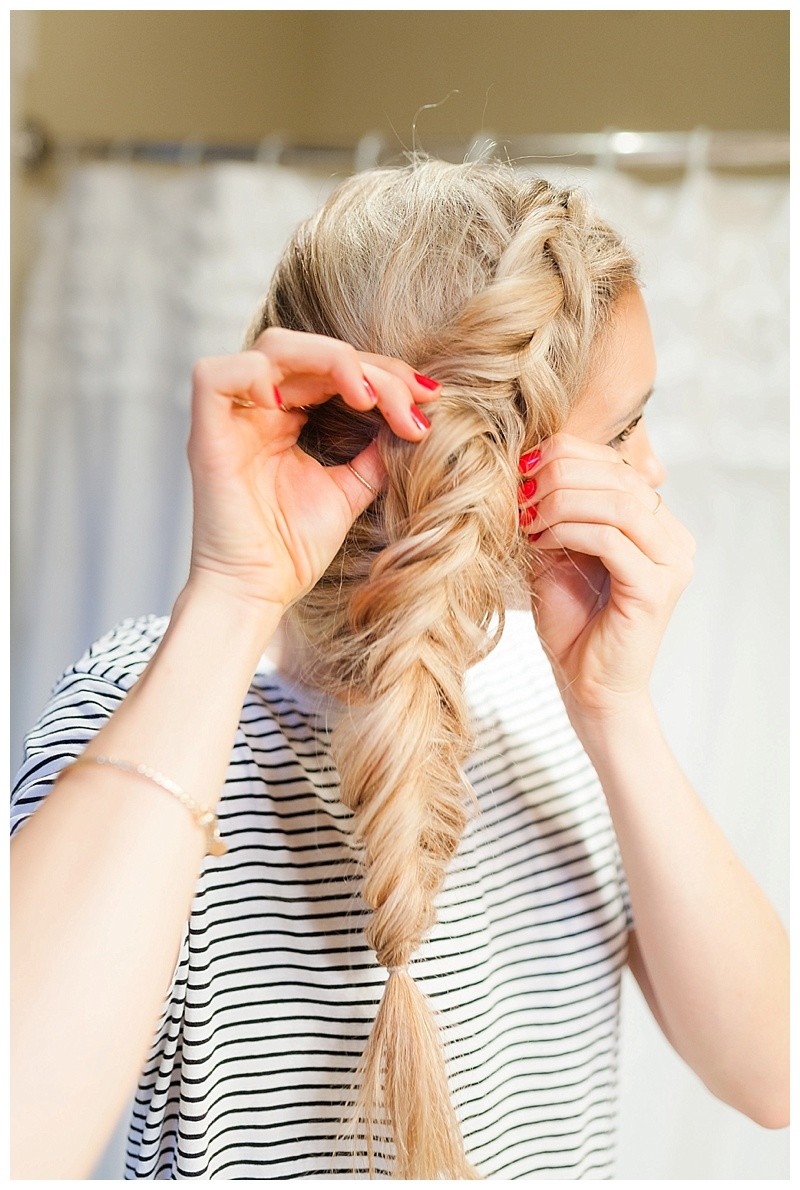
5.) You will keep doing this all the way down until you braid to the top of your ear. At this point you want to pull some of the fishtail braid you have created out a little bit to create that “thickness” effect! If you wait until the very end, it will be very hard to create this effect.
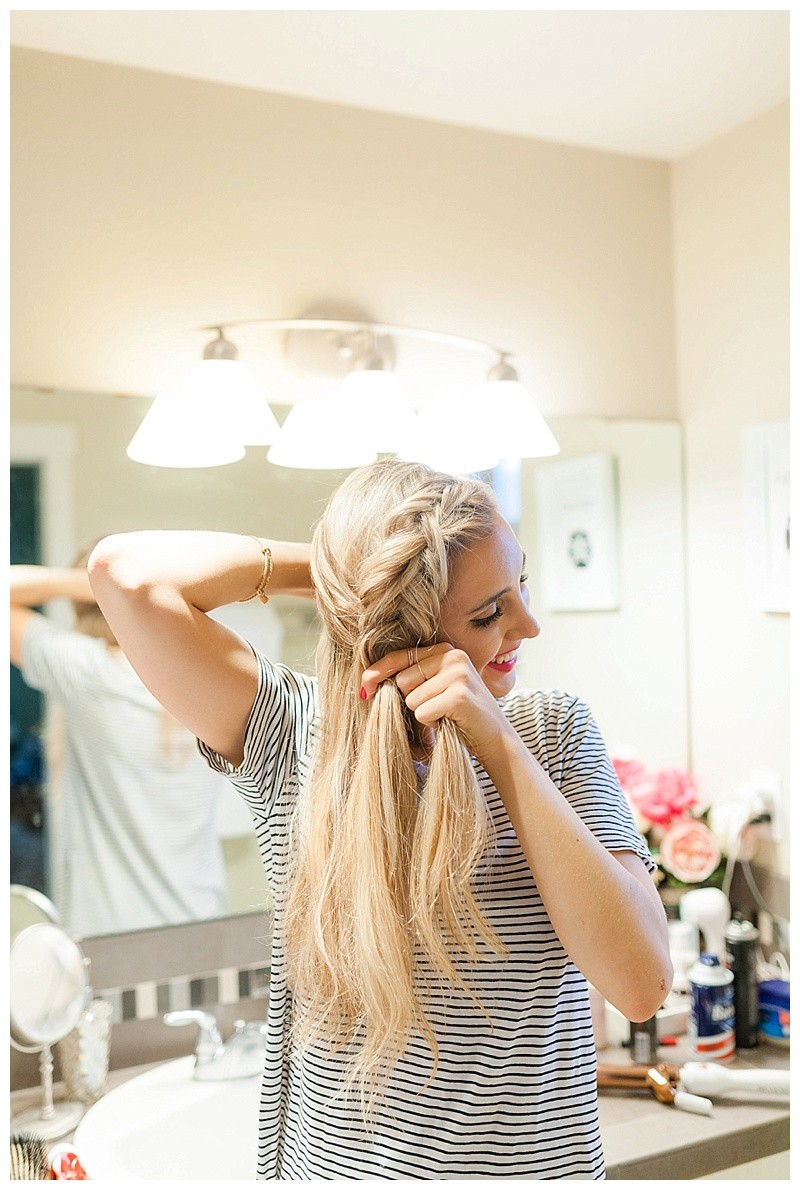
6.) Once you pull apart the braid you created you are read to incorporate more hair from the other side of your hair. Reach around your head and take a 1 inch section of hair and braid that section under until it is with the other opposite section of hair.
7.) You will continue to add hair from the opposite side of your head until all your hair is incorporated into the braid.
8.) Then, the rest of the braid is easy! You just fishtail braid the rest of the hair. Add a hair tie and you just completed this gorgeous braided updo!
What did you think of today’s hair tutorial?! I would love to hear from you in the comments below!
Thank you so much for stopping by Blush & Camo!
xx Julianna

You are the Queen of braid tutorials! You come up with such gorgeous hairstyles incorporating braids and your guide is easy to follow! You look absolutely gorgeous, Julianna; thanks so much for sharing!
XO,
Jalisa
http://www.thestylecontour.com
You are the best Jalisa! Thank you so so much for your kind words!
xx Julianna
So pretty! I wish I could also braid like this lol Haha! <3
x, Kat of Nested Thoughts
Follow me! // Instagram // Twitter // Facebook // Snapchat: katherineannika
You totally can:) Thank you so much for stopping by!
xx Julianna
Ugh, it’s beautiful styles like this that make me regret my recent chop! Can’t wait to try this once my hair grows out!
Xx Danielle | Pineapple & Prosecco
Thank you so much for the kind words gorgeous and you could totally do a mini version of this with short hair! Do a side braid and pull it into a chic ponytail:)! Sending you tons of love gorgeous!
xx Julianna
Definitely trying this one – I have such braid envy!
xoxo,
Emily (@musingsofglitter)
I can’t wait to see what it looks like, Gorgeous! You can pull off anything:)!
xx Julianna