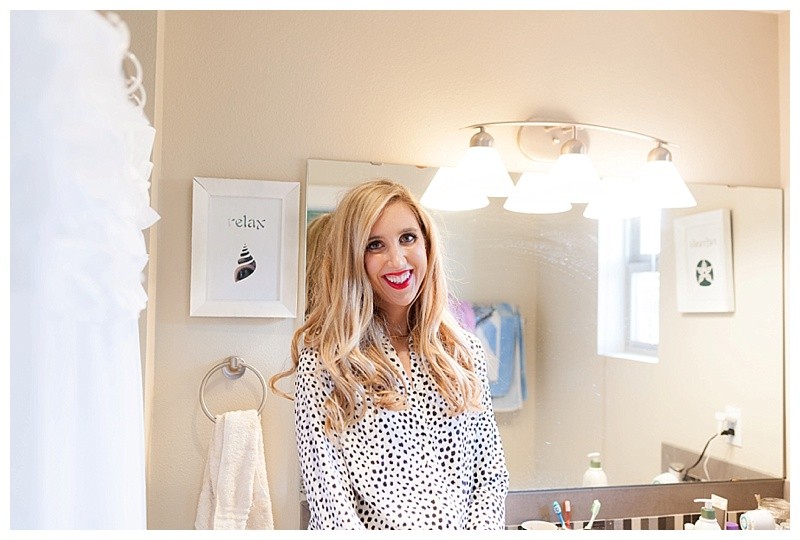
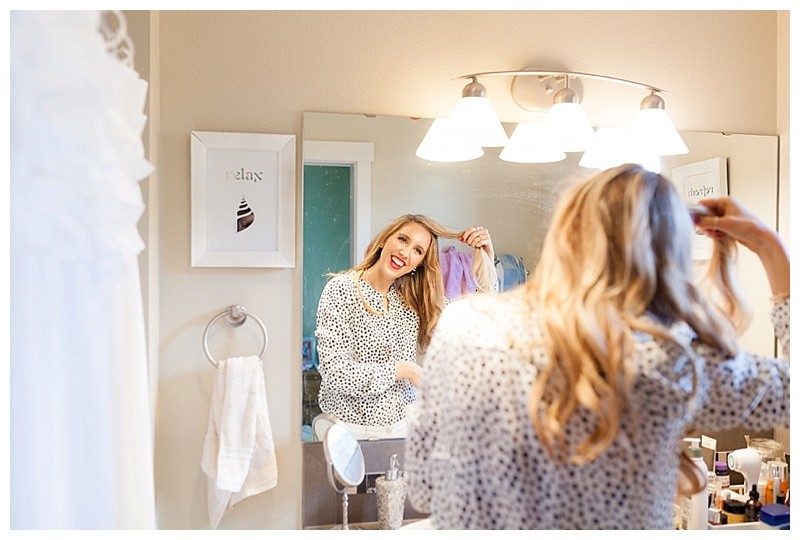
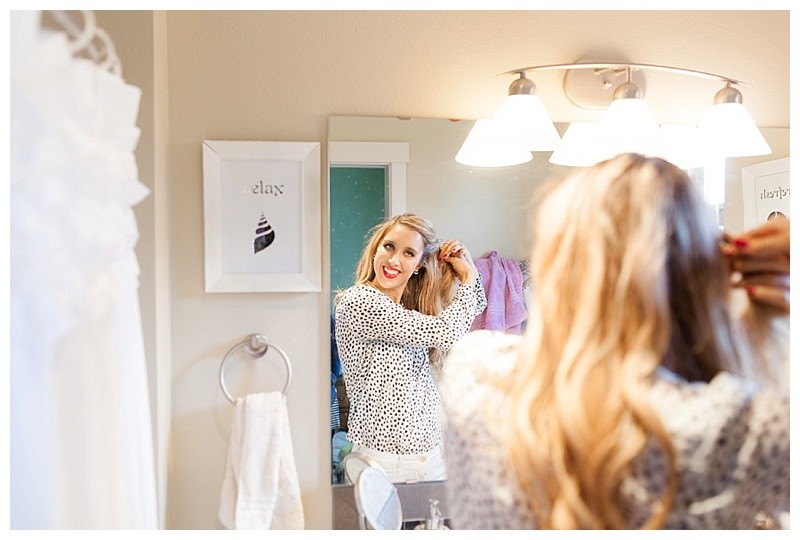
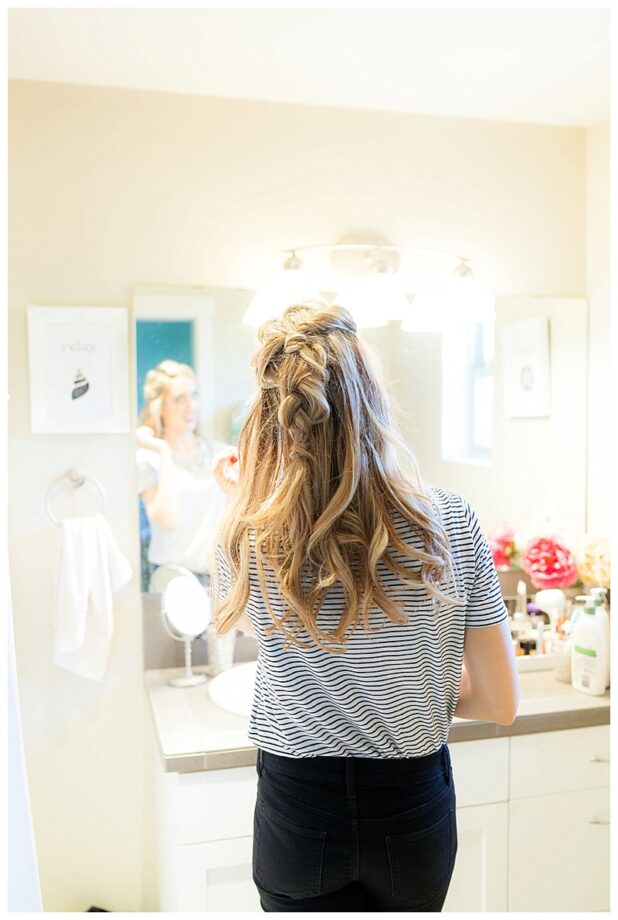
Hello gorgeous Blush Babes! Today I’m going to share with you how to create this mega twist half up hairstyle. It’s very similar to the hairstyle tutorial I did here, but I’m adding an additional step! This hairstyle will look great with both curly or straight hair AND it’s for all hair lengths (can I get a praise hands emoji?!). Let’s get your glam on!
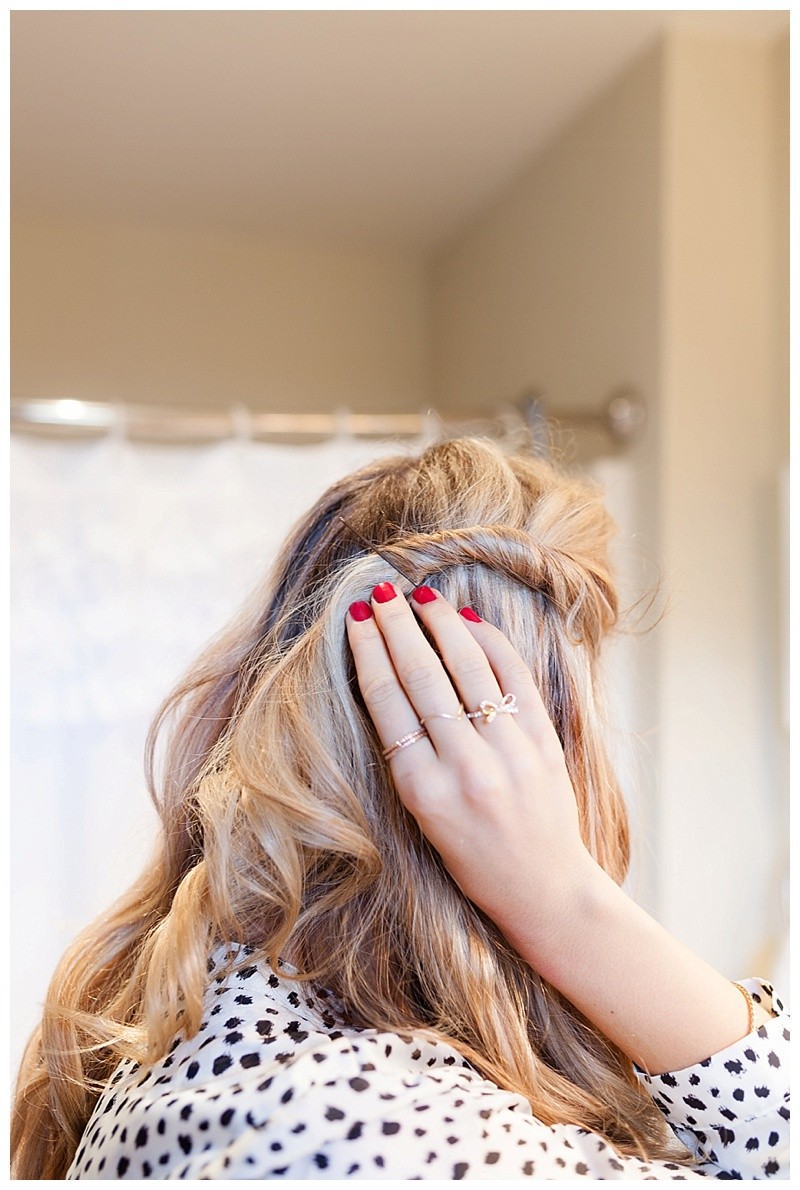
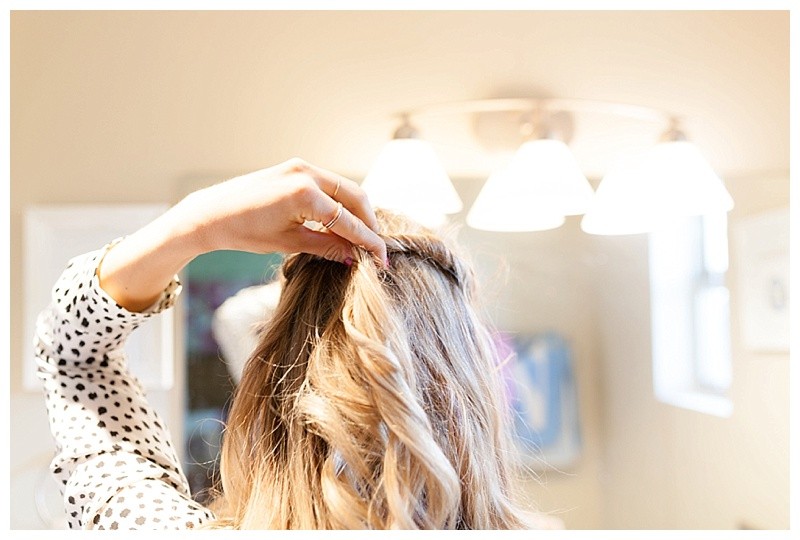
1) Part your hair wherever you usually do and grab a section of hair right at the top of your part.
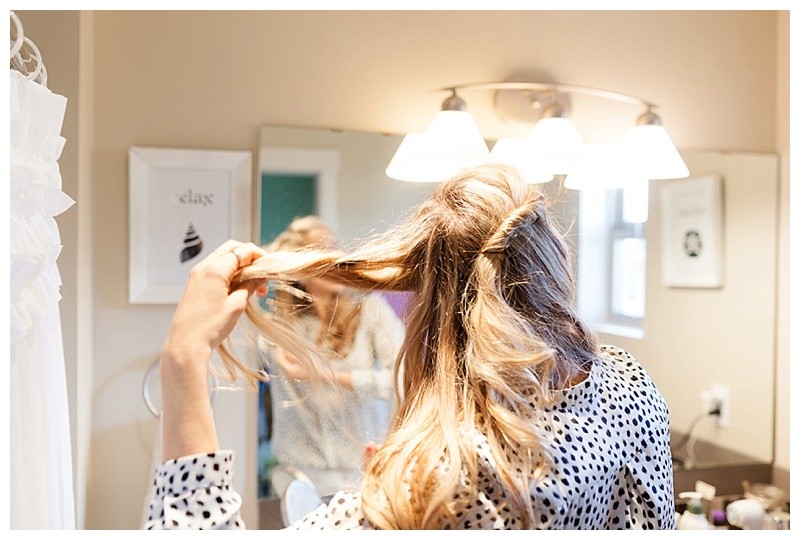
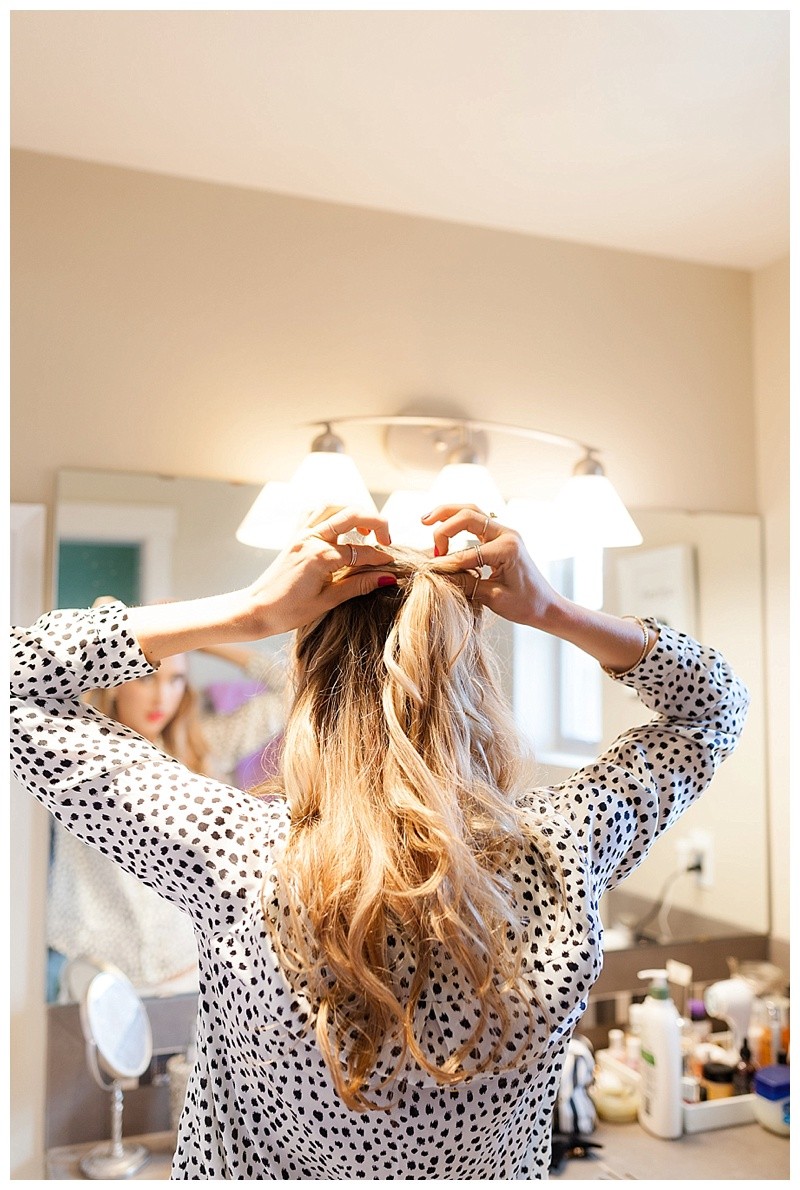
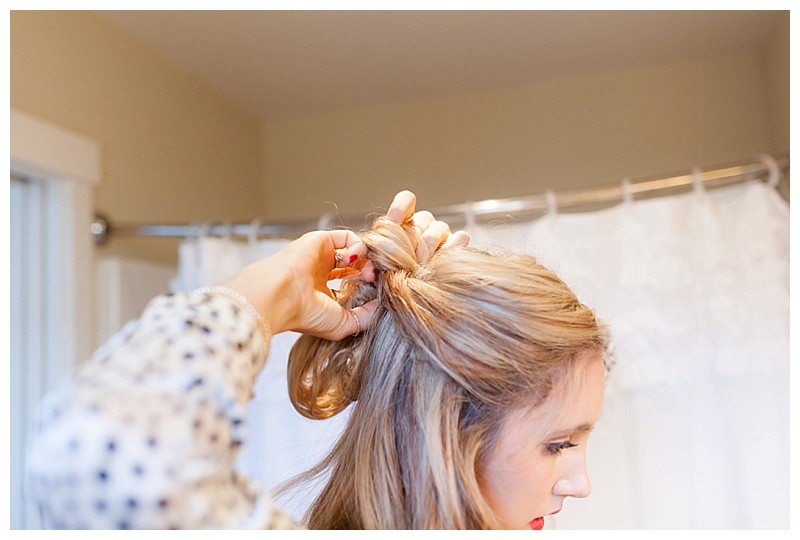
2) Start twisting the section of hair, but don’t pick up or add any additional hair while you are twisting. Just use the section of hair you first started with!
3) Secure the first twist with a bobby pin or clip.
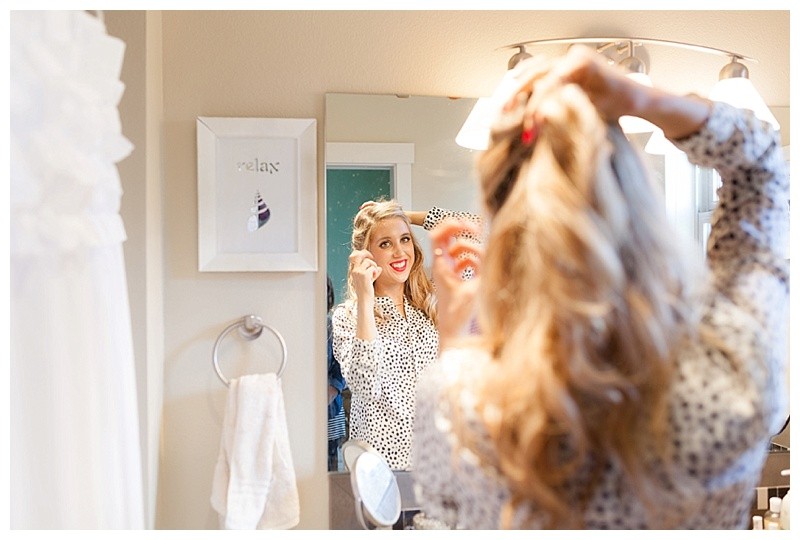
4) Repeat steps #1 and #2 for the other side of your part. Then, once you are done twisting the second side, tie both sections together with an elastic band. Make sure the elastic band is loosely tied (this will become important later!).
5) Once the ends are tied together make a hole right above the elastic band. You will take the tied together hair and pull it through (pull overtop) the hole creating another twist!
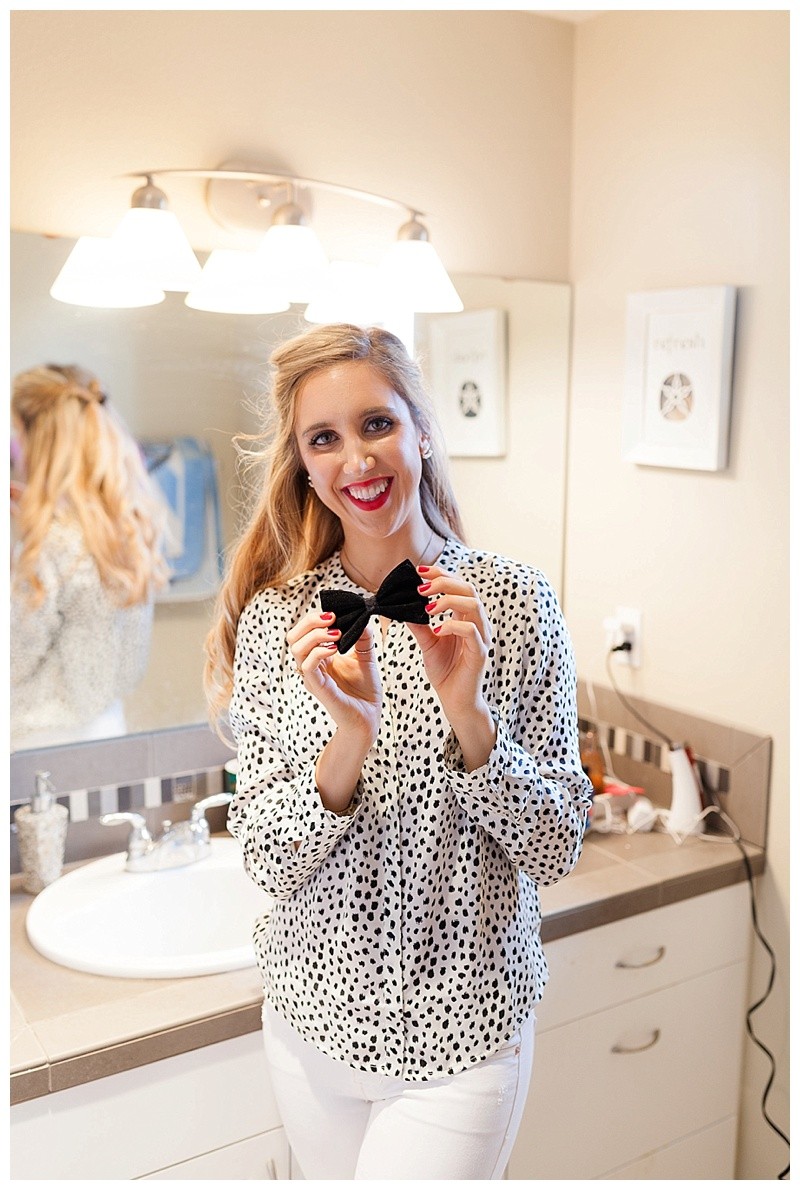
6) This step is optional. Since I am such a girlie girl I opted to add a black velvet bow to finish off the hairstyle!
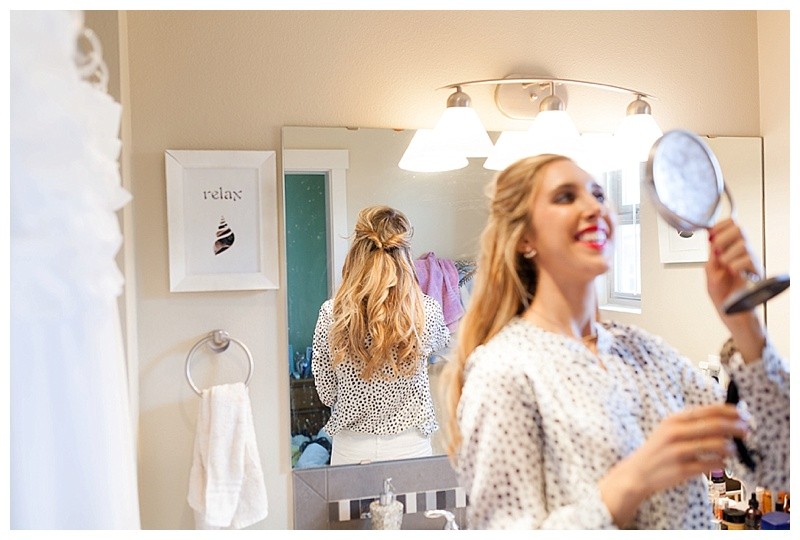
7) You now have a gorgeous hairstyle which is super easy to recreate for those days when you want to try something different to your hair!
I hope you enjoyed this post and thank you so much for stopping by Blush & Camo!
Want to be a Blush Babe?! Follow me along on Instagram @julianna_claire, twitter @blushandcamo, or Facebook to join the community of gorgeous Blush & Camo readers!
xx Julianna






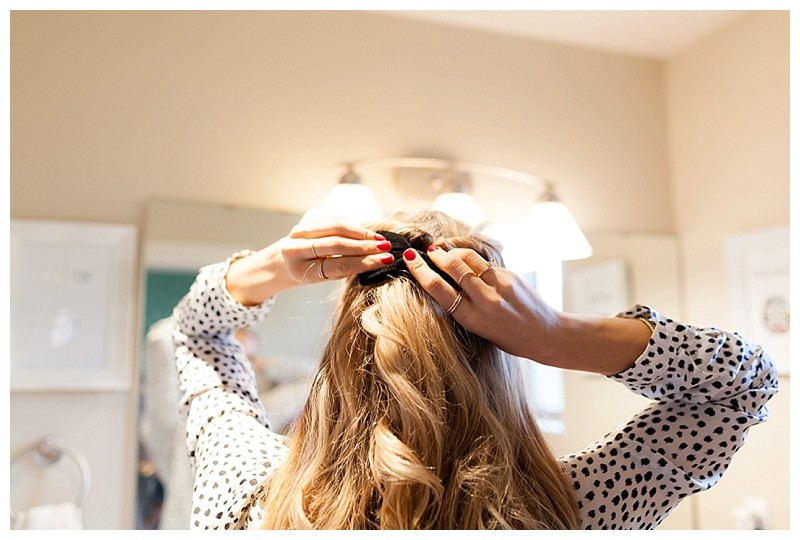
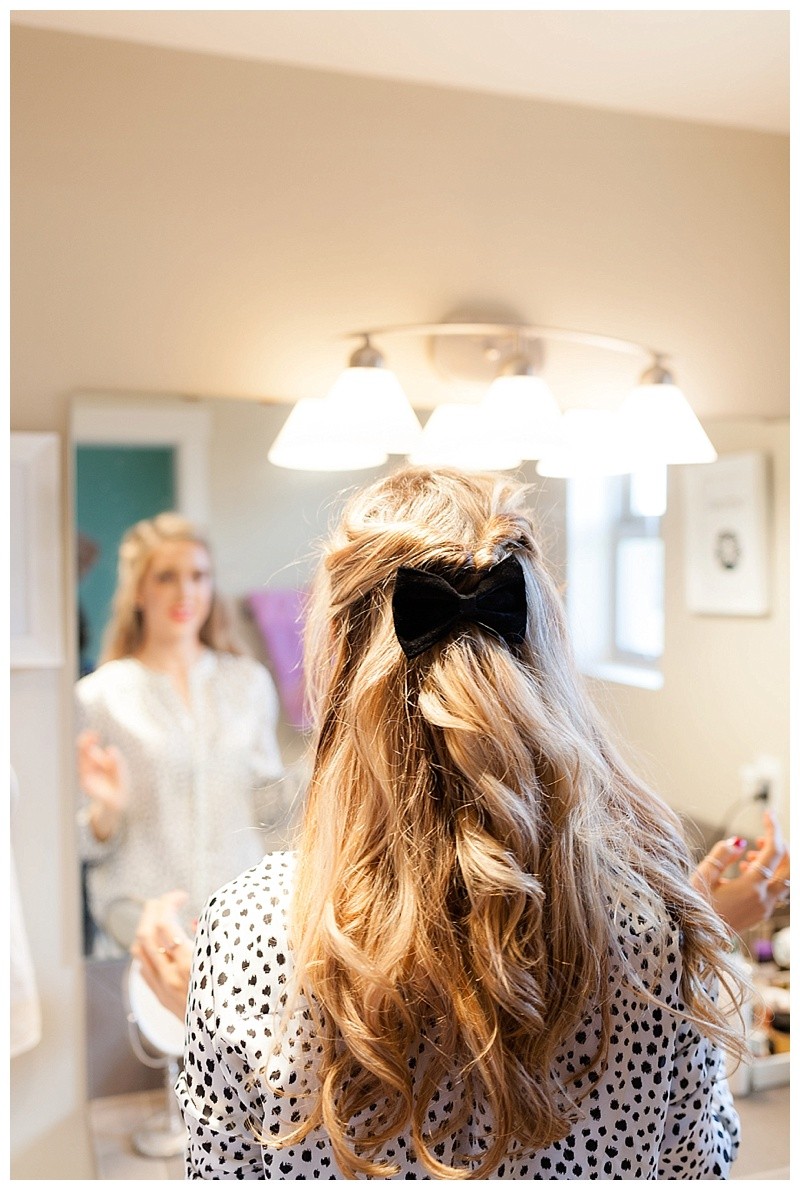
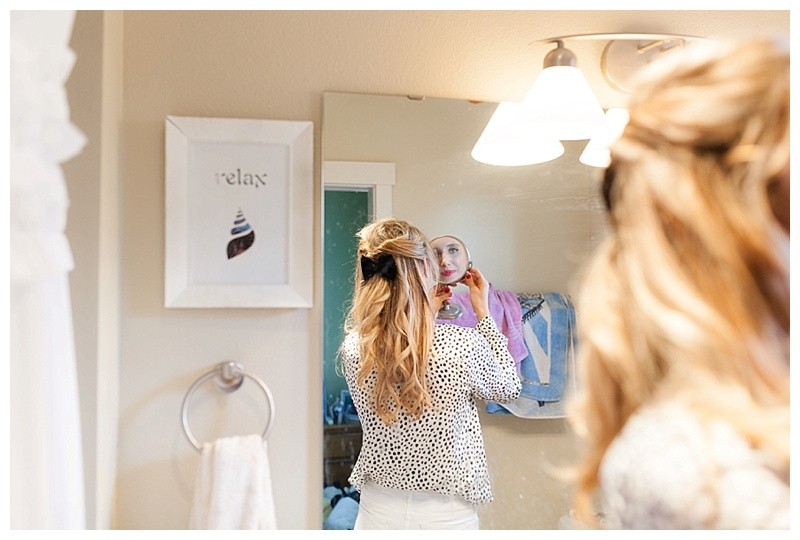
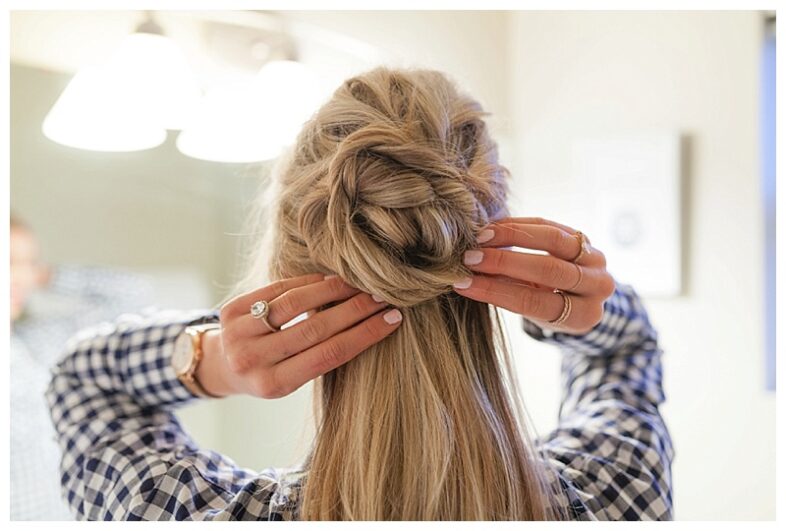
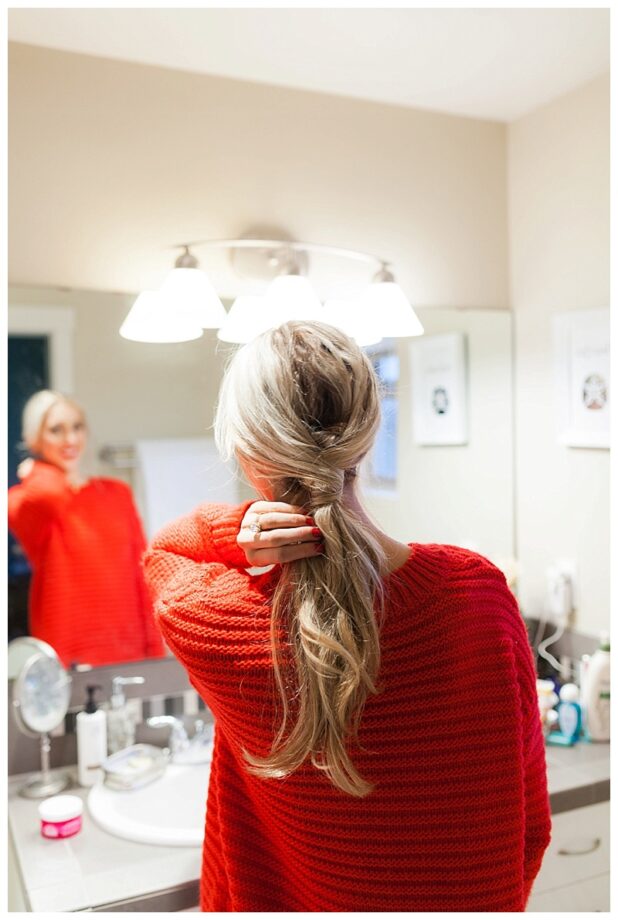

[…] I shared how to create this hairstyle here, or if you don’t want to put your hair all the way up I have some amazing and easy hair tutorials here and here! […]
Amazing post! Cute hairstyle
https://www.adelaacanski.com/
Thank you so much, gorgeous! Your comment is so sweet:)!
xx Julianna
Aaaahhh this is so pretty! Keep it up!
x, Kat of Nested Thoughts
Thank you so much, Katherine! I hope you are having a wonderful day!
xx Julianna
You did a great job! Love your hair! 🙂
https://tickleyourvanity.com
Thank you so much, Ramy! Your kind words mean so much!
xx Julianna
Such a beautiful hairstyle, Julianna! I love how you finished it off with a bow, making it look so feminine and chic.
I hope you’re having a wonderful day so far!
XO,
Jalisa
http://www.thestylecontour.com
Thank you so much Jalisa! Your kind comments means so much and I hope you are enjoying your Wednesday!
xx Julianna
Loved the post! This hair do is just the cutest! Great job, Julianna!
Much love,
Vanessa
http://www.WhatWouldVWear.net
Thank you so much gorgeous friend! I hope you are having a wonderful day:).
xx Julianna