


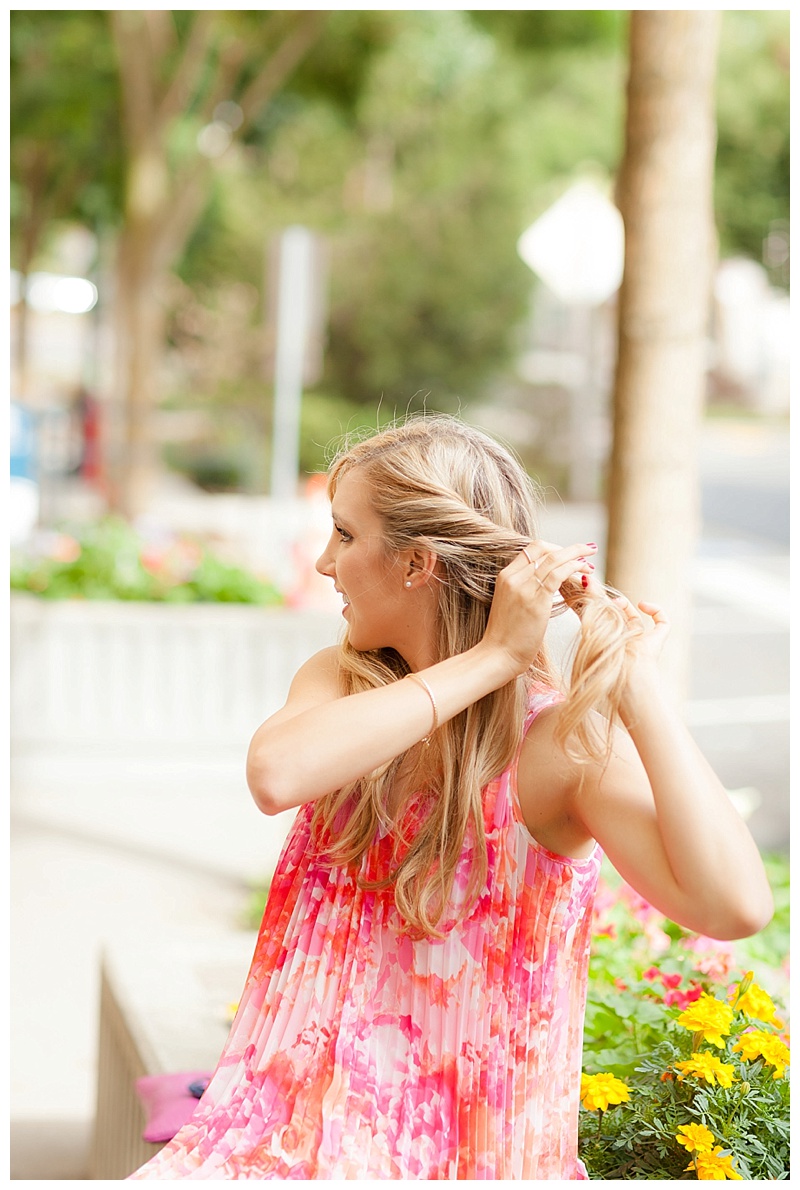
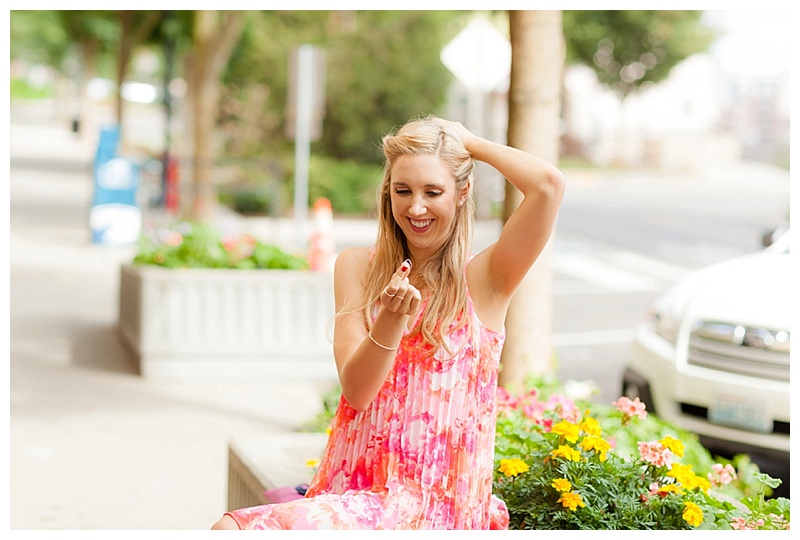
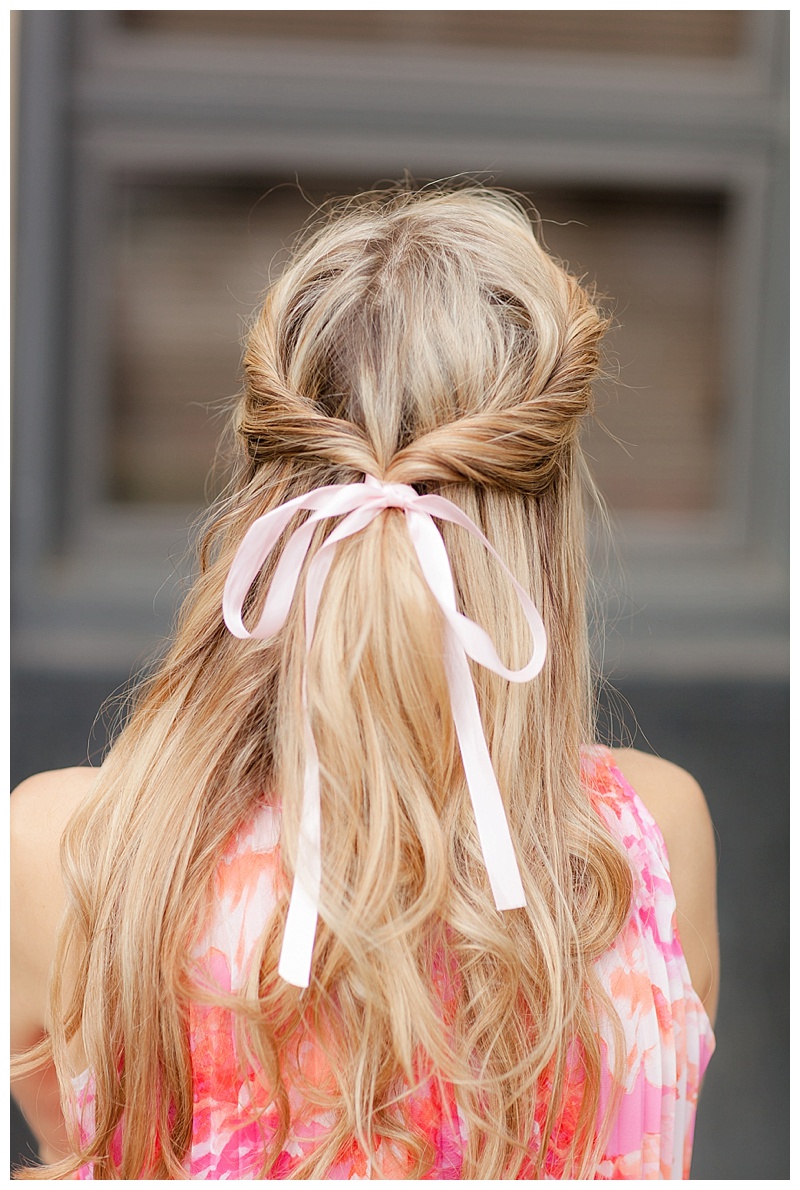
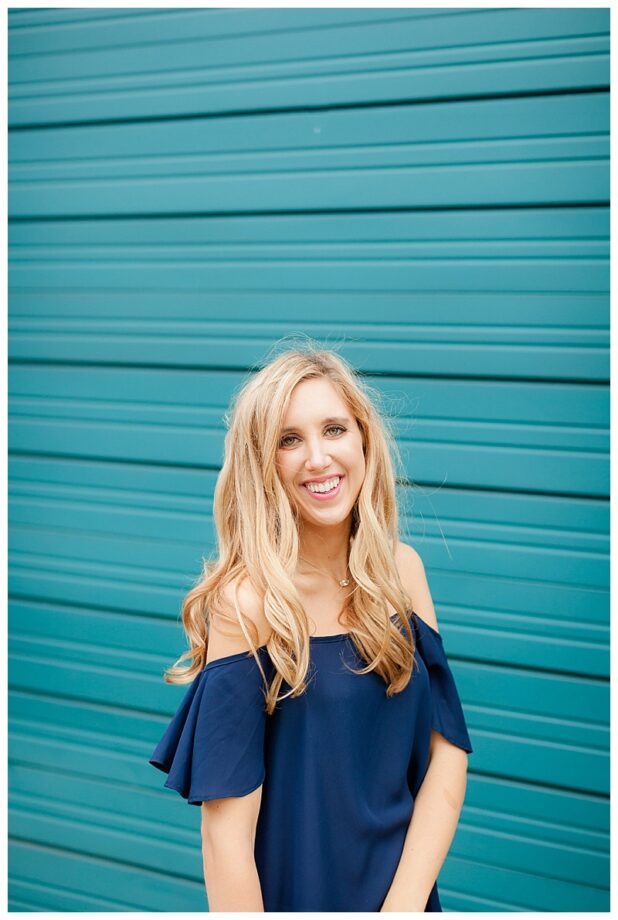
Last week I posted an outfit (click here to see the post!) where my hair was put into a half-up twisted undo. I asked on Instagram if you all wanted me to do a hair tutorial about this look and you all responded with a resounding “yes”! A gorgeous blogger babe made the comment that my hair looked like princess hair, and I thought that was the cutest thing ever, so that is what I am calling today’s post! Here is how you can get princess hair too:
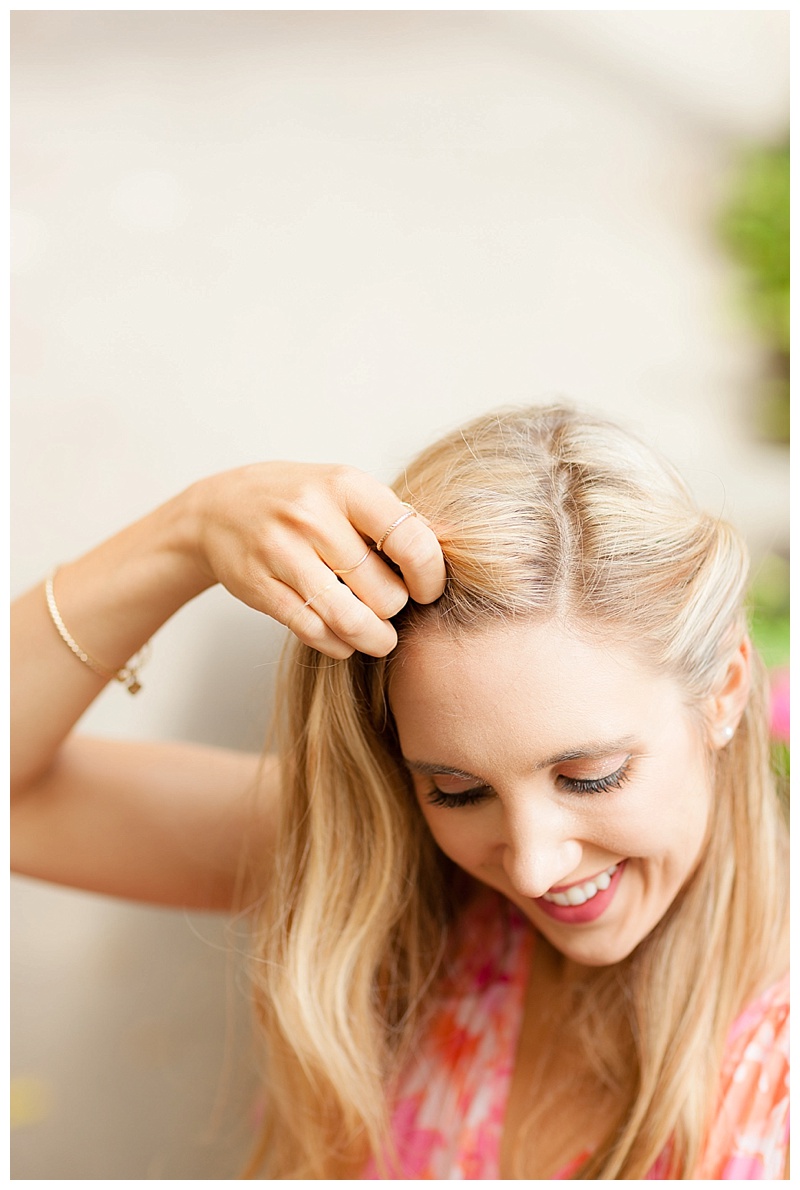
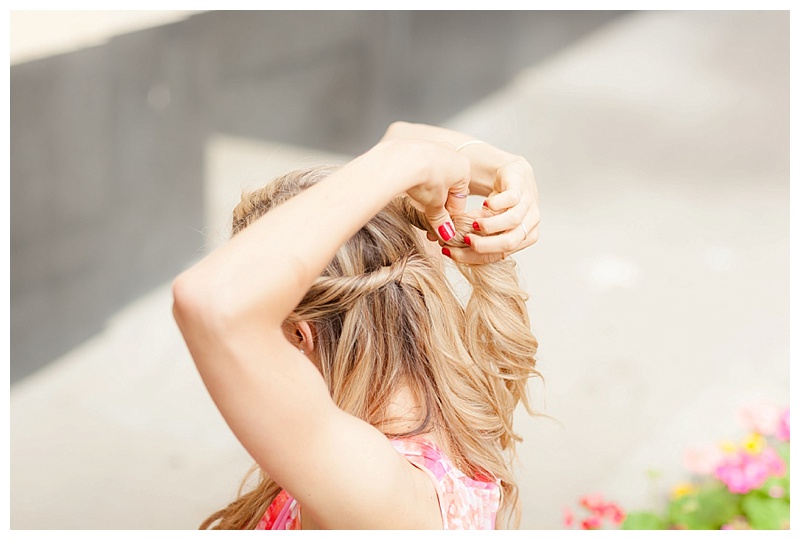
First, part your hair however you are comfortable wearing it! I prefer to wear my hair parted on the side.
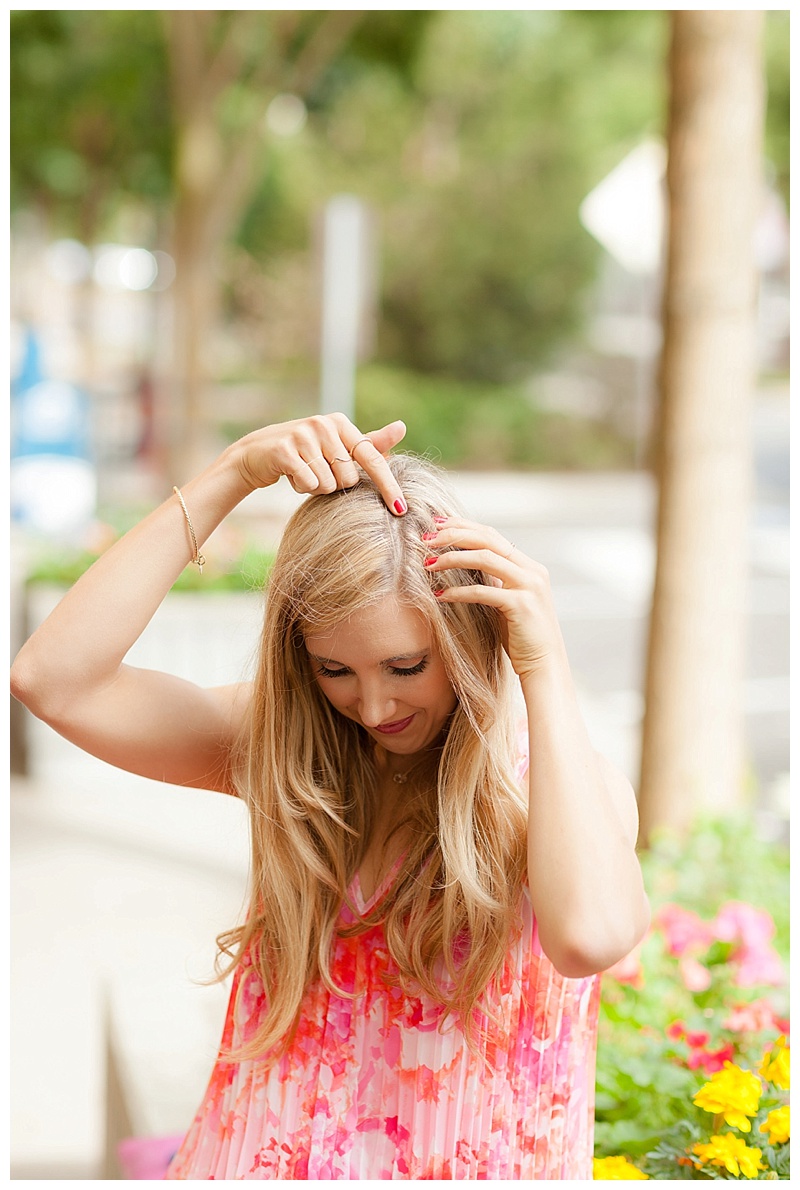
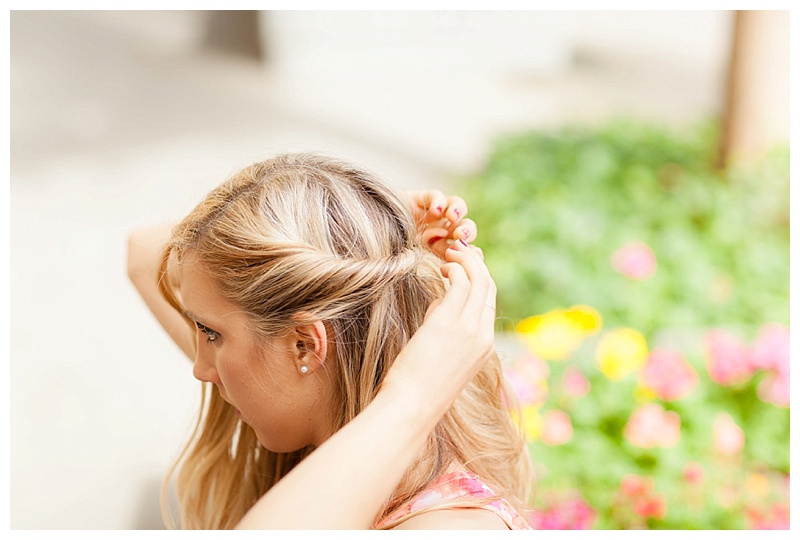
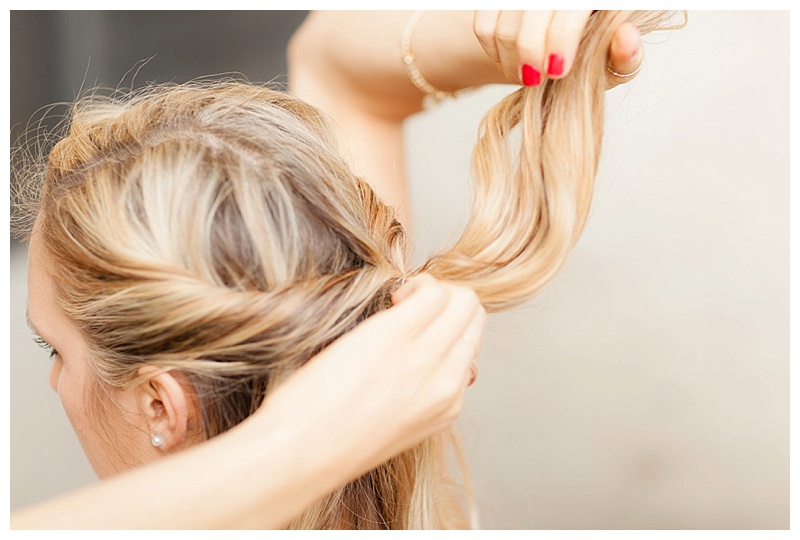
Then, based on your part, you will pick the section of hair which has the least amount of bulk to it. If you rock a middle part it doesn’t matter what side you start with!
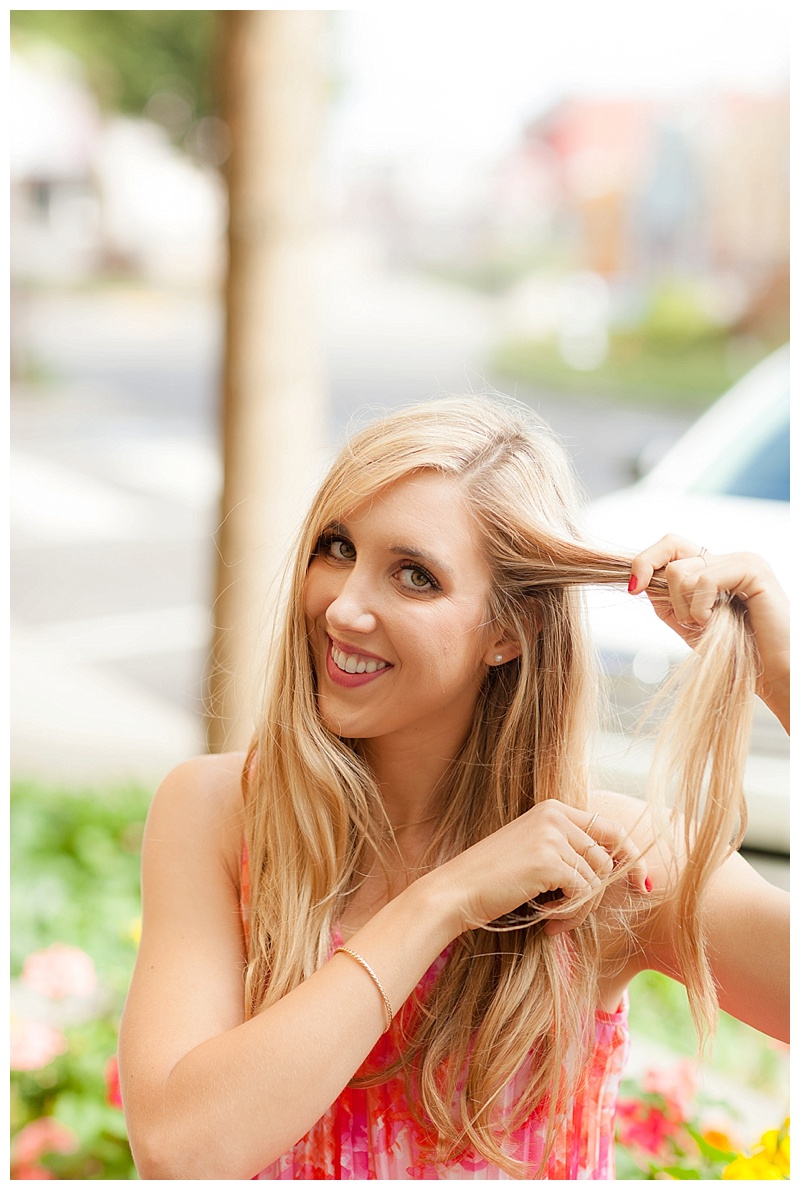
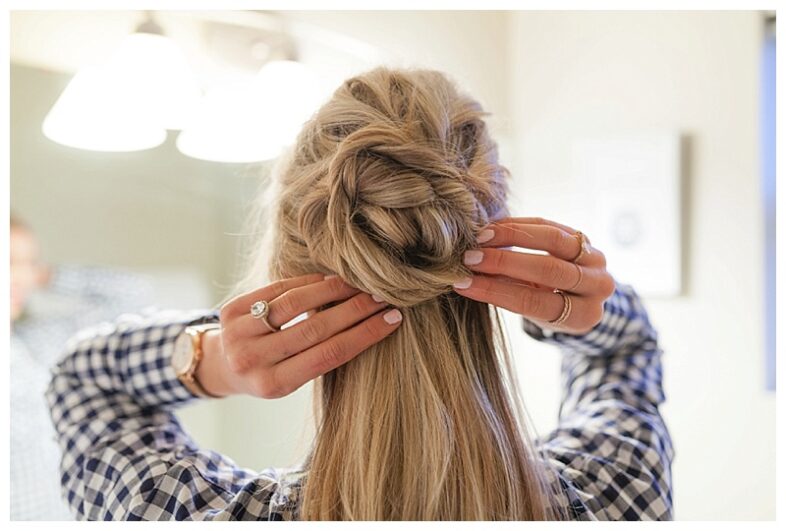
Then, you want to start twisting. As you go down your hairline you will pull in pieces to add to your twist.
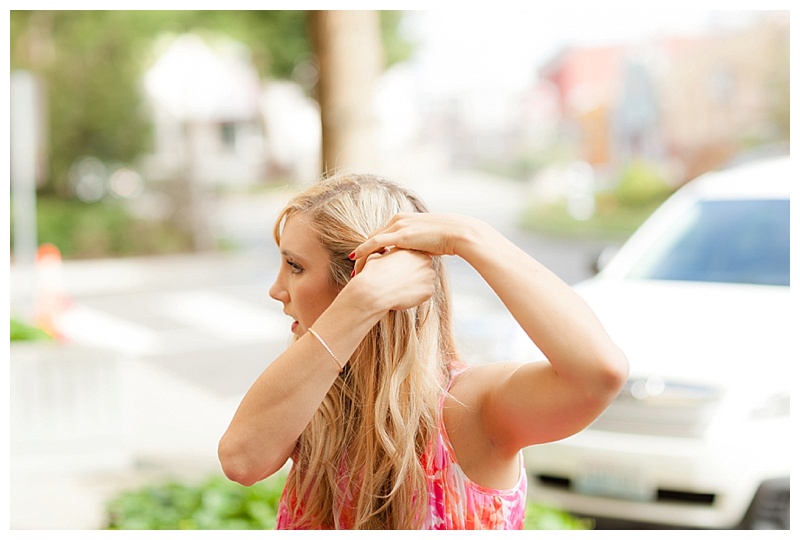
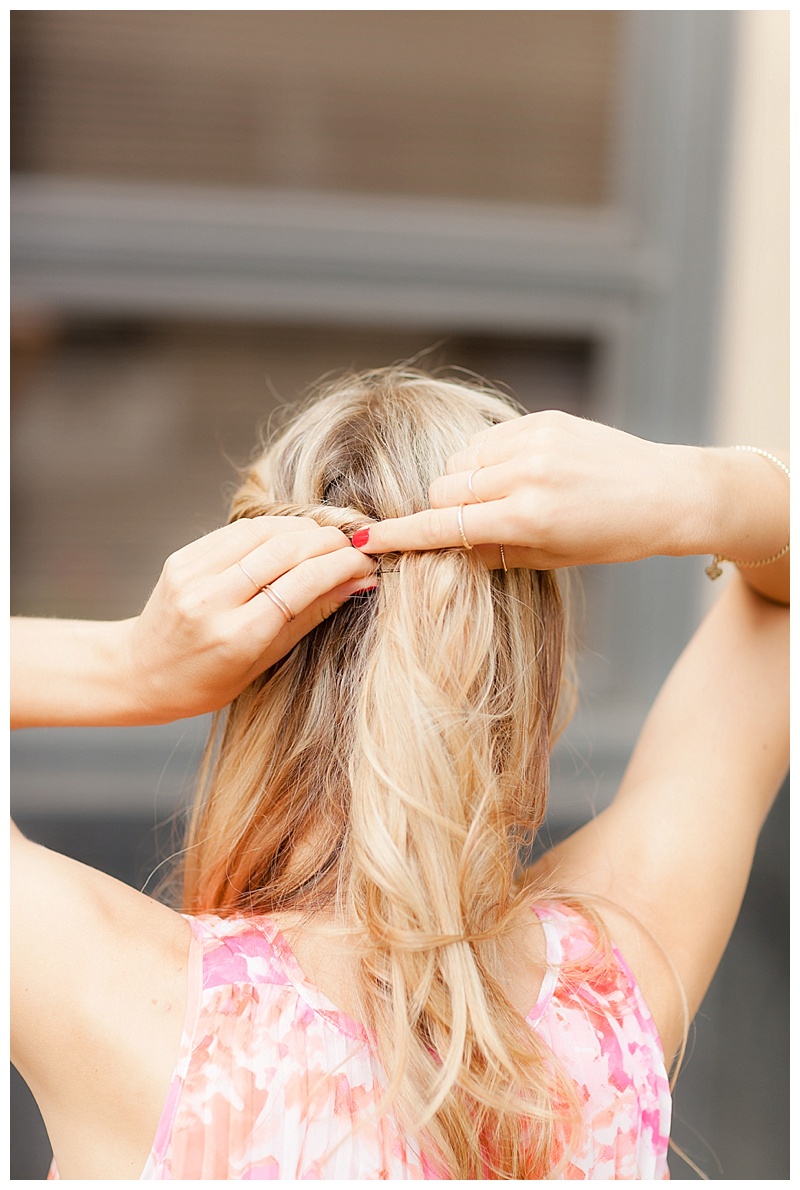
Keep twisting your hair until you reach the back of your head (the middle part of the back of your head).
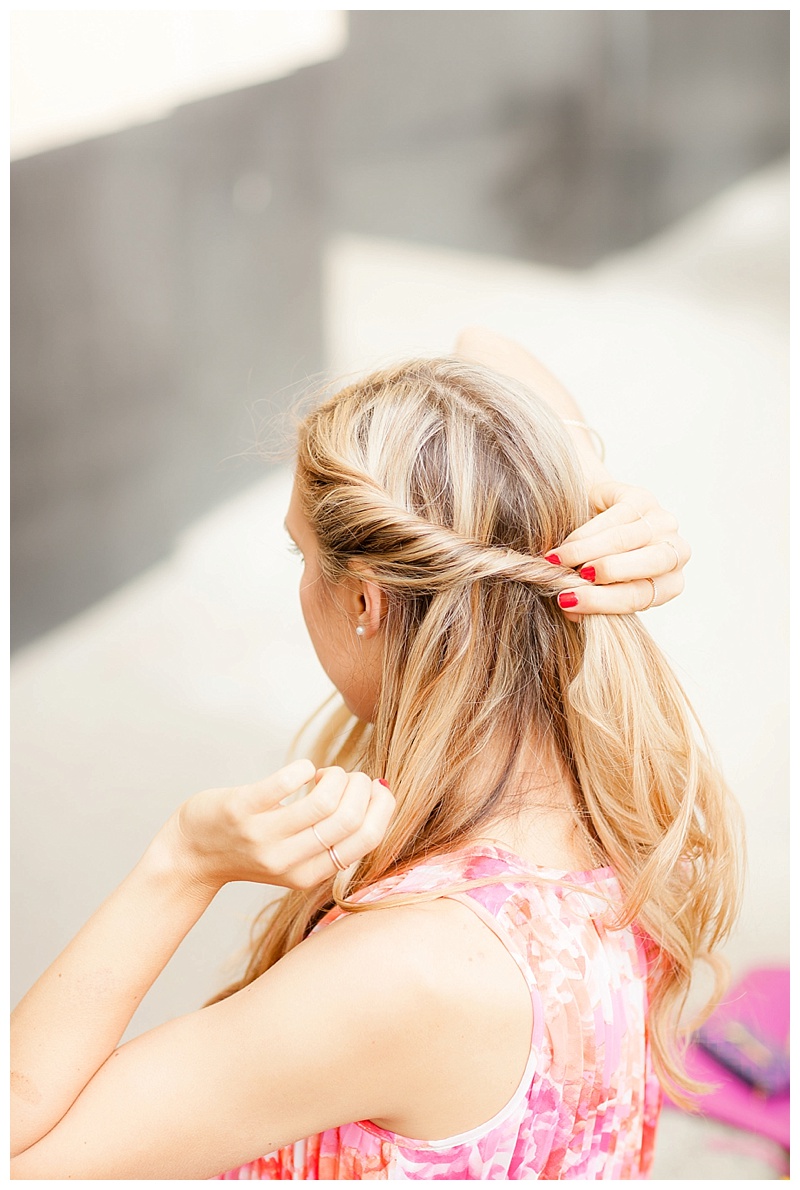
Use a bobby pin or a clip to keep this section of hair in place while you twist the other side.

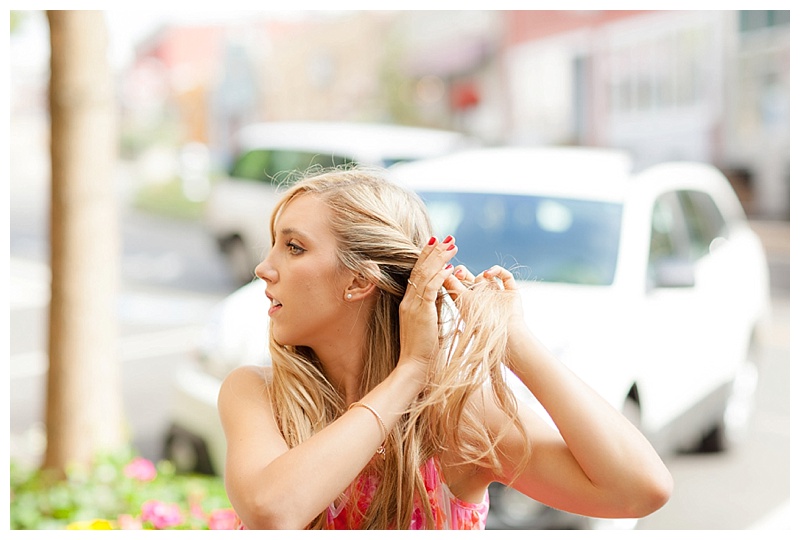
Then you will repeat the process all over again on the other side of your part.

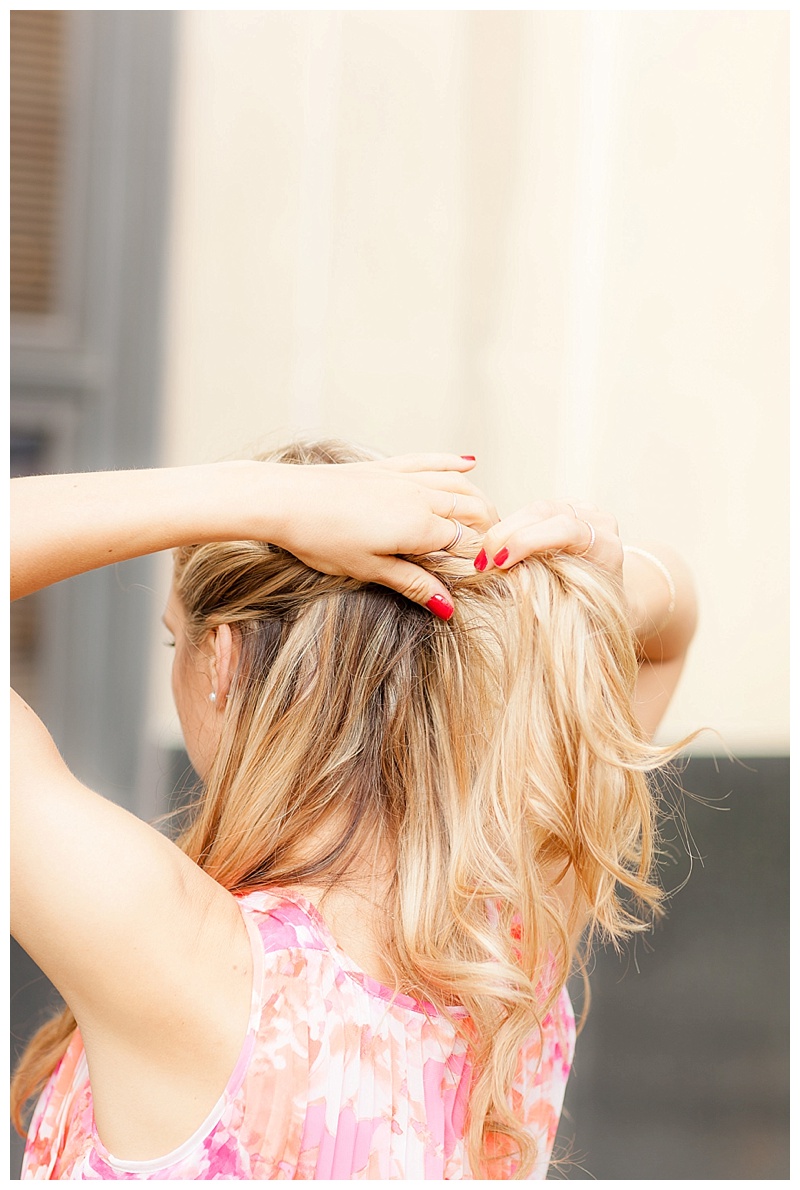
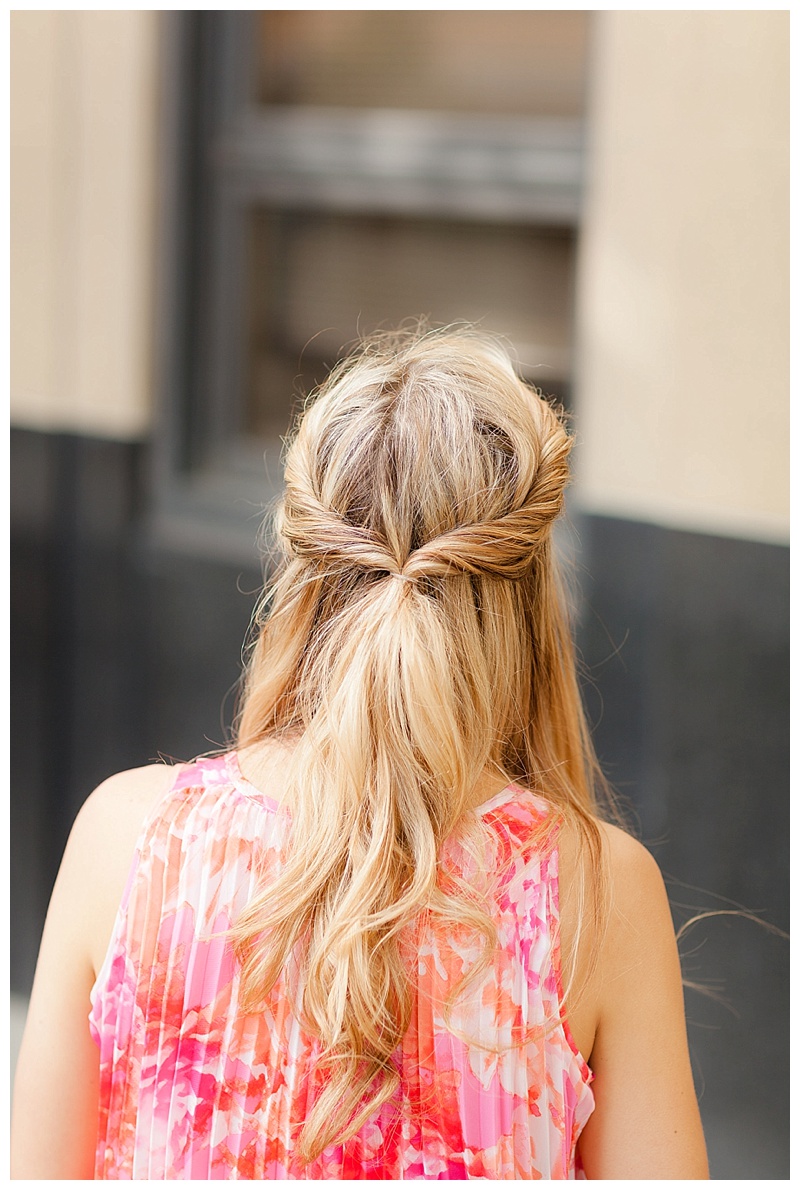
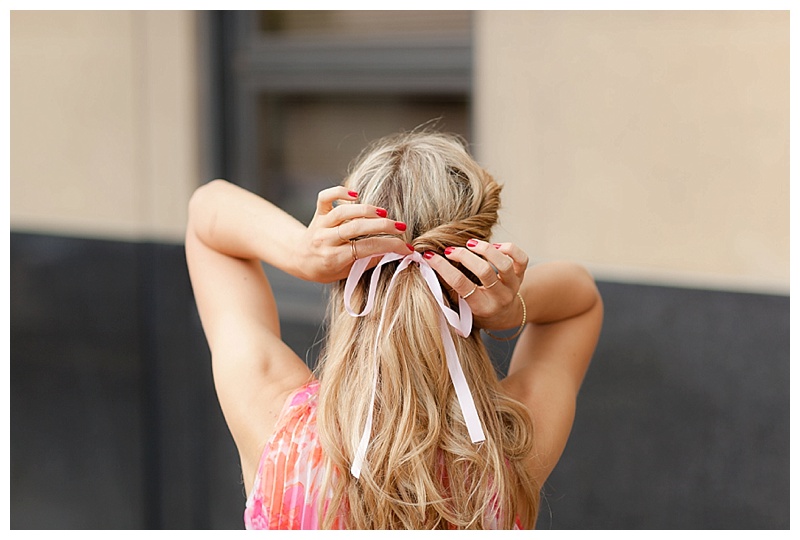
Once you finish twisting the other side and reach the back of your head pick up both pieces of hair and remove the bobby pin.
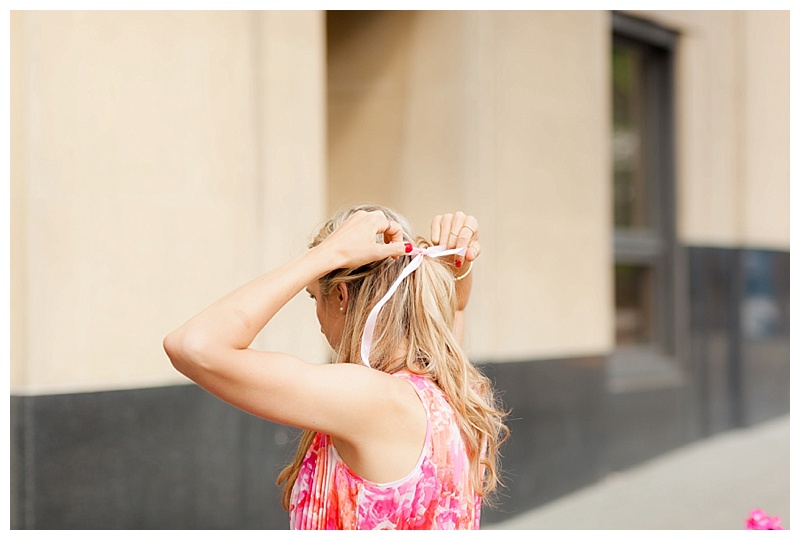
Once you take the bobby pin out take the two sections of hair and pull them together and secure them with an elastic band. I like using clear bands with this hairstyle to really showcase off the twists!
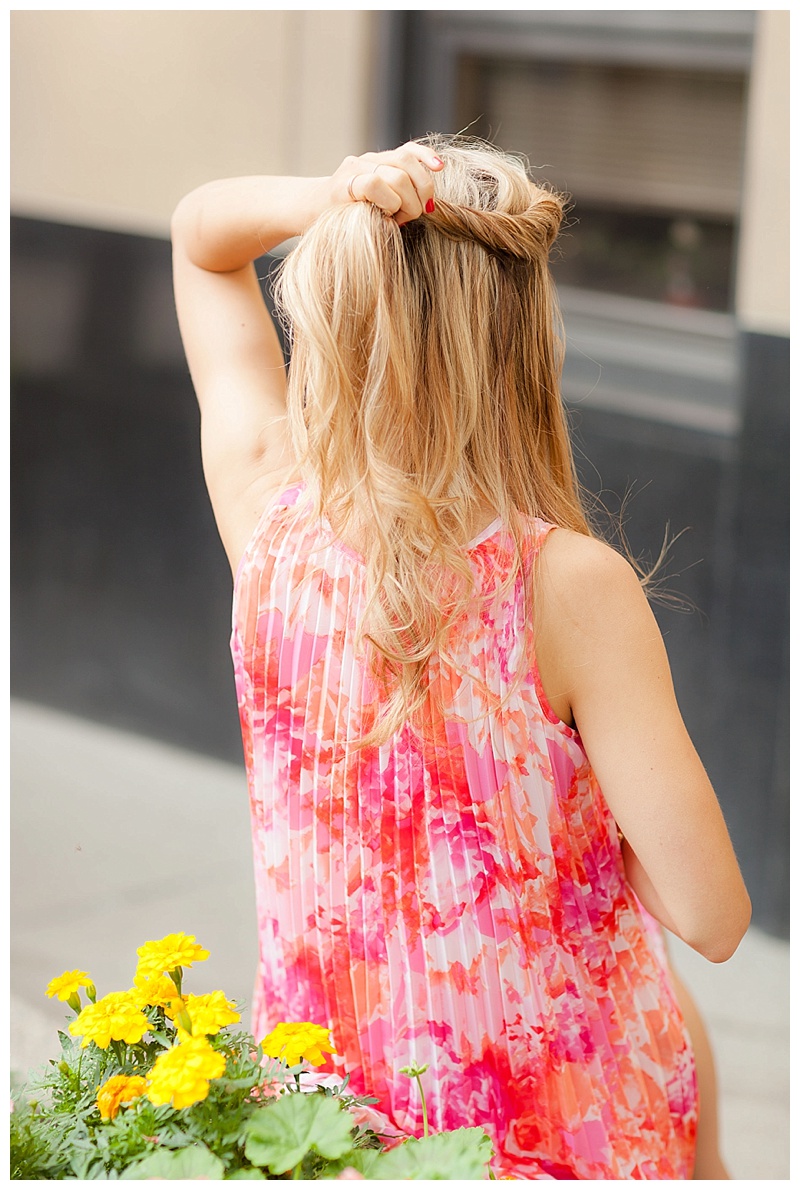
After these simple steps you are ready to wear your princess hair all day long:)!
Thank you SO much for stopping by Blush & Camo today!
xx Julianna

[…] Try out a new hairstyle through a YouTube tutorial (or some of my hair tutorials here and […]
[…] see other hairstyle tutorials click on these links here, here, and […]
[…] create this mega twist half up hairstyle. It’s very similar to the hairstyle tutorial I did here, but I’m adding an additional step! This hairstyle will look great with both curly or […]
This is the prettiest hairstyle! I absolutely love it… I just wish my hair were long enough to recreate it! Also your dress is amazing!
Lauren
https://oliverstwistblog.com
Thank you so much gorgeous! Your kind words mean so much!
xx Julianna
Best tutorial ever! Love your hair, and you definitely inspired me to try it out!!
Sending you much love, darling & I hope you have a great day!!
XOXO, Vanessa
http://www.WhatWouldVWear.net
Thank you so much love! That means so much to me. I can’t wait to see you rock this hairstyle. You’re hair is a gorgeous blonde so the twists will look SO good!
xx Julianna
Your hair is awesome!
Danika Maia
http://www.danikamaia.com
Thank you so much Danika! I hope you’re having a wonderful day:)
xx Julianna