


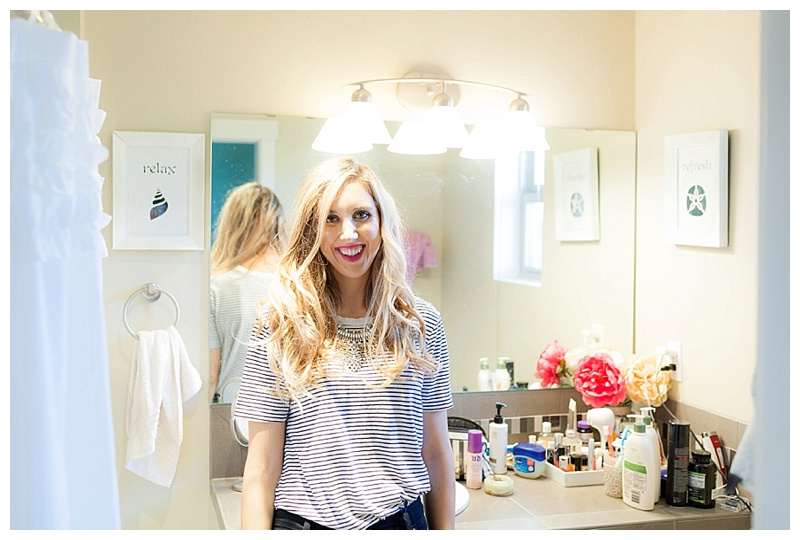
Today I’m excited to share with you how to create this gorgeous half up twisted hairstyle with a braid! I love creating fun braids and hairstyles on my days off of work, because sometimes it’s worth it to take that extra time to create a fun updo! To see my first hairstyle tutorial click the link here!
Let’s get started!
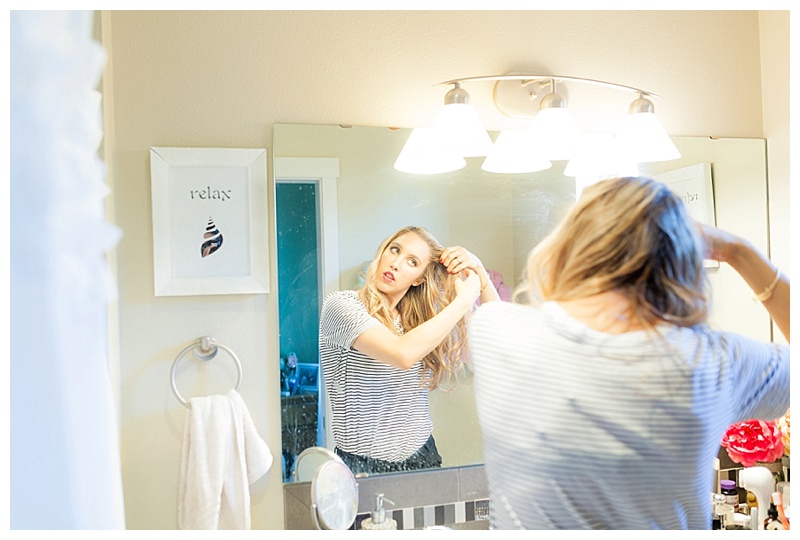
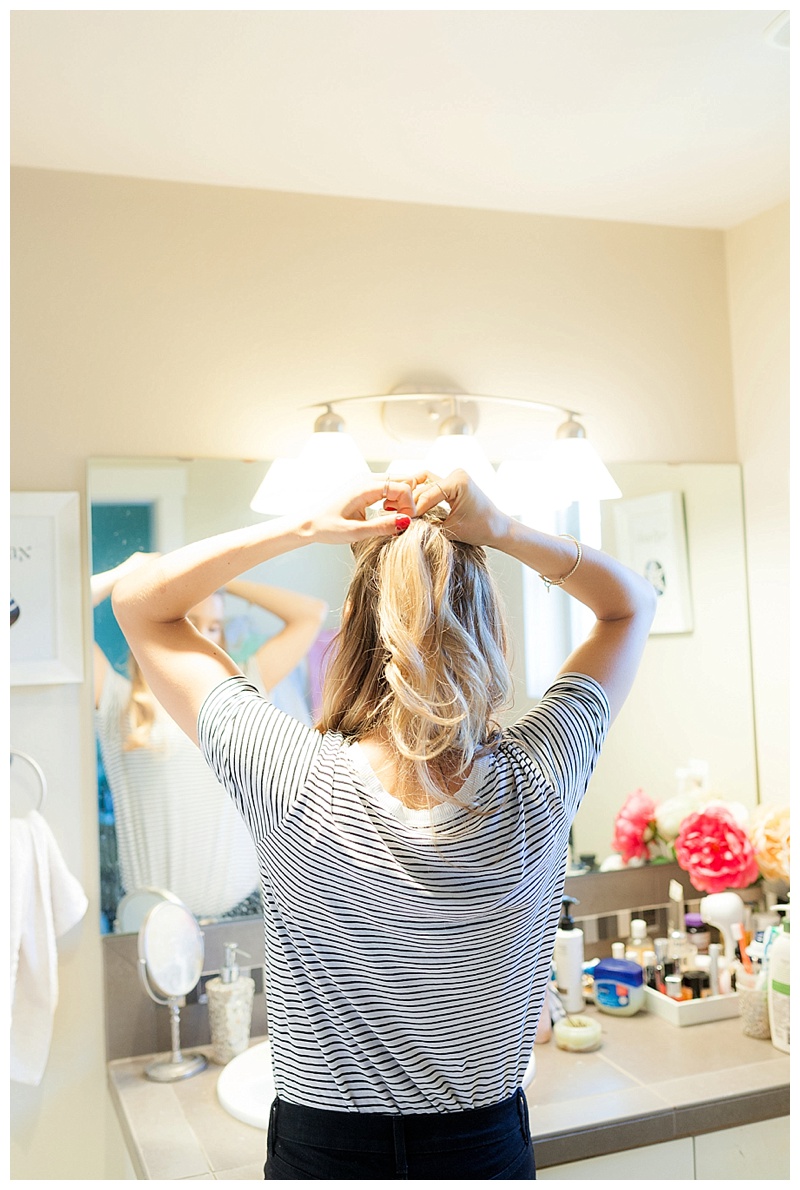
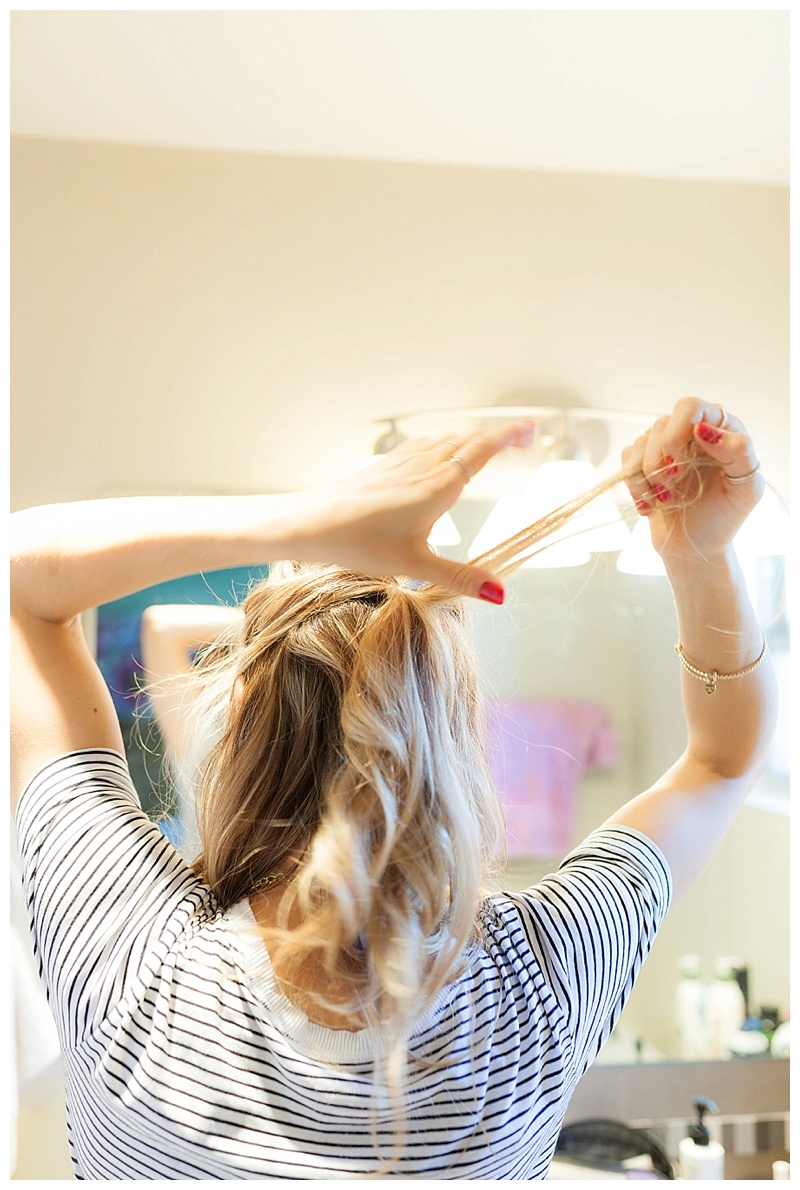
1. First, you want to part your hair however your like it. Front part, side part- it doesn’t matter. Just choose your favorite!
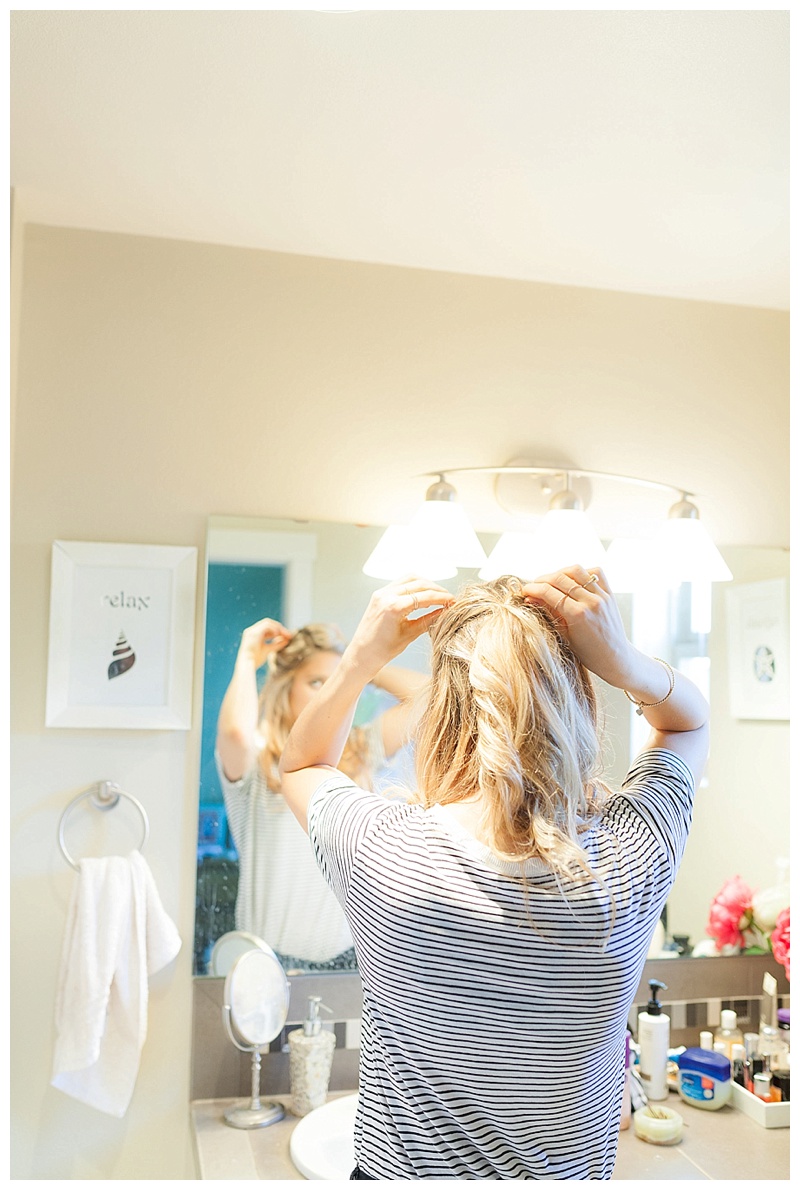
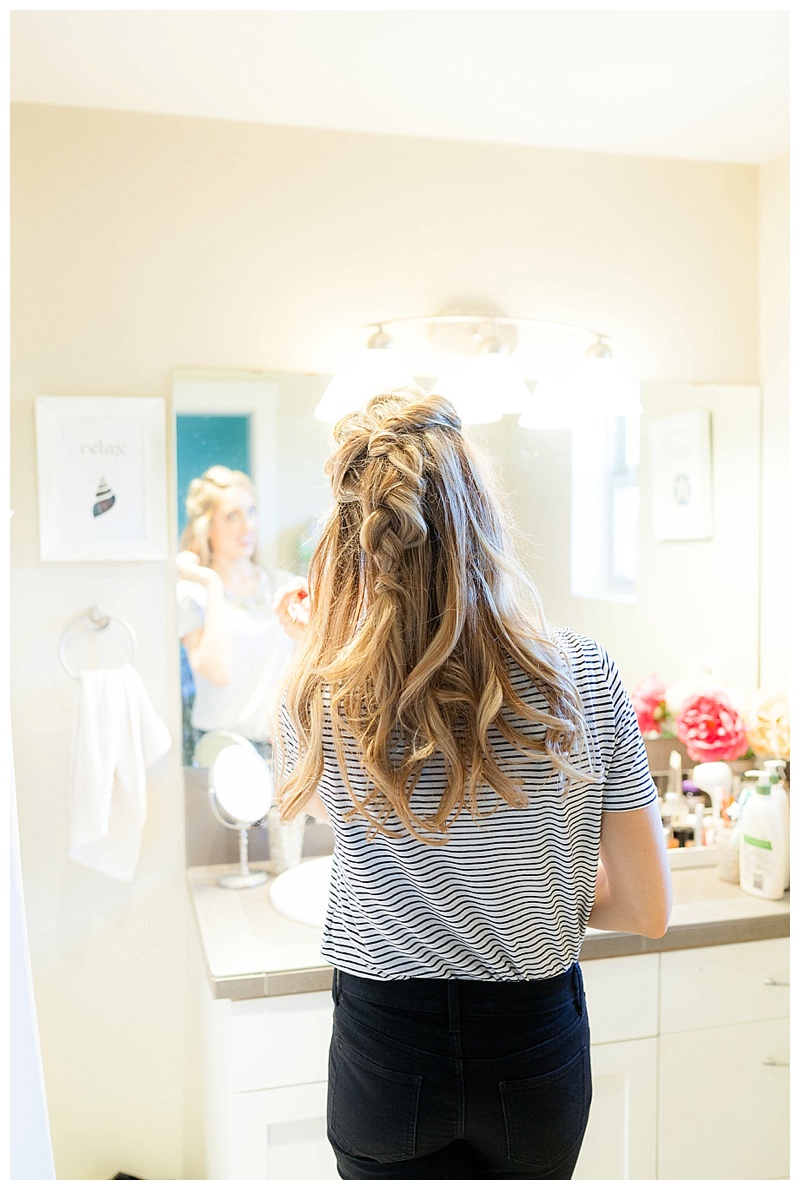
2. Then, you choose one side to pick up a section of hair, and twist it. As you twist down the side of your hairline you will continue to pick up hair and add that to your twist. You will continue twisting until you reach the middle of your hairline on the side of your head.
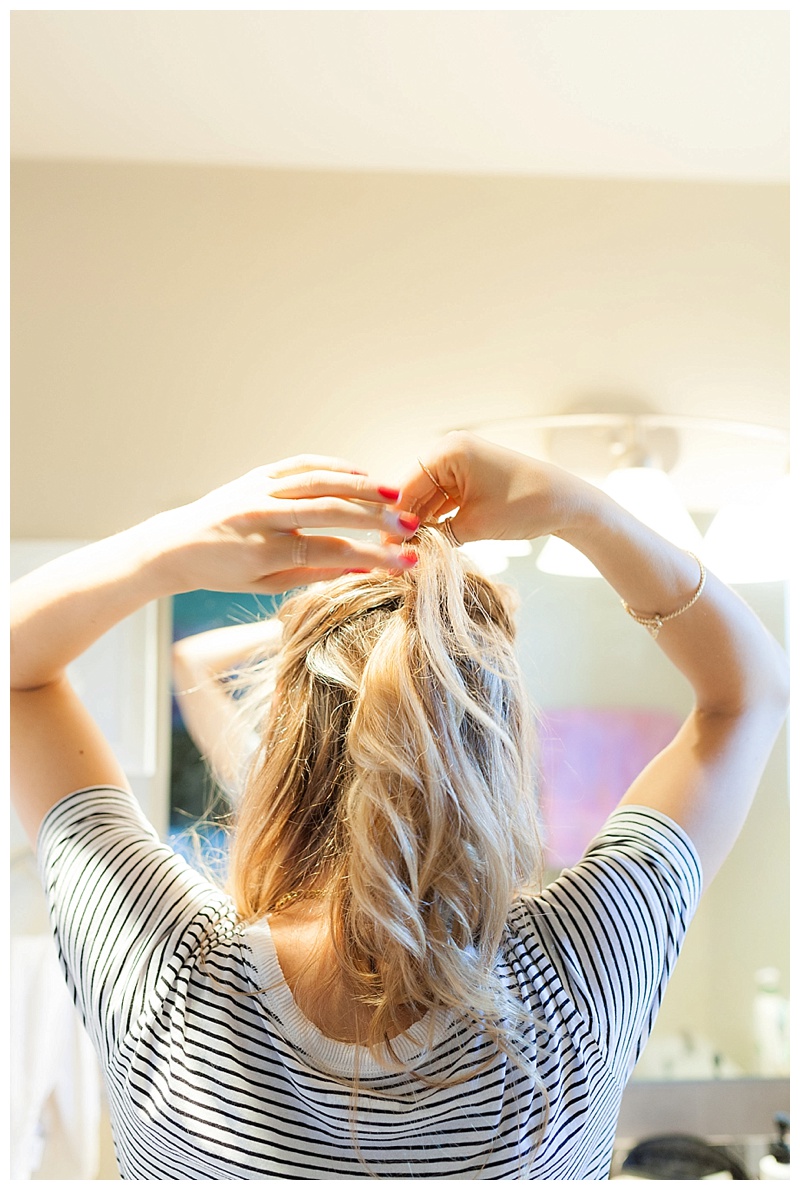
3. You will then twist the remainder of the hair until you reach the back of your head.
4. Use a bobby pin or clip to secure the hair in place.
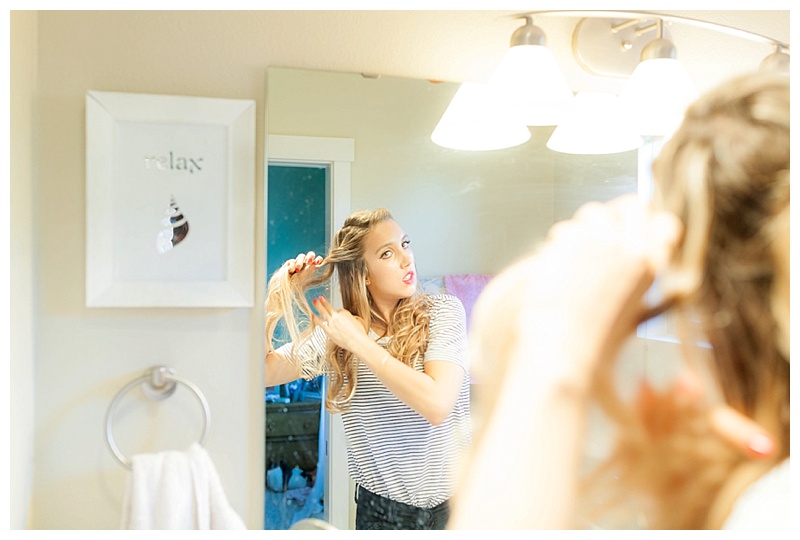
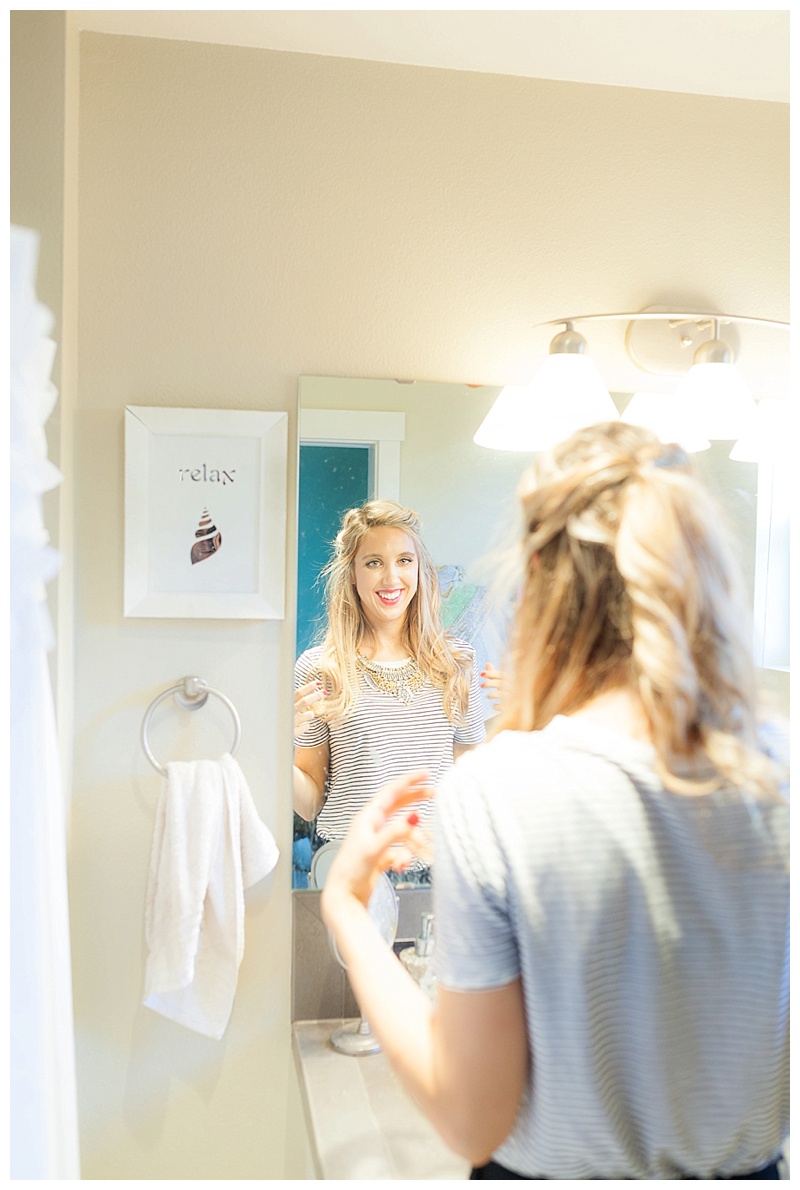
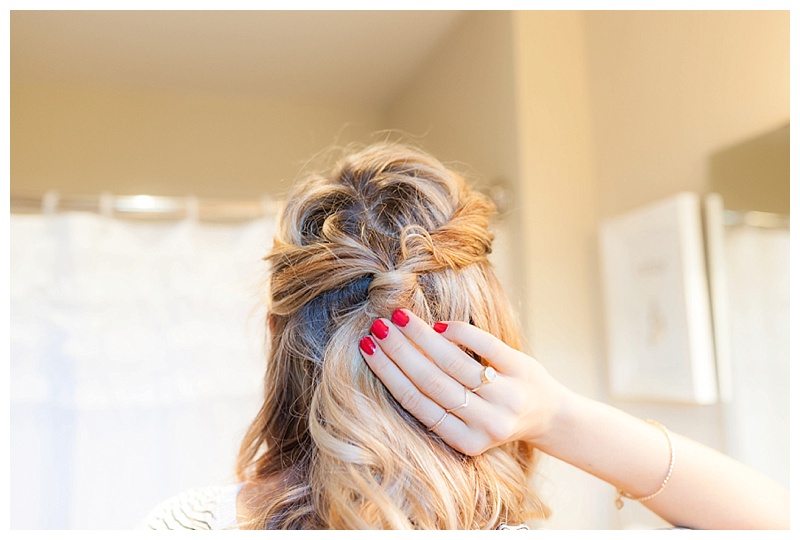
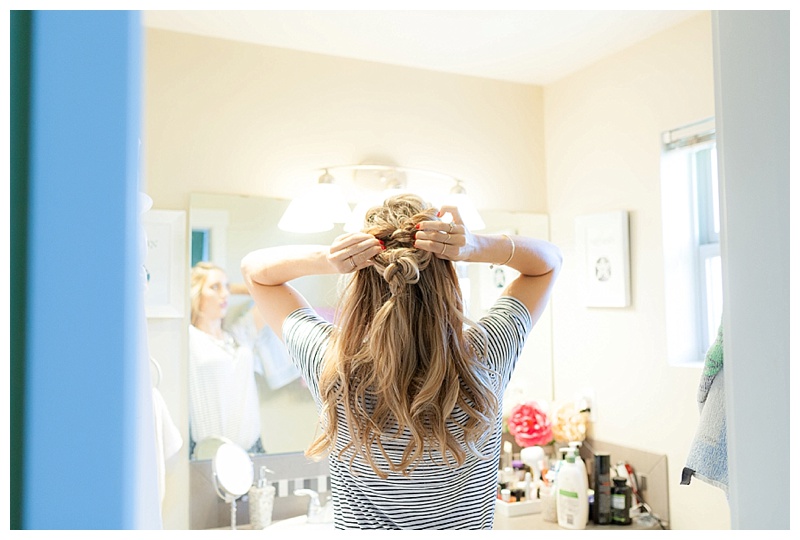
5. Repeat steps 1-3 for the other side of your hair. (My face looks really funny in the pic below. I forgot Courtney was taking pictures!)
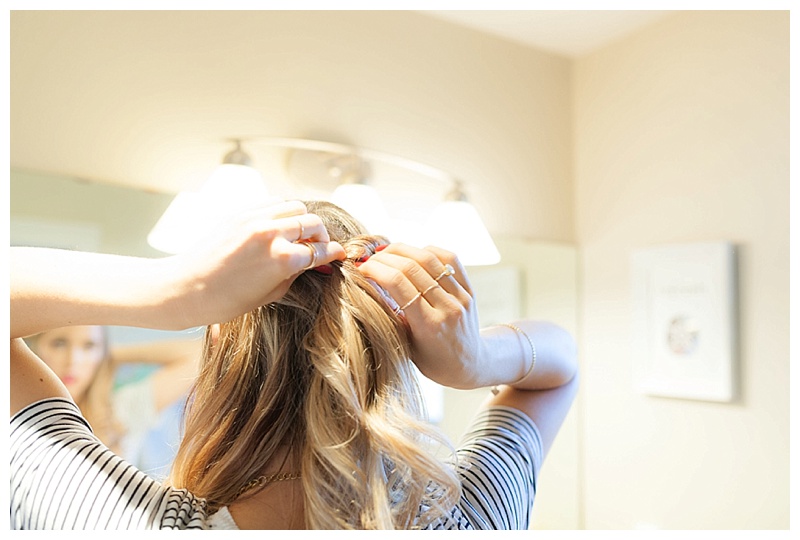
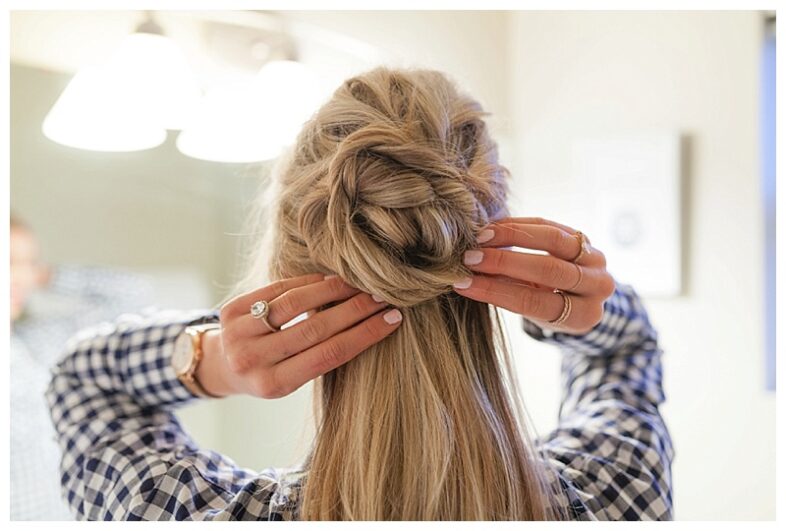
6. When you are done twisting the other side, grab the first section of hair you twisted, and remove the bobby pin.
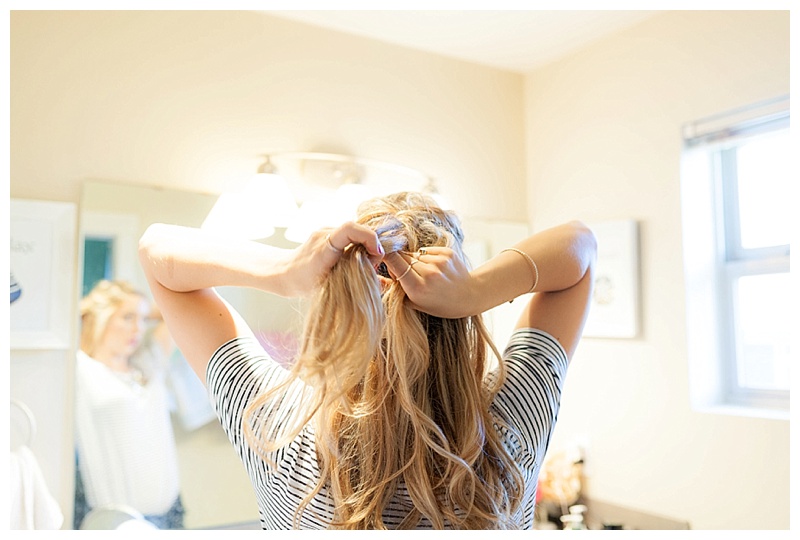
7. Tie both twists together with an elastic band.
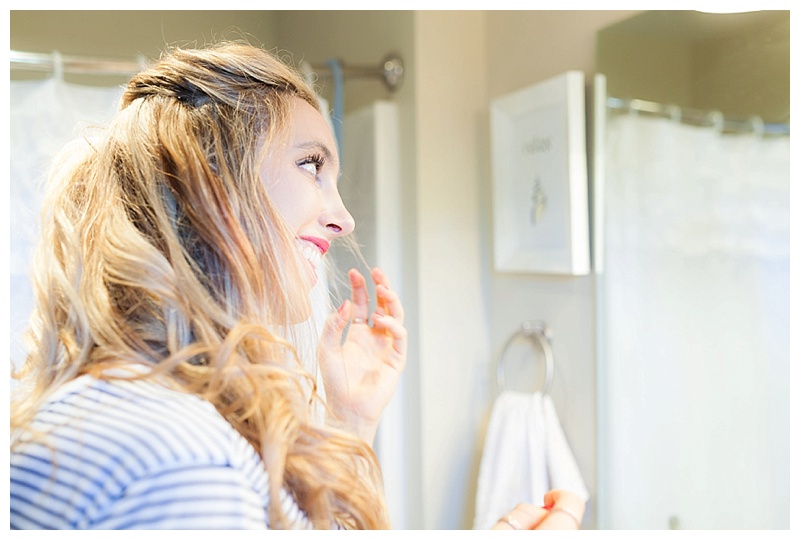
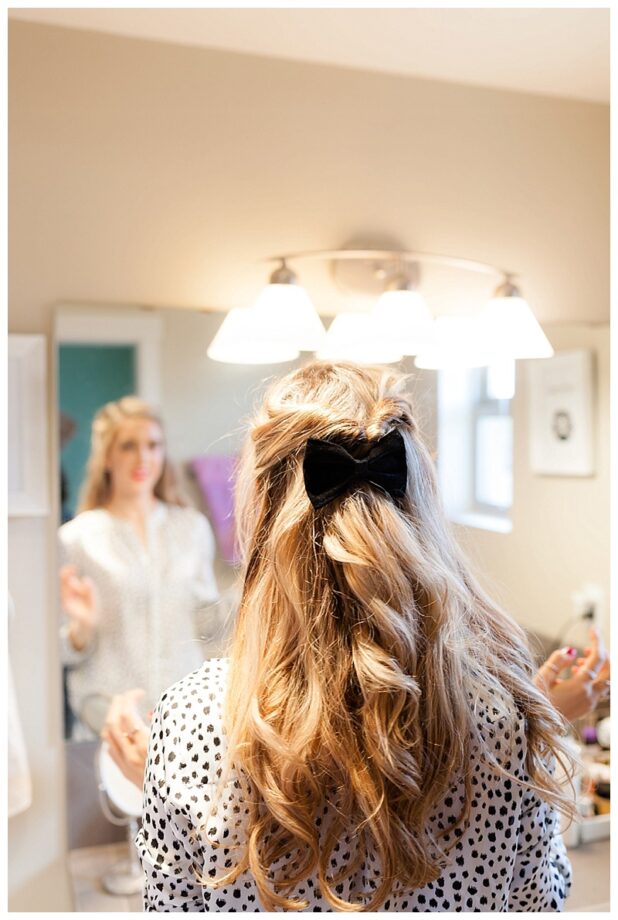
8. This step is optional: Take a tiny section of hair and wrap the hair around the elastic (so you are hiding the elastic band) and secure the hair with a bobby pin. You can also pull out some face framing pieces as well!
9. Then, take the hair you just tied together and braid into a dutch braid. A dutch braid means instead of braiding hair on top, you are braiding hair by pulling the sections underneath to create the braid.
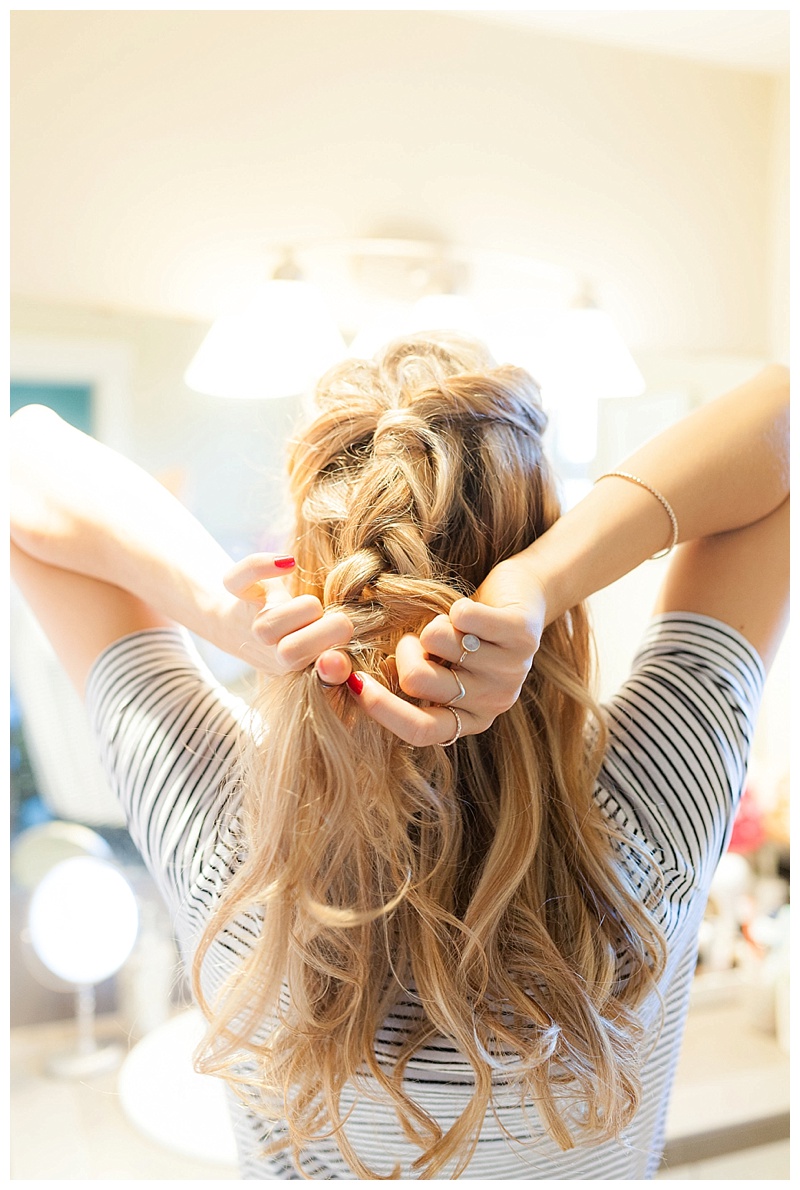
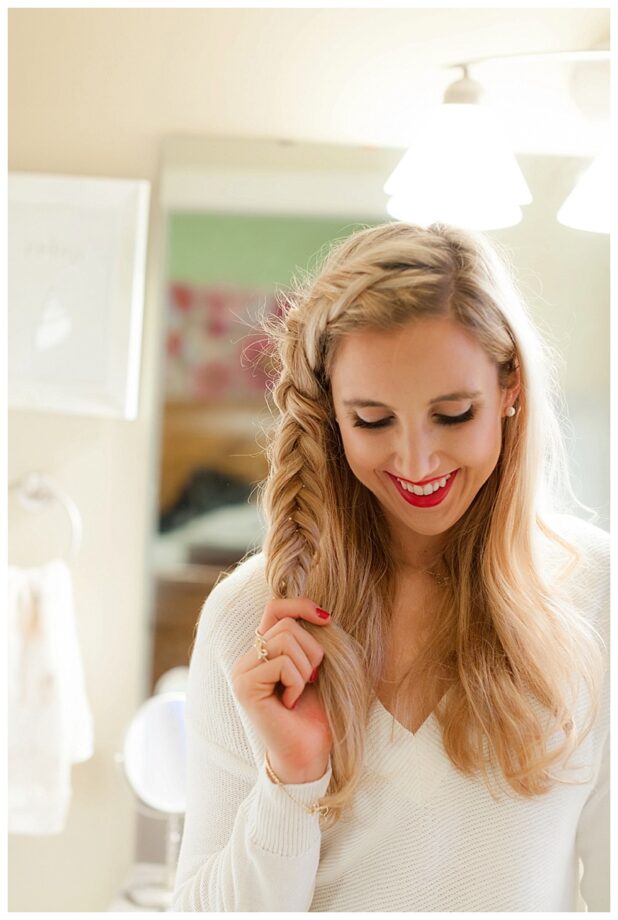
10. Tie of the braid with an elastic hair tie, pull the braid apart so it appears thicker, and voila! You just created a gorgeous hairstyle that is sure to get you compliments!
Thank you so much for stopping by Blush & Camo!
xx Julianna

This is so great on you, but I really don’t look good when my bangs are pulled back although I love the braid on other people.. I might just have to try it with my bangs in front:-) Thanks for sharing!
http://www.wunderbliss.blogspot.ca
You should totally try this with your bangs in the front! I bet it would look great on you:). I hope you’re having a wonderful day!
xx Julianna
http://www.blushandcamo.com