


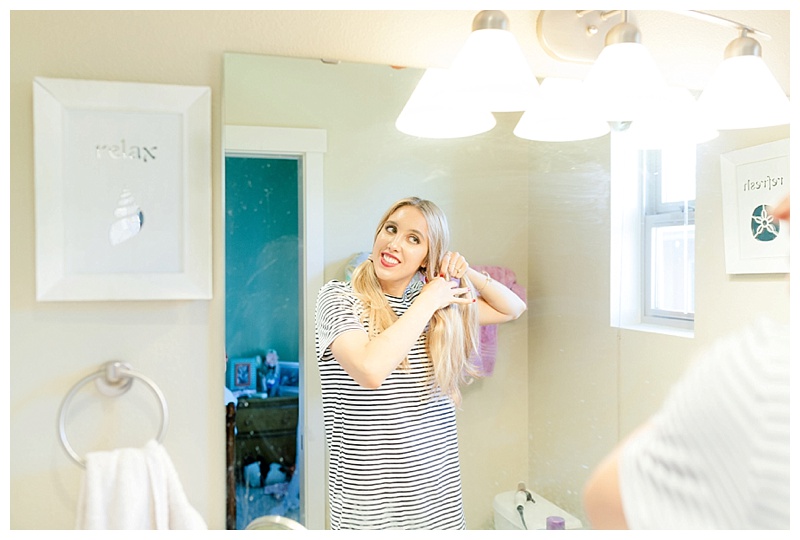
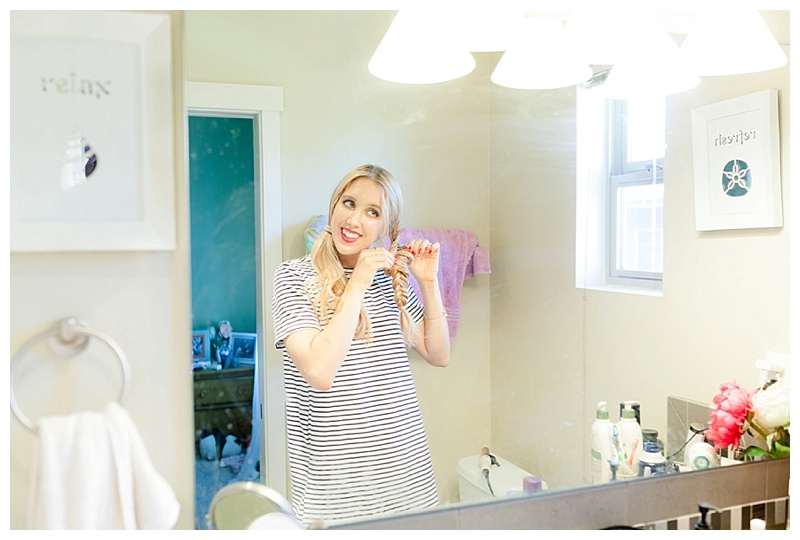
Hello Blush Babes (It’s the nickname I am giving to my readers!). Today I’m giving step by step instructions on how to create this fishtail/dutch milk maid braids that have been on my Instagram (@julianna_claire) and my blog (typing this out I realize how the hairstyle title is crazy). Let’s get started!
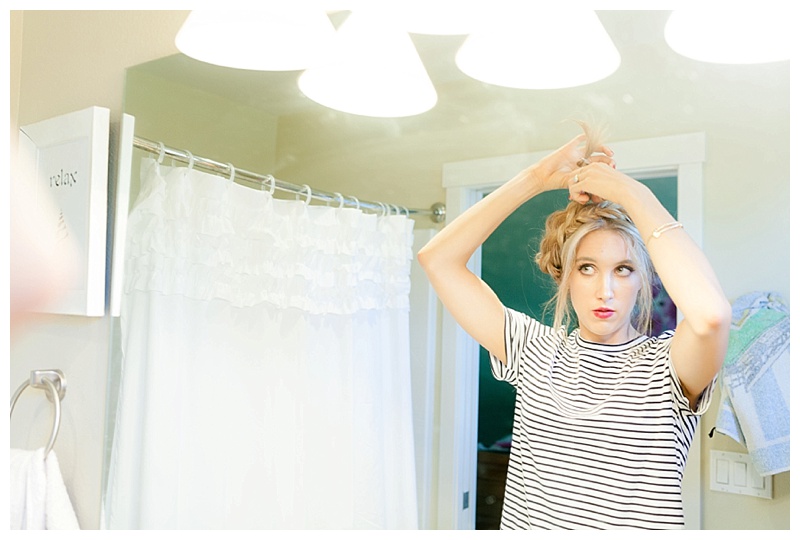
1. First, you are going to want to part your hair straight down the middle. Then take a hair tie and tie off one side of the part so it doesn’t get in the way of the braiding.
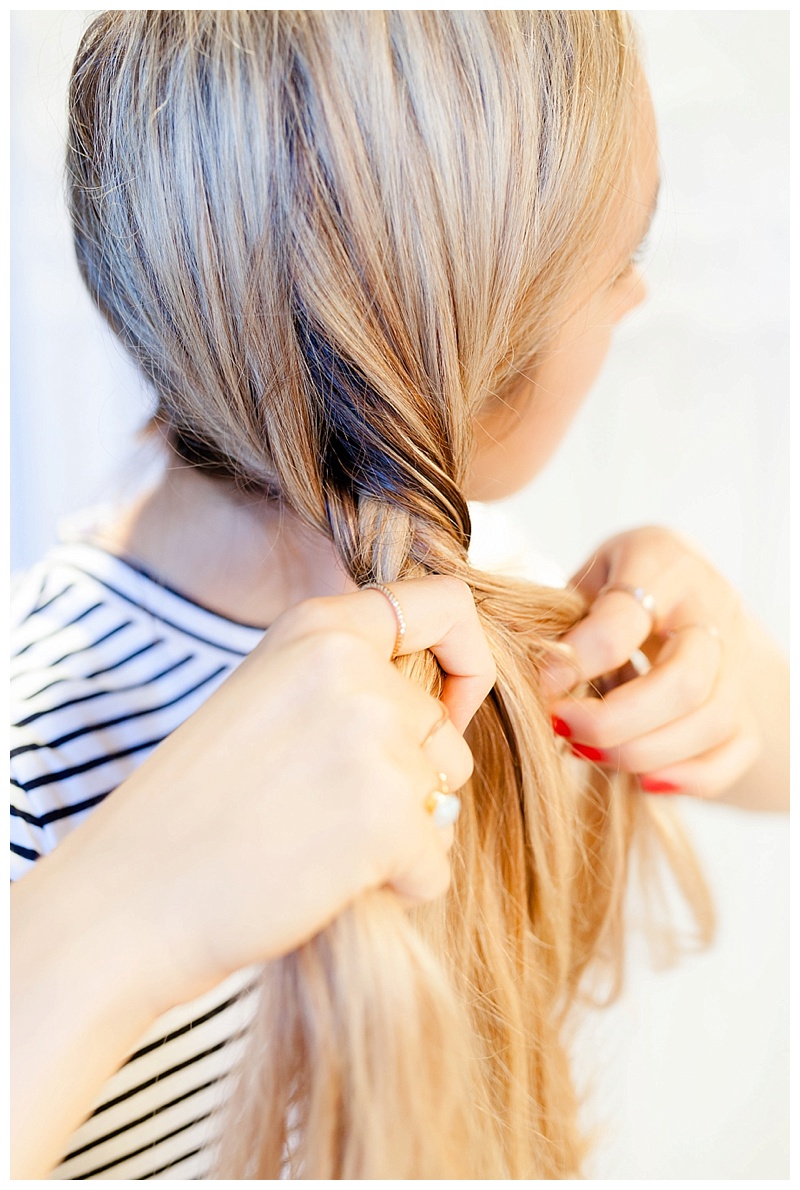
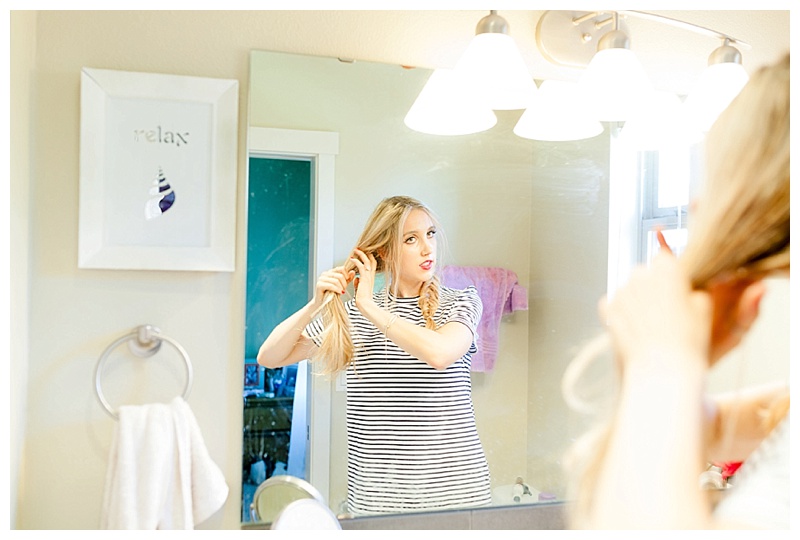
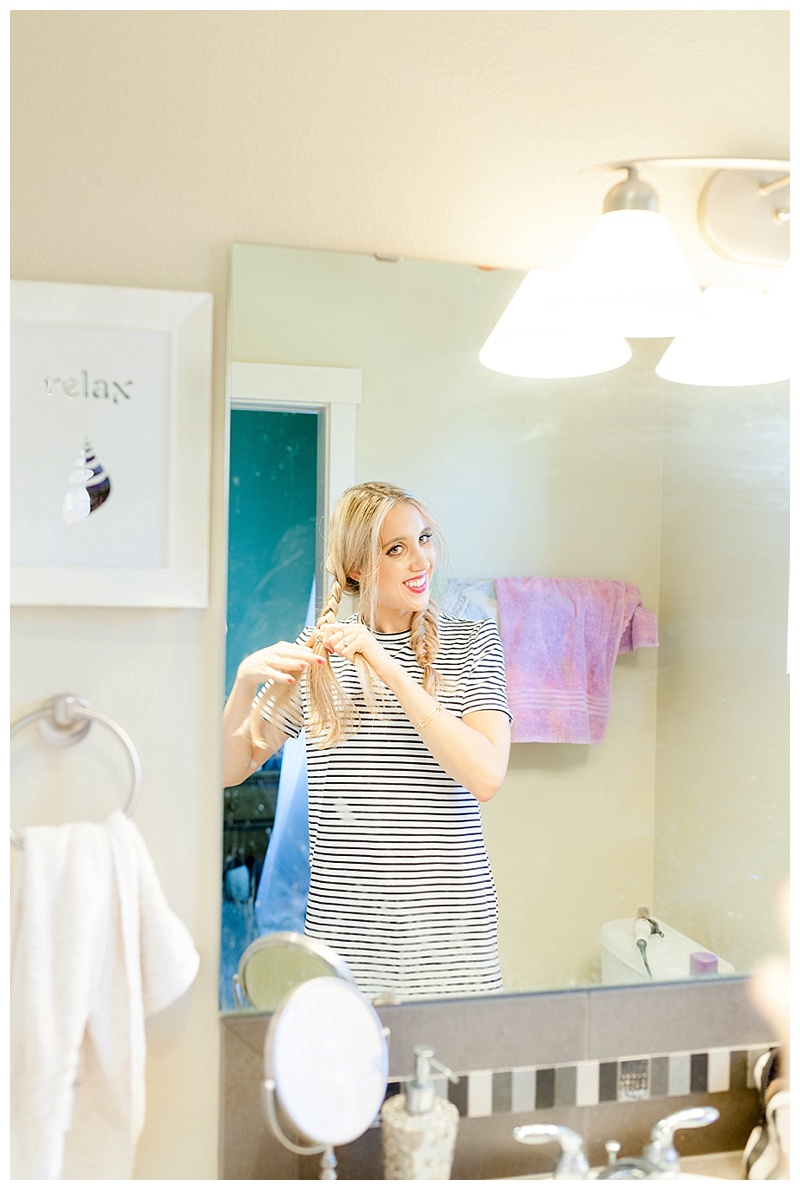
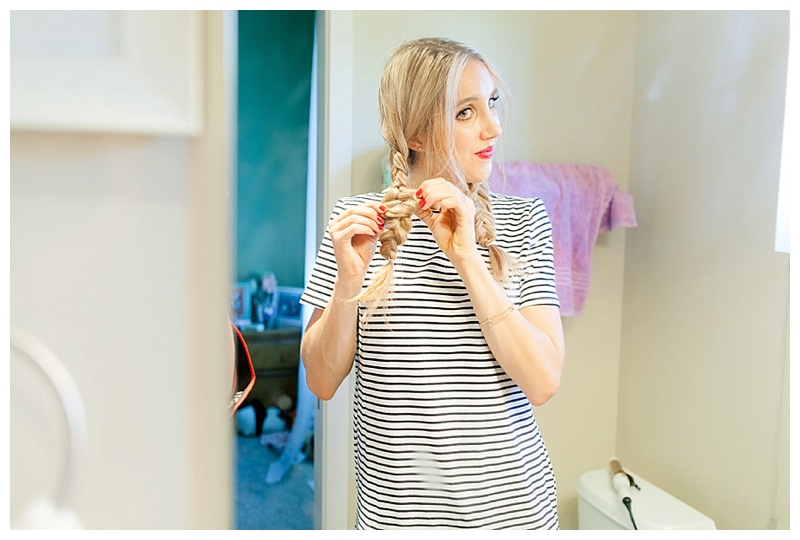
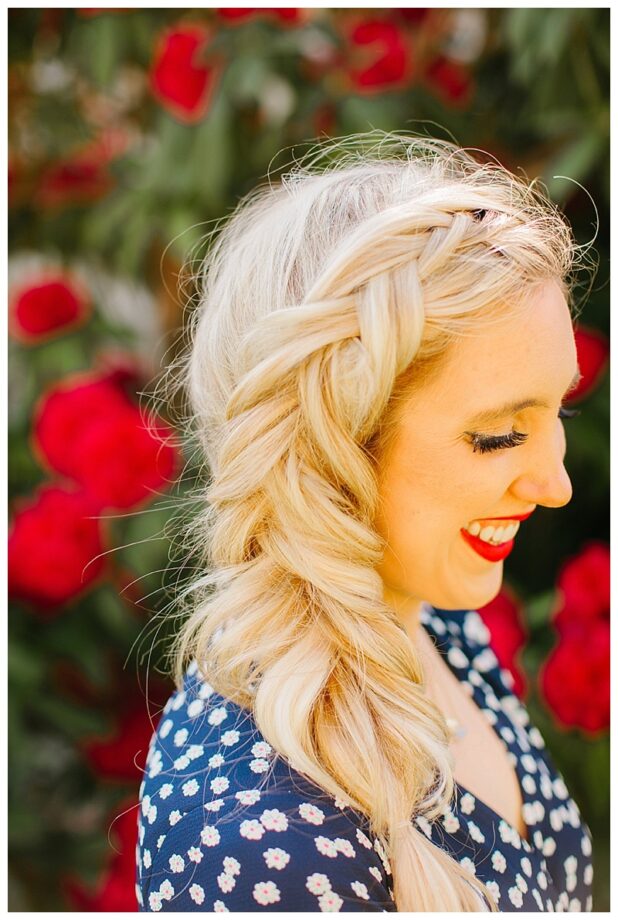
2. Then, you are going to start your fishtail braid. You want to use two sections of hair. Once you divide the hair into two sections you are going to take a small piece in the back of one section and cross it underneath to the other big section and combine it with the section you crossed over to. You will do this all the way down!
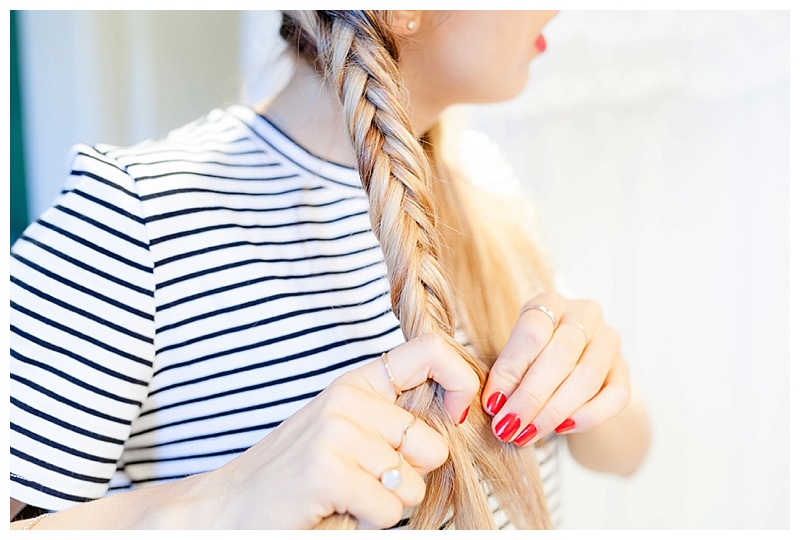
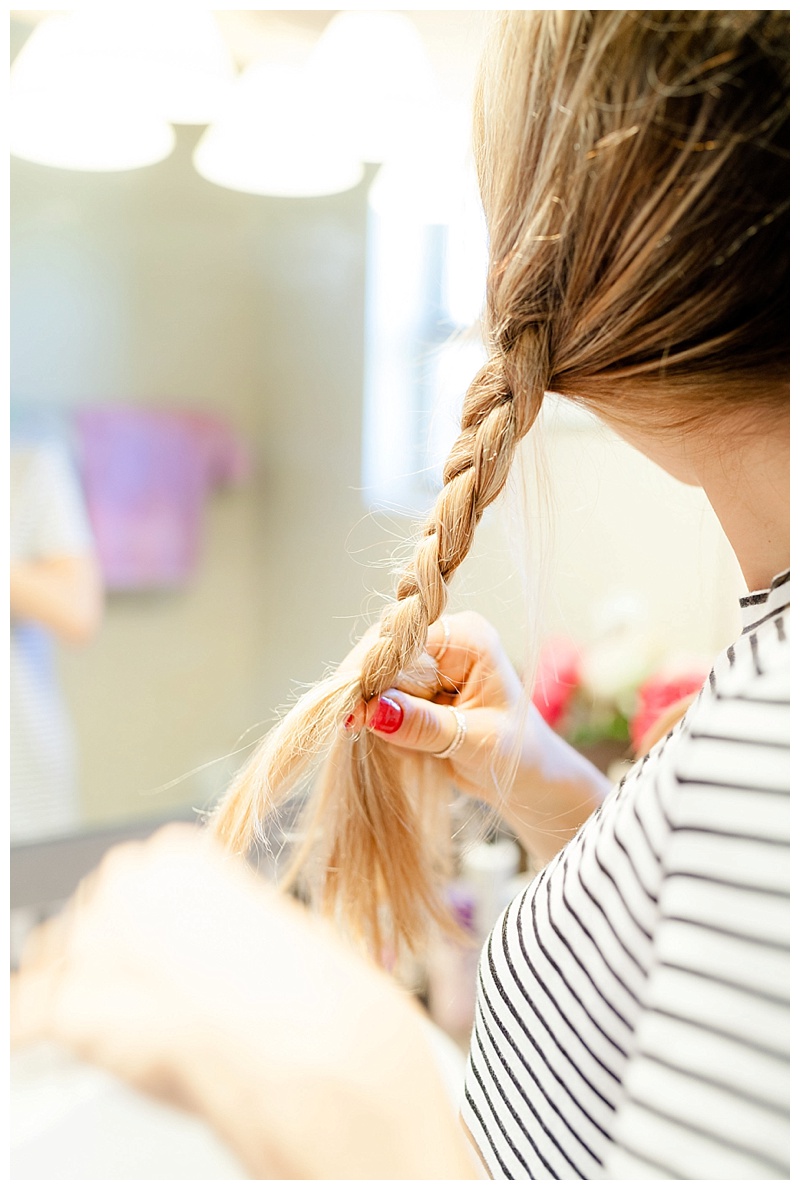
3. Tie off the end of the braid with a hair tie. You will want to leave a tiny bit of room at the bottom.
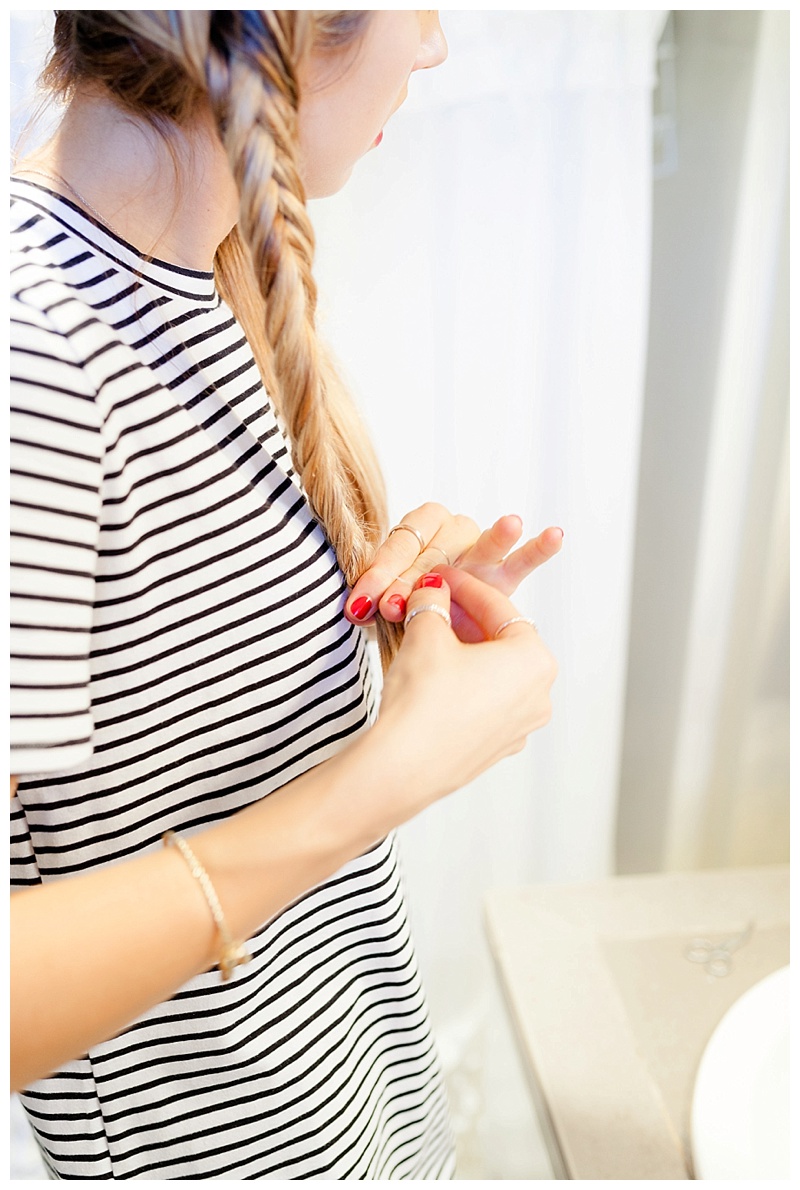
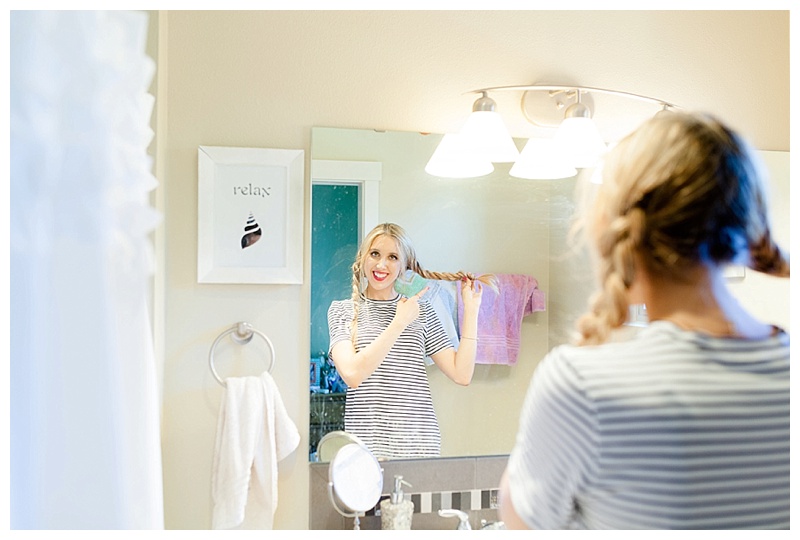
4. Start to pull the fishtail braid apart so it looks thicker and a bit messier. I like my braids to look a little undone.
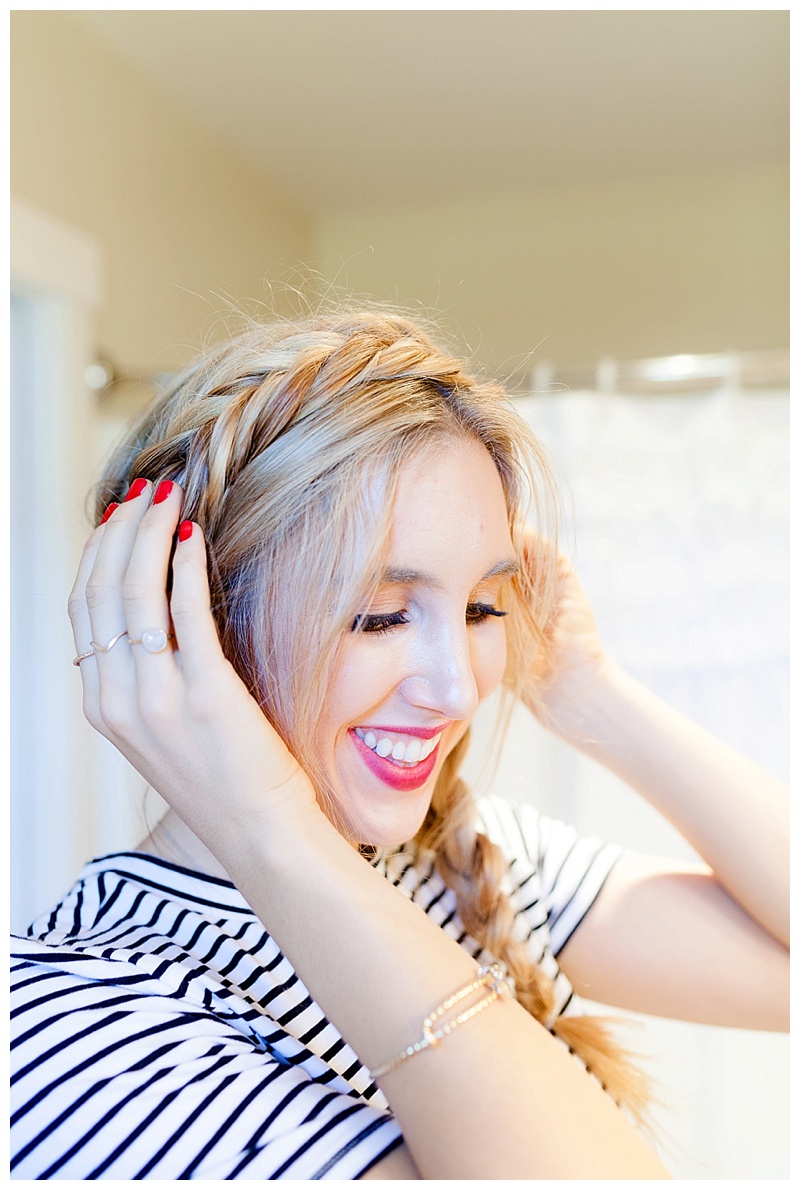
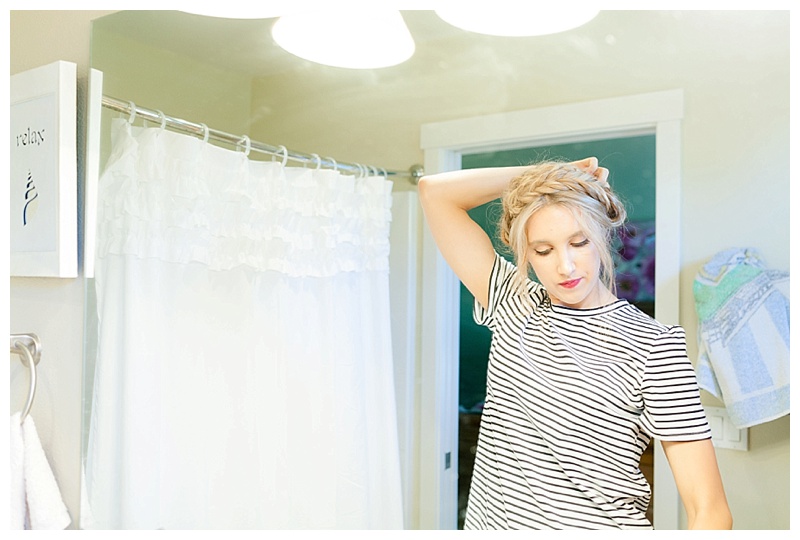
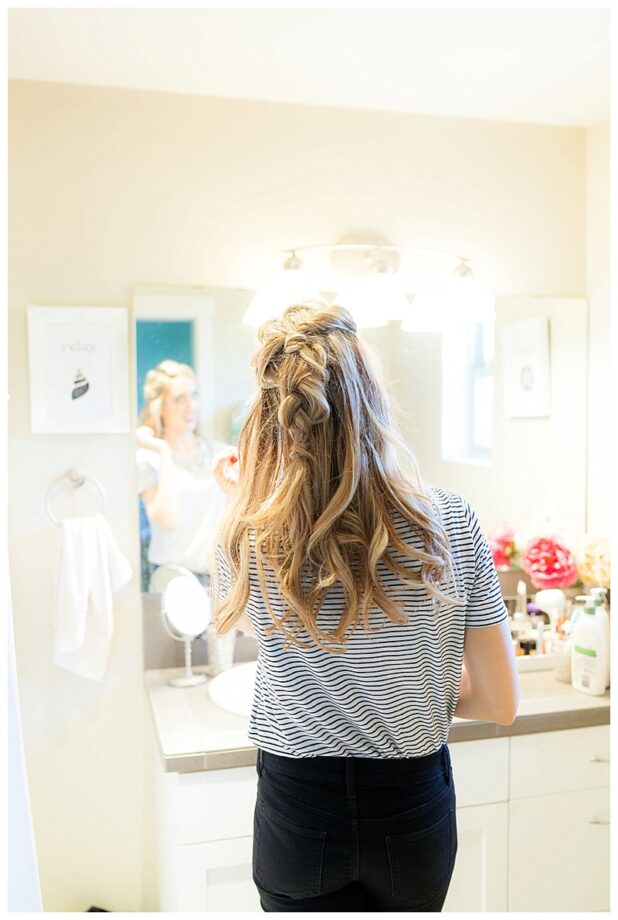
5. Then, pick up the hair on the other side of your part. You will do a dutch braid all the way down. A dutch braid is just like a regular braid except you are braiding under instead of over.
6. Tie hair off with a hair tie. Then, pull the braid apart a little bit just like you did with the fishtail braid.
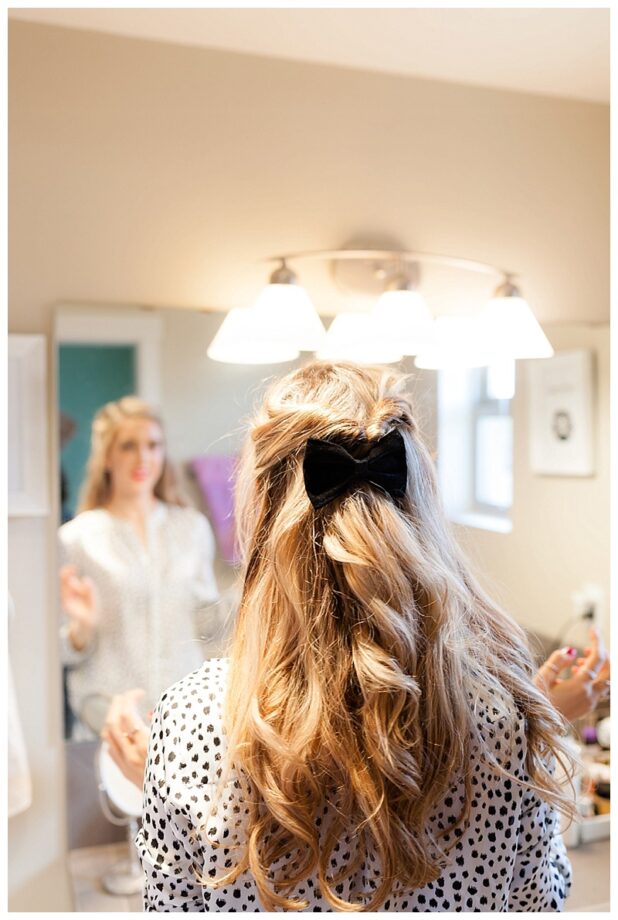
7. Lay one braid over the top of your head and secure in place with bobby pins. Then, you will then take the second braid and secure into place with more bobby pins. (Tip: I try and tuck the ends other the other braid and I will also bobby pin the two braids together as well so they don’t slide on the top of my head.)
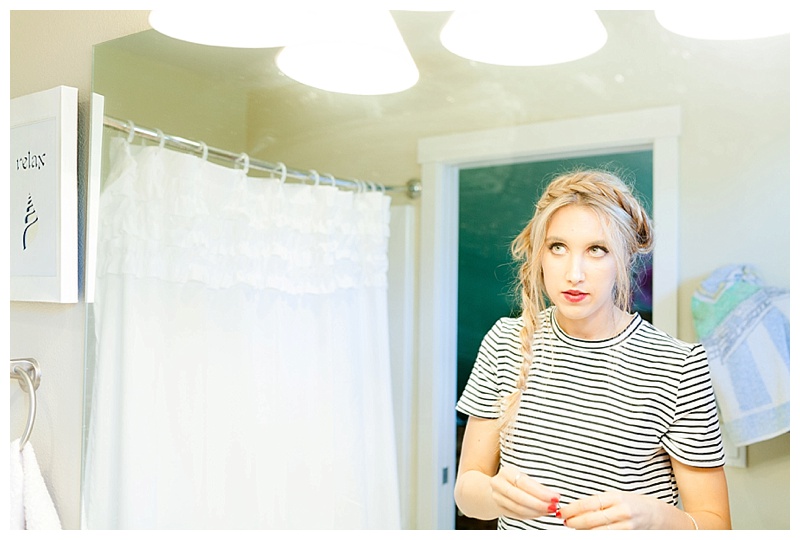
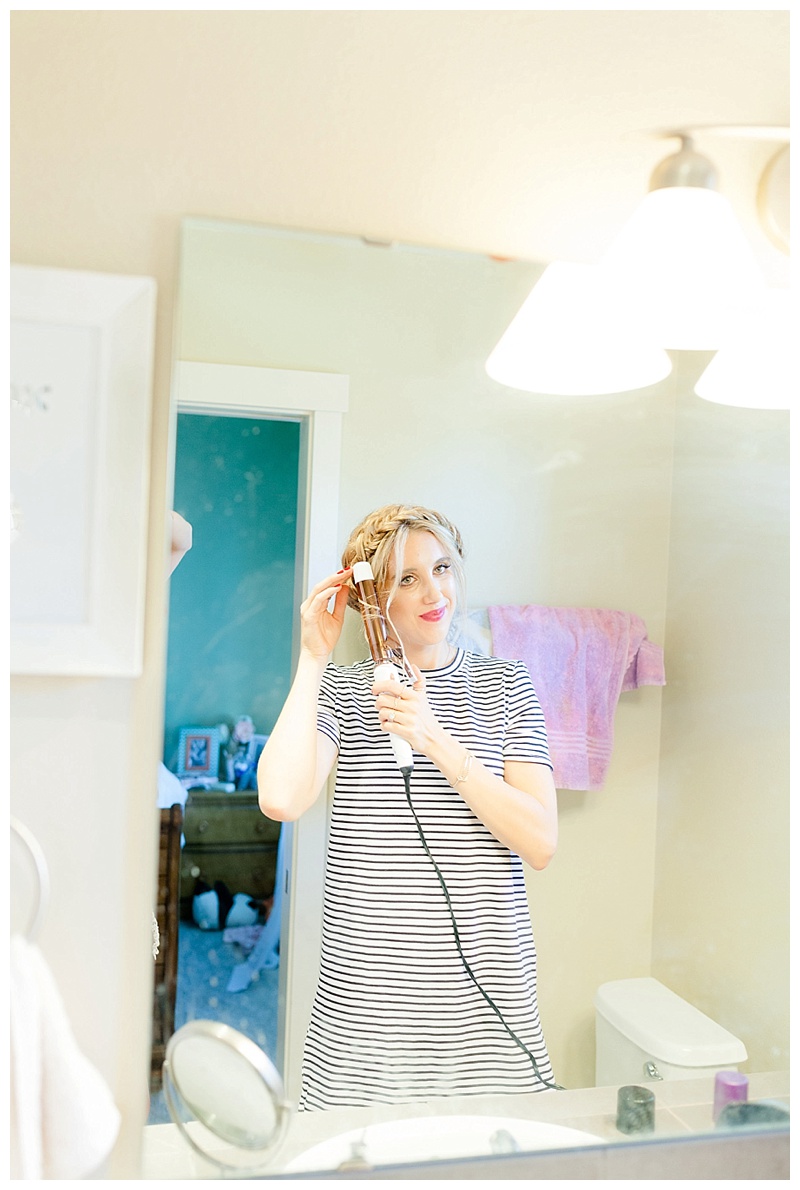
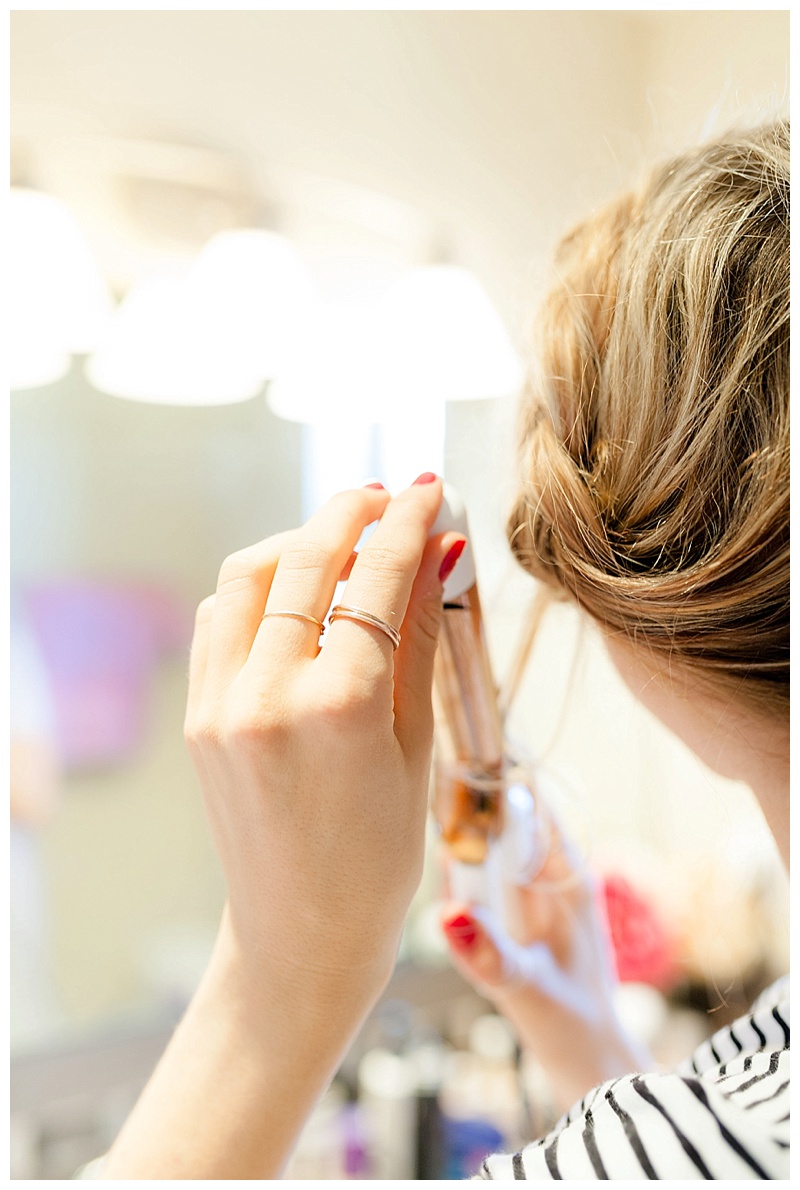
8. Then, curl any face framing pieces that didn’t fit into the braid!
9. You have a gorgeous hairstyle which will last all day long!
Thank you so much for stopping by Blush & Camo! Make sure you stop by tomorrow for more #styleinspo!
xx Julianna

[…] TUTORIAL: How To Create Milkmaid Braids […]
I love how you do ur hair all the time! I seriously don’t think I could pull off these braids like u do. Hope u have an awesome weekend:-)
http://www.wunderbliss.blogspot.ca
Aww thank you so much, gorgeous! And yes you totally could;). I hope you’re having a wonderful weekend!
xx Julianna
Julianna, I just LOVED the post! Braids are my fave, and you totally rock yours like no other! You have such beautiful hair and I cannot wait to try out this braid on myself! Thanks for sharing, dear heart!!
Happy 1st Day of fall!
xoxo, Vanessa
http://www.WhatWouldVWear.net
Thank you so much, love! Those orange pants you were rocking yesterday were beyond stunning! Love your style!
xx Julianna
Such an awesome tutorial, Julianna! Thanks so much sharing, the step-by-step and photos are extremely helpful!
I hope you have a wonderful day, beauty!
PS: I love the nickname 🙂
XO,
Jalisa
http://www.thestylecontour.com
Thank you so much Jalisa! Courtney, ( her business is Courtney Bond Photography) takes my photos:). I hope you’re having a wonderful week!
xx Julianna
Adorable! I still need a little more length to create this look. I also need to practice my Dutch braid, I’m so bad at it.
Thank you so much, beautiful! Happy first day of fall!
xx Julianna
I love this braid. 🙂
https://maariemarie.blogspot.com.ee/
Thank you so much, beauty!
xx Julianna