


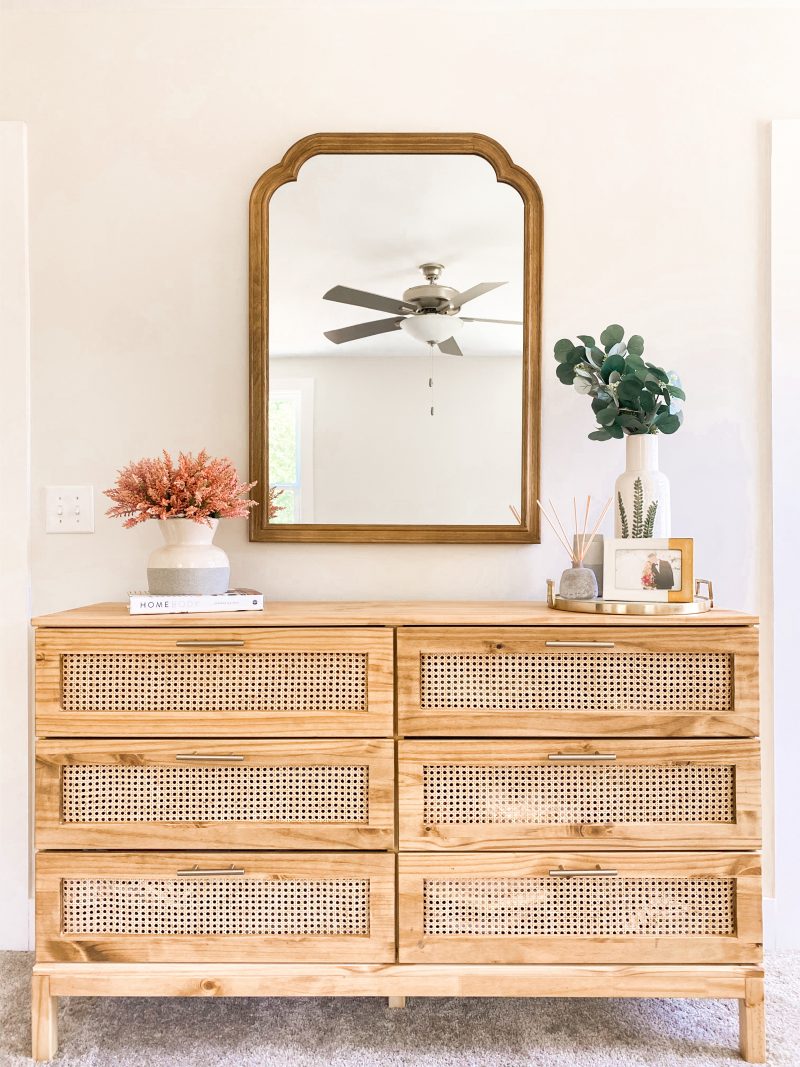
Welcome back to Blush & Camo! I’m so excited to share our DIY cane dresser. Chuck and I took an IKEA Tarva dresser and flipped it into our dream dresser. What do you think?! Let me know in the comments below!
A huge thank you to Kourtni from House on Longwood Lane! She is the amazing blogger who gave me the inspiration to do this IKEA DIY. I followed her directions when it came to stain colors, stain application, and the drawer front cut measurements!
I highly recommend checking out her original post on her IKEA Tarva DIY here because it’s phenomenal!
STEP 1: ORDER AND ASSEMBLE THE DRESSER
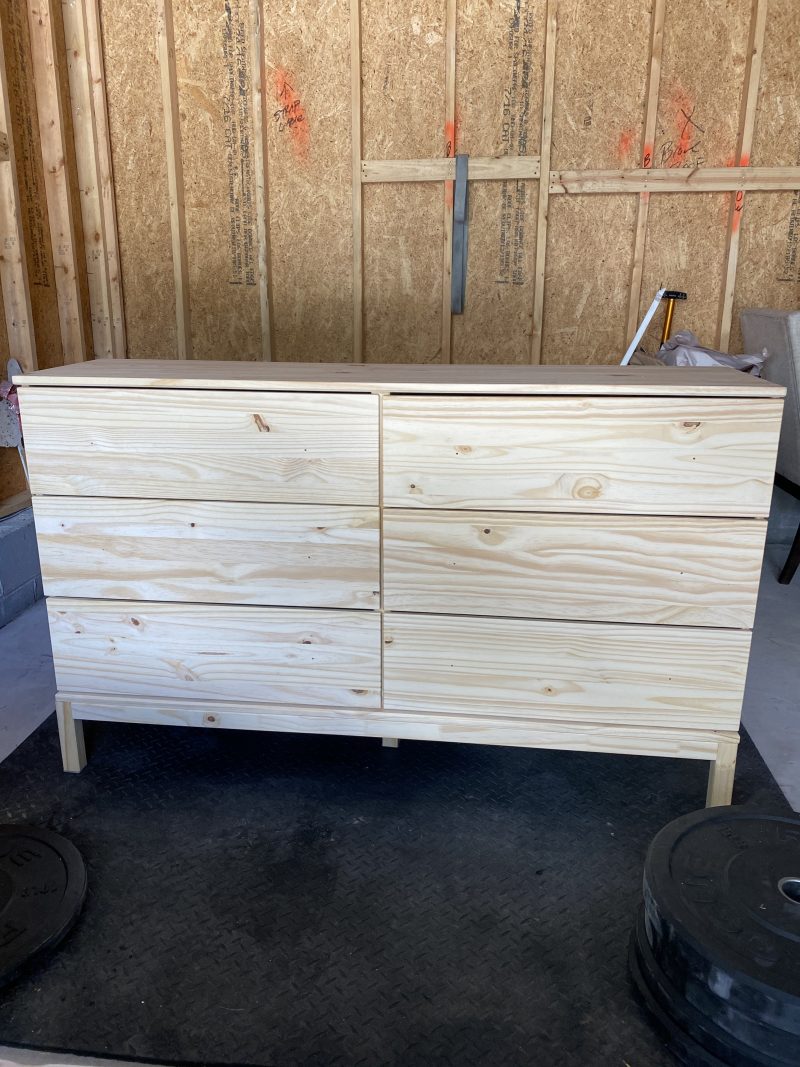
With COVID-19 going on IKEA shipping has been a little tricky. If you have an IKEA near you I highly recommend making the trip and picking up the furniture yourself. The dresser is $179 and IKEA wanted to charge me $200 in shipping costs. Um, no thank you. So I went and picked up this dresser as soon as they opened their stores back up!
Here is the exact dresser we picked up!
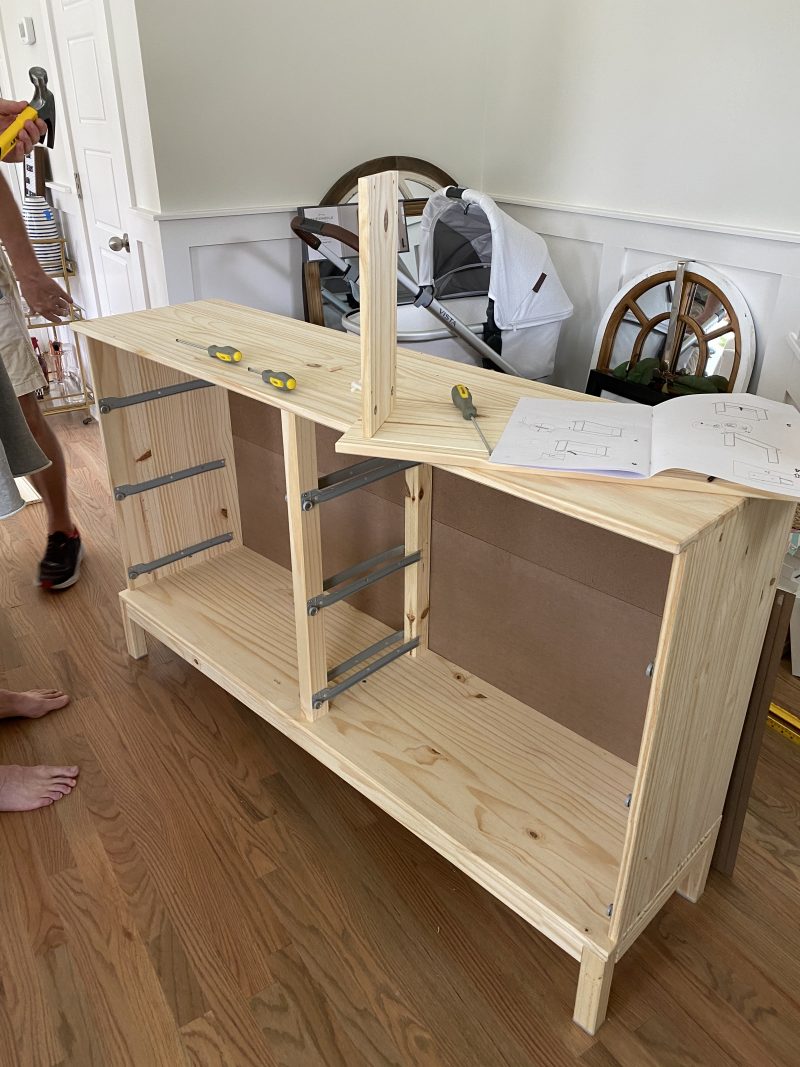
The assembly took a little bit of time!

STEP 2: MEASURE DRAWER FRONTS
We used Kourtni’s measurements for the drawer fronts which is 2 1/16″ evenly to create a rectangle in the middle of the drawer. Using a ruler or carpenter square and pencil works great to create your lines!
STEP 3: CUT DRAWER FRONTS

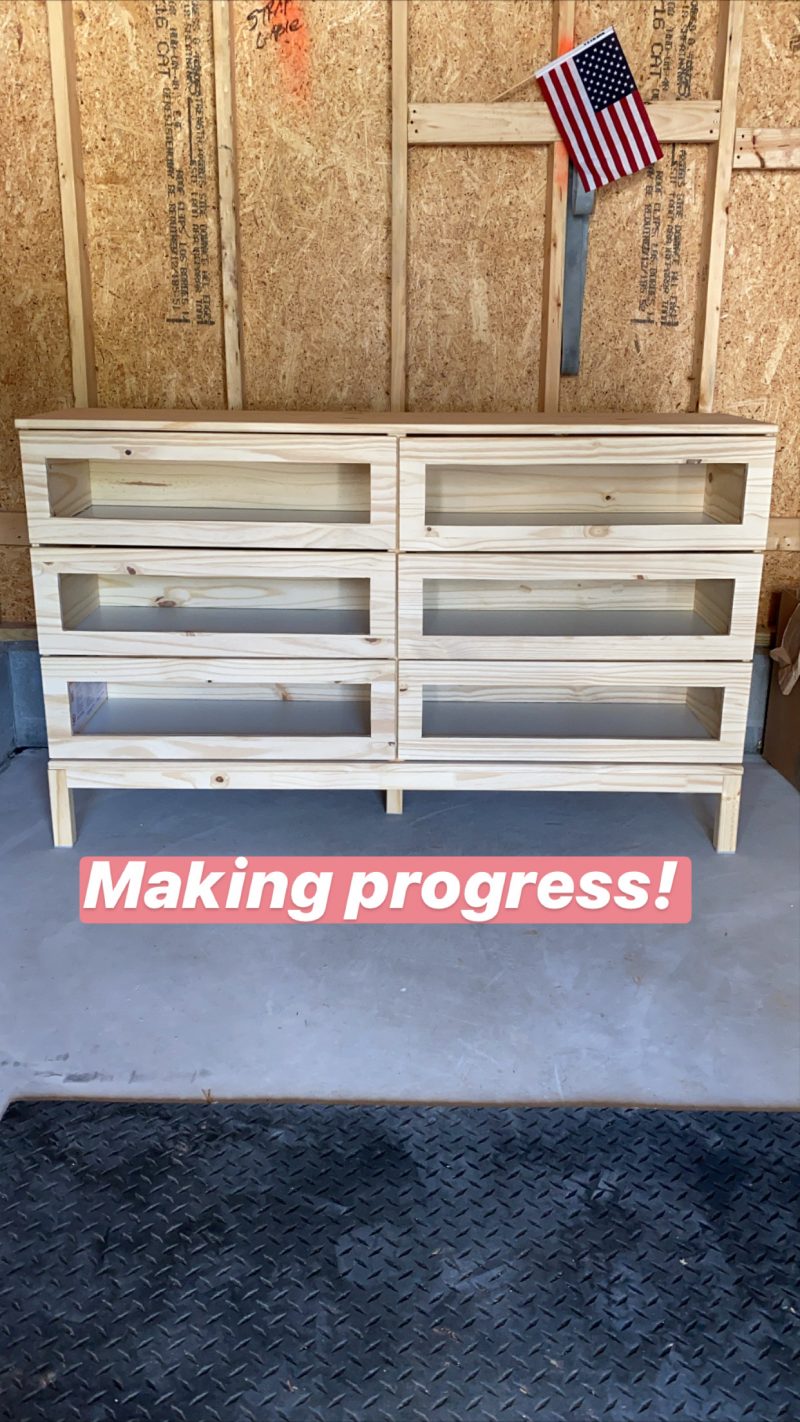
Now, it’s time to cut! You’ll need a drill and jigsaw to cut out your drawer fronts. First, you want to drill into each of the four corners so the jigsaw will fit and cut the lines you made.
Chuck and I are fairly new to the DIY world and weren’t familiar with using jigsaw (this is the exact one we have!), so we had our neighbor who is a carpenter help us with the cutting of the drawer fronts.
This step is the most difficult part of the entire DIY, but it’s not impossible :).
STEP 4: SAND THE DRESSER
This is the exact sander Chuck and I used! We sanded the dresser to get a super smooth surface and used 220 grit sandpaper. This process only took about 15 minutes since we weren’t trying to take off an existing stain. We simply wanted to remove any rough patches on the wood and ensure the stain applied evenly!
STEP 4: APPLY THE STAIN TO THE DRESSER
Chuck and I loved Kourtni’s custom stain blend she used for her dresser and decided to use the same blend. Again, since Chuck and I are super new to DIY’s we also mimicked her stain application technique which proved to be AMAZING!!
These are the products you will need for staining your dresser:
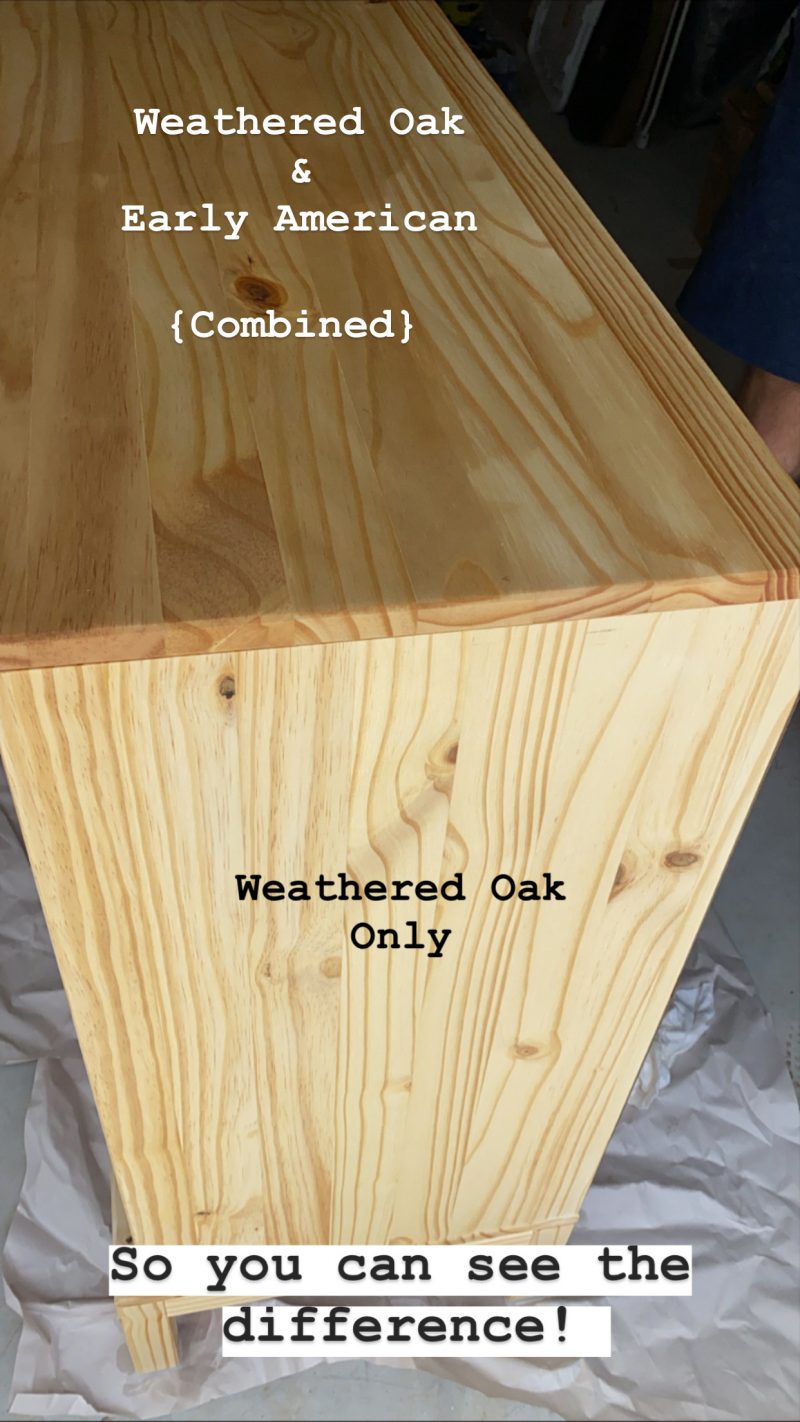
First, Chuck in went in with Varathane Weathered Oak on a stain sponge. As soon as the stain was applied with the sponge he took a painters rag and wiped off any access. The longer you leave the stain on the wood, the darker the stain will become.
We didn’t want our dresser to be too dark, so we didn’t leave the stain on there for longer than a minute before taking the painters rag and wiping off the access.
Once you’ve covered your dresser in Varathane Weathered Oak it’s time to apply your Varathane Early American stain! We applied the Early American stain right after we covered the dresser in the first stain.
We used the same technique to apply the Early American stain with the wipe on with a stain sponge and wipe off with a painters rag.
For the Early American stain we did two full coats of this because the wood wasn’t as dark as we wanted after the first coat.
Then, we applied two coats of matte polyurathane to seal the stain and protect the wood.
Here's a video showing the technique we used in action!
STEP 5: APPLY YOUR CANE WEBBING
Cane webbing is hard to come by! It was sold out everywhere or completely overpriced. After searching the web for awhile I finally found a seller who had the webbing in stock at a reasonable price.
You can get my exact cane webbing here!
He also takes custom orders. Simply message him the amount you need for the project you are working on!
We ordered 7 feet of cane webbing for this DIY dresser project.
Cane webbing is very easy to work with and easy to install on the dresser drawers! We used a staple gun to attached the webbing the dresser.
STEP 6: ATTACH THE HANDLES
Chuck and I found these GORGEOUS handles at Home Depot for $7. I loved the champagne color and that they weren’t too gold!
STEP 7: ENJOY YOUR DRESSER!
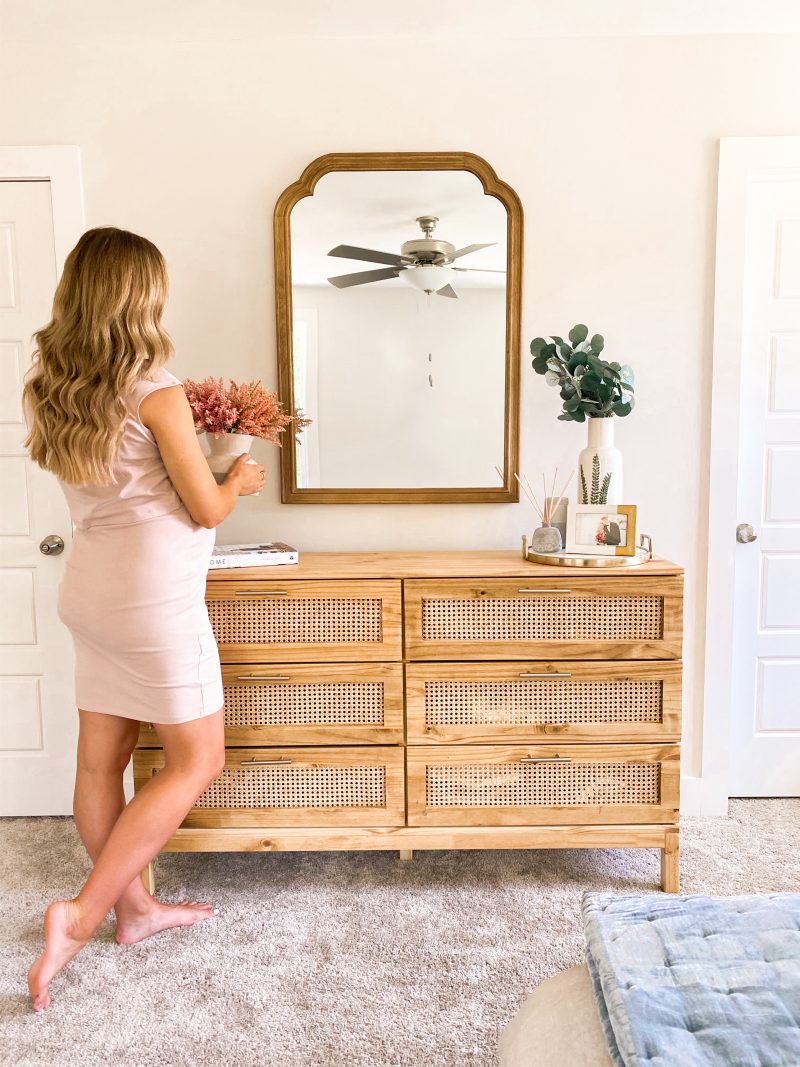

Now, it’s time to enjoy your dresser! This entire project took us two and a half days to complete, but was totally worth it!
Have questions about this project?! Leave them down below!
Thank you for stopping by Blush & Camo!
You can follow me on Pinterest by clicking here!
Get more daily inspo by following me on Instagram and TikTok!
xx, Julianna


Thanks so much for sharing! I’ve made my own version based on your diy-project, and It turned out wOnderful!
This is beautiful!
You mention purchasing 7’ length of cane webbing; i am wondering however, what the approximate height dimenSion Is foR each drawer. I am not able to find the dimensions for the drawers Online and base the calculation Off your opening cuts. Thanks!
Did you use all 7 feet of cane webbing or could you get away with less? Was 24 inch needed or would 22 inch be enough?