


Welcome back to Blush & Camo! Today I’m talking about painting my front door blue, which is my FIRST home project ever! Plus, I’m also sharing tips and tricks for if you would also like to paint your front door, or area in your home too!
Chuck and I recently became Nashville homeowners about a year ago and ever since we bought the home there have been a few updates I would like to make to the home, but I was too intimidated to do them.
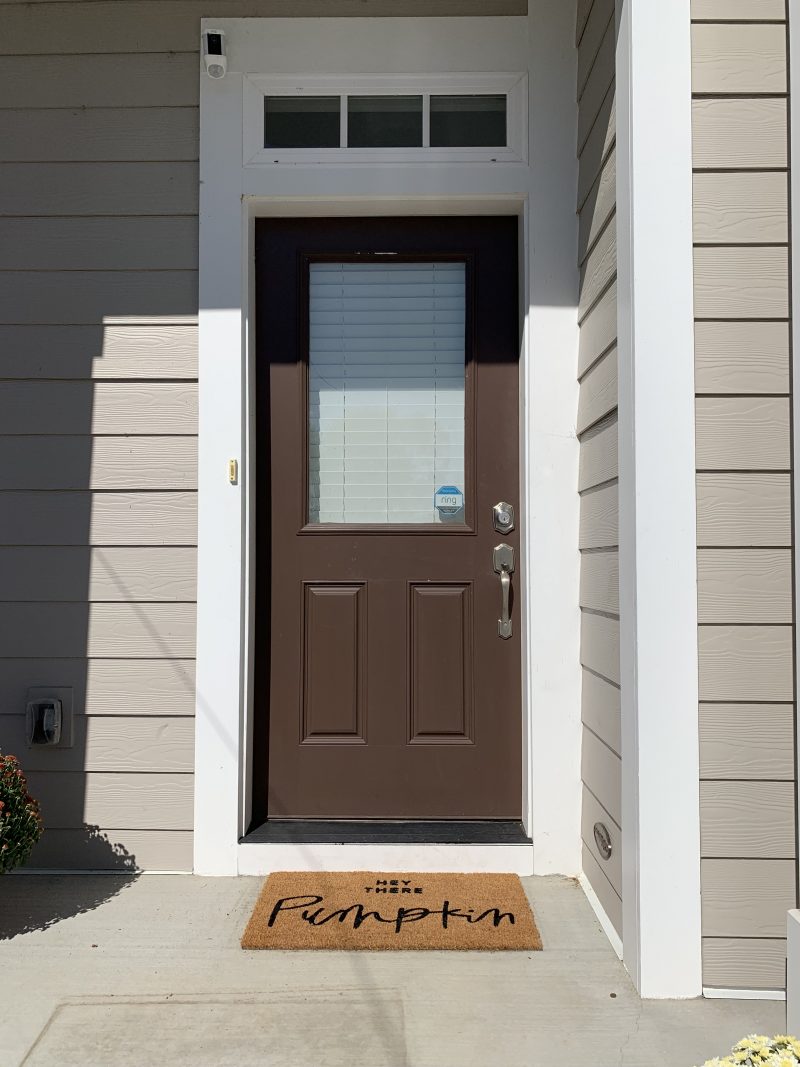
The first project was to our front door blue! Orginially it was this super ugly shade of brown, which wasn’t doing anything for the home. I’ve always wanted a light blue door, and think they are super welcoming.
I feel fortunate that our trim outside is white so we could’ve gone with any color, but I always knew the shade would be blue!
Keep reading to find out how we selected a color + tips and tricks for painting your home too!
SELECTING A PAINT COLOR
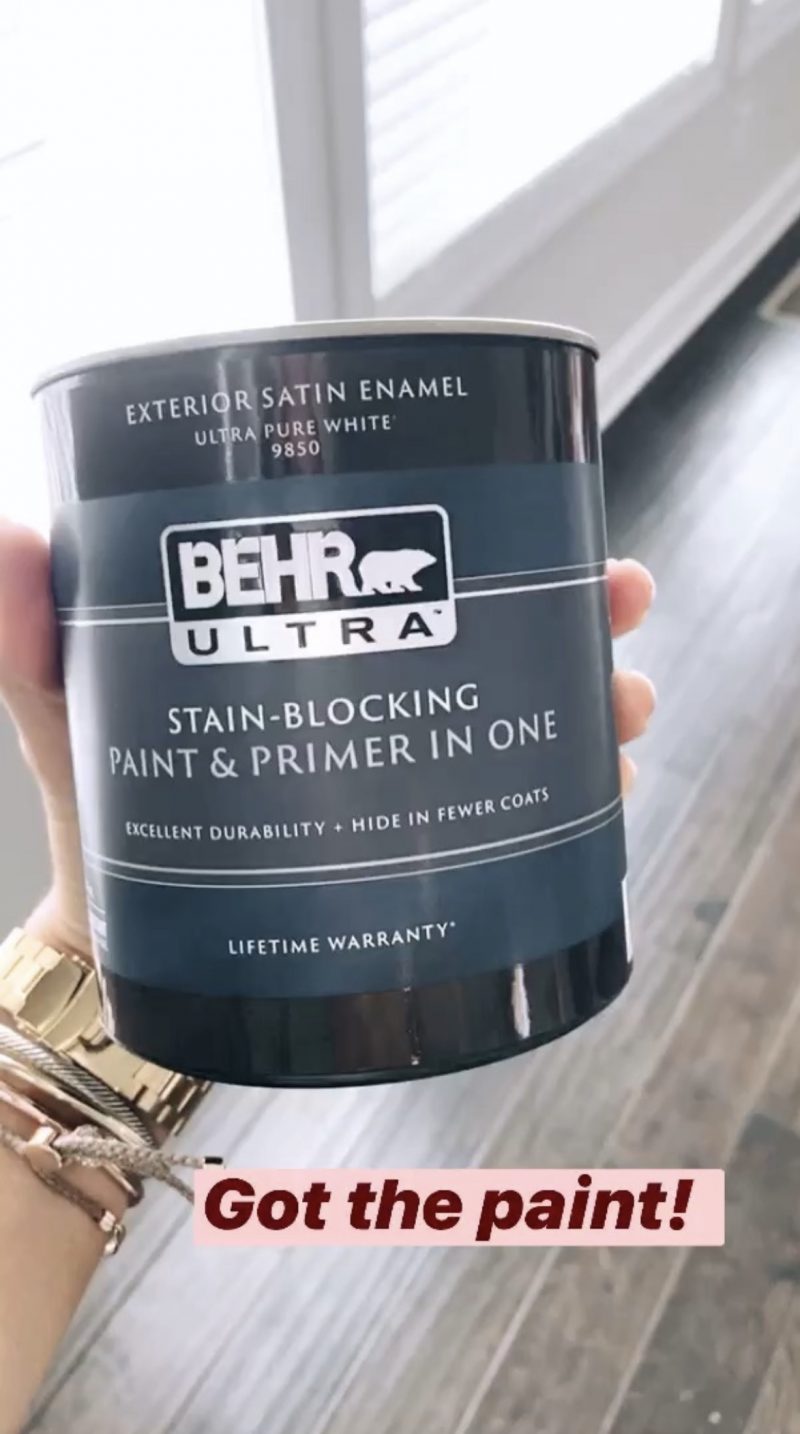
I went to Home Depot to look at paint colors and they had so many to choose from! When I first went I knew I wanted a blue door, but I was also flirting with the idea of possibly doing a seafoam green instead.
I selected paint sample cards and that’s it! That’s all I needed on this first trip.
PRO TIP: When looking to select a pain color, tape your paint swatches to whatever surface you are wanting to paint. This allows you to see the colors at different times of the day when the sunlight hits it differently!
Take a few days to look at the colors and see which ones stand out to you! Once you have your choices narrowed down Home Depot can create mini samples you can use to swatch on the surface you’re going to paint.
The color Chuck and I chose is called Shaved Ice. It’s the perfect grayish, blue hue.

PAINTING THE DOOR
This was the part I built up in my head to be super intimidating. The reality though, was that painting the door was very simple! I took the blue painter’s tape and taped around the window and then around my door handle/lock.
After all the necessary sections were taped off I started to paint!
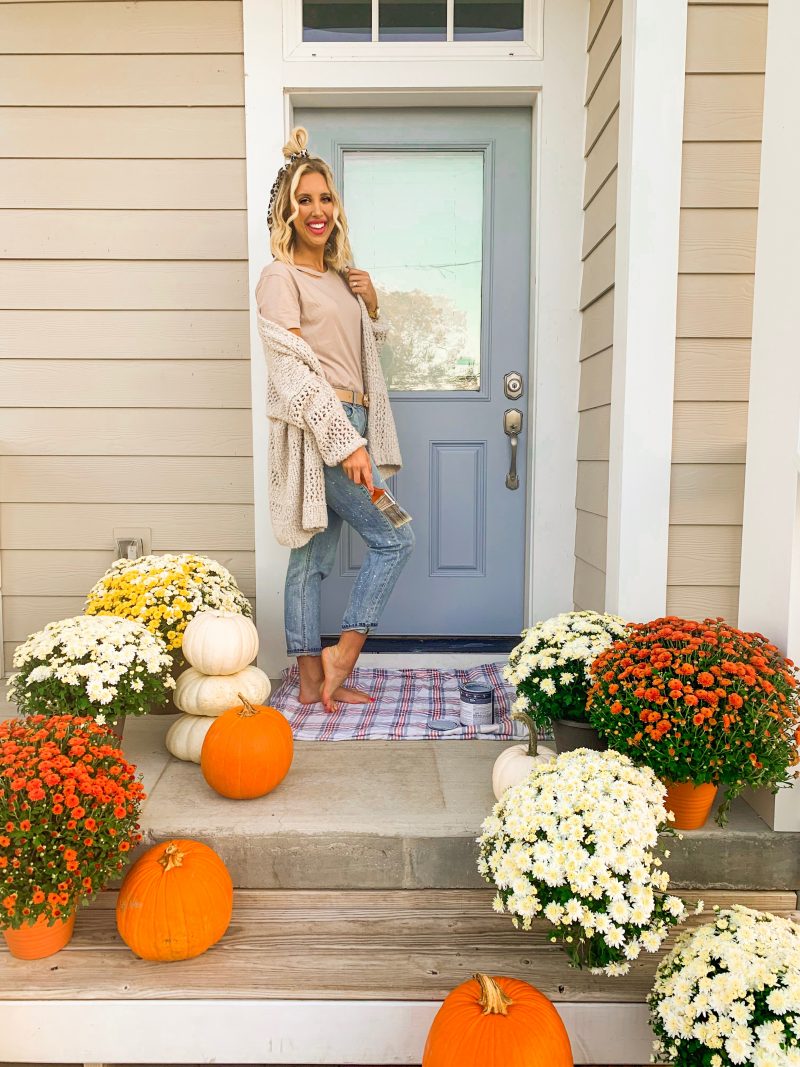
I did two coats and the entire painting time was about 35 minutes. It was super hot that day so the door dried within a few hours!
This was the first coat that I did! I didn’t put the blue painter’s tape on until the second coat when I finished the trim of the door!
OVERALL EXPERIENCE
This was a great first home project to start with because it gave me the confidence that I could accomplish more! Painting our door cost a fraction of the price of replacing it, and I had full creative control over the process and selecting my color.
I can’t wait to continue working on more home projects and sharing them here on the blog!
You can follow me on Pinterest by clicking here!
Get more daily inspo by following me on Instagram and YouTube!
xx, Julianna


Leave a comment